Tired of the hard, uncomfortable seat on your piano bench? Does the thought of long practice sessions leave you with a stiff backside? Then it's time to consider a simple, cost-effective upgrade: a DIY piano bench cushion! Transforming your playing experience from mildly irritating to utterly comfortable is easier than you think. Forget expensive, store-bought options that may not even perfectly fit your bench; creating your own custom cushion allows for a perfect fit and the chance to personalize the style and comfort level to your exact preferences. You can choose your favorite fabric, add extra padding for ultimate plushness, and even incorporate design elements to match your décor.
This satisfying project requires minimal sewing skills and readily available materials, making it a perfect weekend afternoon activity. Ready to embark on this comfortable upgrade and add a touch of personalized elegance to your music room? Let's dive into the step-by-step instructions to create your very own DIY piano bench cushion.
Preparation and Safety Guidelines
- Drill
- Screws
- Wood (scrap)
- Router
- Cushion Foam
- Vinyl
- Staple Gun
- Staples
- Hammer
- Always disconnect power to any electrical components in the piano bench before starting the project to prevent electric shock.
- Use non-toxic, hypoallergenic materials for the cushion filling and cover, especially if you have allergies or children.
- Ensure the cushion fits snugly and securely onto the bench to avoid it slipping or causing instability while playing.
Step-by-Step Instructions
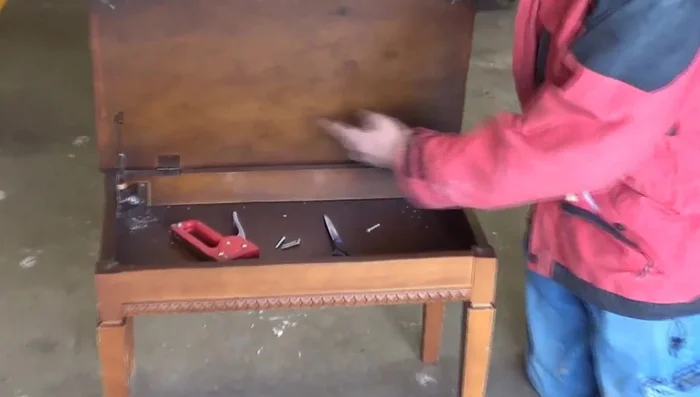
Prepare the Base
- Drill holes in each corner of the piano bench to attach a wooden base.
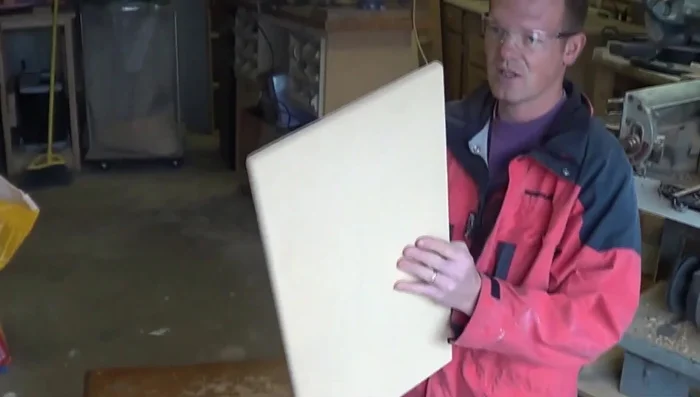
- Cut a piece of scrap wood to fit the top of the piano bench.
- Use a router to round the edges of the wood for comfort.

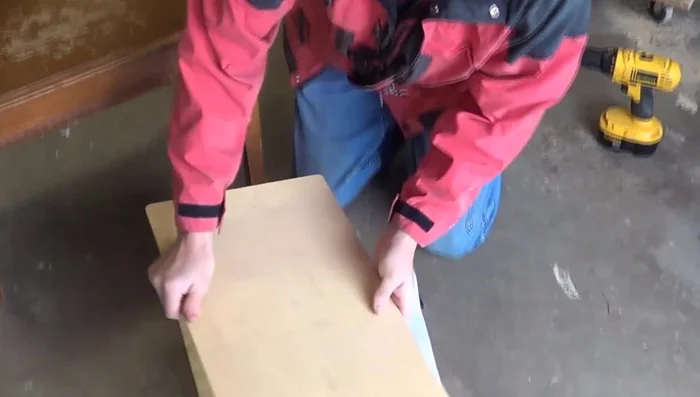
Prepare the Base Prepare the Cushion Materials
- Cut a piece of cushion foam the same size as the wood.
- Cut a piece of vinyl large enough to wrap around the wood and foam.
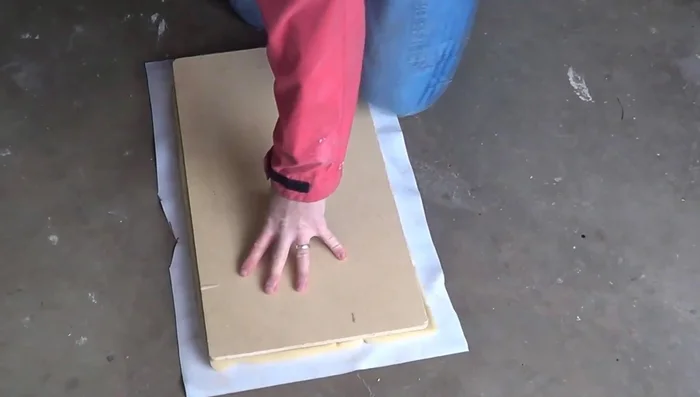
Prepare the Cushion Materials Attach Foam to Base
- Attach the foam to the wood using a staple gun.
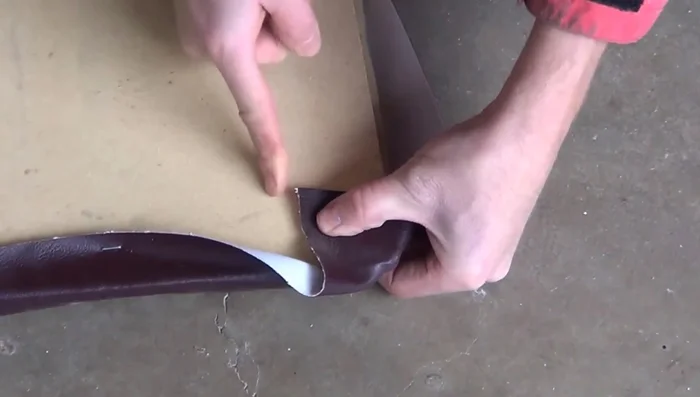
Attach Foam to Base Cover with Vinyl
- Evenly attach the vinyl to the wood and foam, starting with the corners and working your way to the center.
- Fold and staple the vinyl around the corners, creating neat pleats.
- Use a hammer to securely fasten any loose staples.
Cover with Vinyl Attach to Piano Bench
- Attach the completed cushion to the piano bench using screws.
Attach to Piano Bench


Tips
- Use enough staples to secure the foam and vinyl.
- Don't worry about precise measurements when attaching the vinyl; the edges won't be visible.
- Take your time creating even pleats at the corners for a professional finish.
- If needed, remove staples with a screwdriver or pliers to readjust the vinyl.