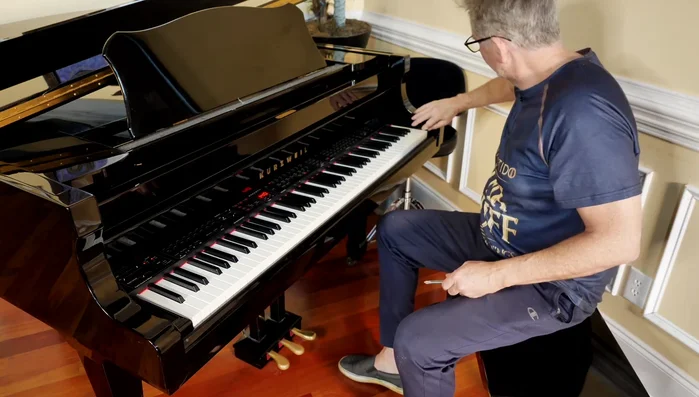
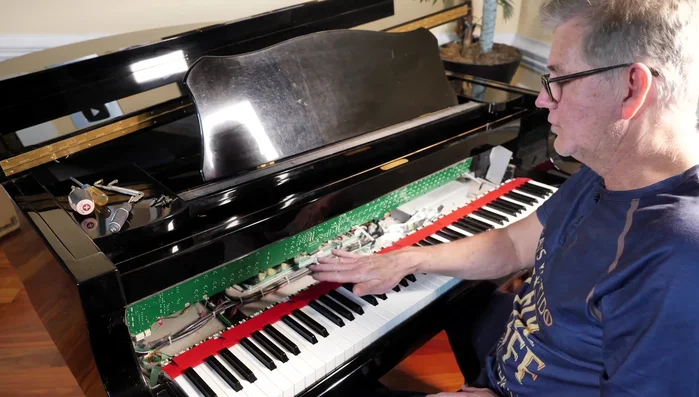
The satisfying thud of a key, the rich resonance of a chord – these are the joys of playing a piano. But that joy can quickly turn to frustration when a key starts "popping," emitting an unpleasant clicking sound instead of a clean note. This annoying issue, often stemming from a simple mechanical problem, can be surprisingly easy to fix yourself, saving you the potentially hefty cost of professional repair. A popping key usually indicates a problem with the key's mechanism, specifically the hammer action or its associated components. Ignoring the issue could lead to further damage, so tackling it promptly is recommended.
This article will guide you through a step-by-step process to diagnose and repair a popping key on your electronic piano. We'll cover the common causes of this problem, explore troubleshooting techniques, and equip you with the knowledge and confidence to get your instrument playing smoothly again. Let's dive into the detailed repair process, starting with identifying the source of the popping sound.
Preparation and Safety Guidelines
- Phillips head screwdrivers
- small container for screws
- small paintbrush
- vacuum cleaner
- isopropyl alcohol
- Q-tips
- Always disconnect the power supply before attempting any repairs. Failure to do so could result in electric shock.
- If you are not comfortable working with electronics, seek professional help. Improper repairs can cause further damage.
- Take photos or videos of each step of disassembly. This will help you reassemble the piano correctly and troubleshoot if problems persist.
Step-by-Step Instructions
Diagnosis
- Identify the problematic key and demonstrate the issue.
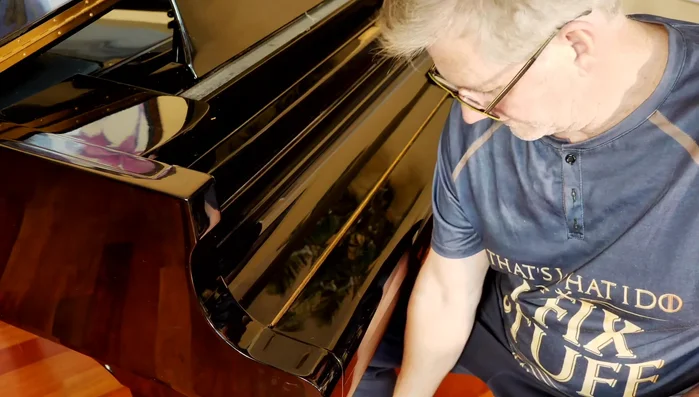
Initial Keyboard Access
- Remove the screws underneath the keyboard to access it. (There were at least five)
- Remove screws on the corners to detach corner blocks.
- Remove additional screws on the sides to loosen the keyboard cover and get better access.
- Carefully remove the keyboard cover, ensuring not to scratch the piano.

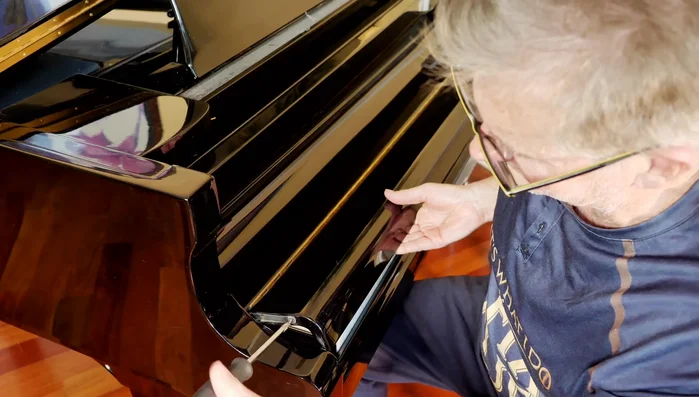
Initial Keyboard Access Keyboard Removal
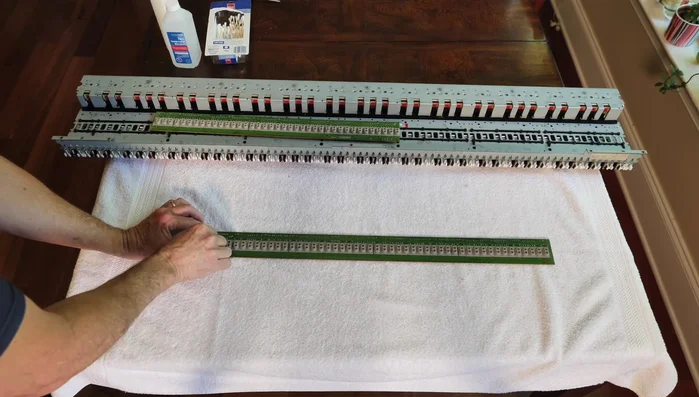
- Remove screws securing the keyboard from the inside, noting there are more than initially visible. (Several more screws located underneath).
- Remove the keyboard from the piano. There may be ribbon cables connecting the keyboard to the electronics.
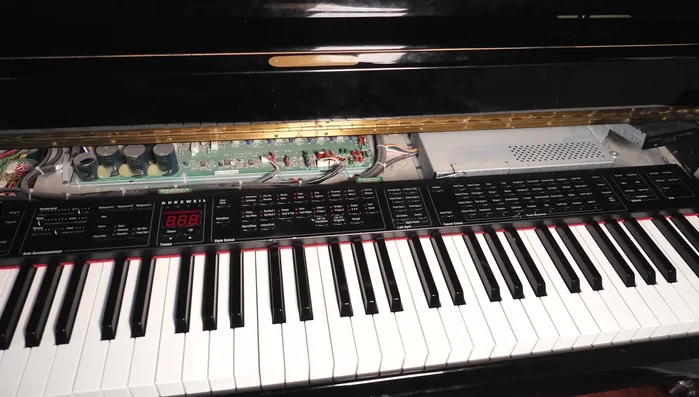
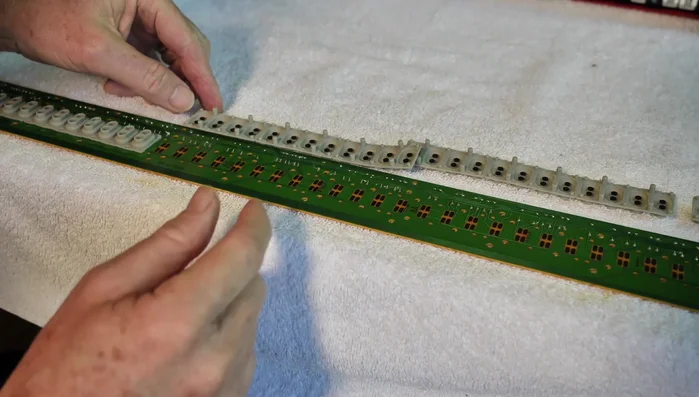
Keyboard Removal Cleaning
- Clean the contact points and surrounding area on the circuit board with isopropyl alcohol and Q-tips. Pay particular attention to any debris or gunk buildup.
Cleaning Reassembly
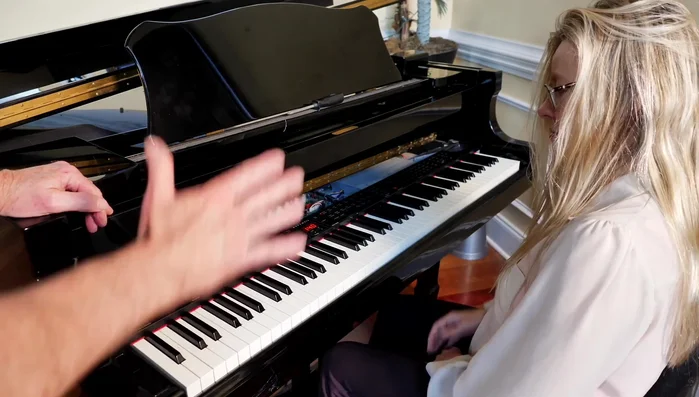
- Reassemble the keyboard and piano, paying careful attention to the alignment of components and securing screws properly. Ensure all ribbon cables are correctly reconnected.
Reassembly Testing
- Test the repaired piano to verify the issue is resolved.
Testing
Read more: DIY Touch Lamp Repair: A Step-by-Step Guide to Fixing a Broken Touch Lamp
Tips
- Keep all hardware in a container to prevent loss.
- Don't let the keyboard cover down while you're working with screws to avoid scratching the piano.
- Take photos or videos during disassembly to aid in reassembly.
- Let the isopropyl alcohol dry completely before powering on the piano to prevent short circuits.
- Tighten screws gradually to ensure proper alignment and avoid damaging threads.