Logic Pro's metronome, a seemingly simple tool, is the backbone of any well-produced track. Mastering its nuances can transform your workflow, boosting your timing, creativity, and overall production quality. From subtle rhythmic variations to complex subdivisions, understanding the full potential of Logic's click track is essential for any serious musician or producer, regardless of your genre or experience level. Ignoring its capabilities is like driving a Ferrari without using the accelerator – you're missing out on a powerful tool that can drastically improve your results.
This ultimate guide will equip you with the knowledge and skills to fully harness Logic Pro's metronome, moving beyond the basic click. We'll delve into advanced techniques, explore hidden features, and provide a step-by-step walkthrough to ensure you achieve click track perfection, leading you from novice to metronome mastery. Let's unlock the secrets to perfectly timed tracks.
Preparation and Safety Guidelines
- Logic Pro X
- Always start with a simple click: Begin by using a basic click sound and tempo before adding complexity. Mastering the basics is key before adding subdivisions or variations.
- Listen critically: Don't just rely on the visual; train your ears to follow the click precisely. This improves timing and rhythmic accuracy.
- Adjust the volume carefully: The click should be loud enough to hear clearly, but not so loud it distracts from your playing or becomes overwhelming.
Step-by-Step Instructions
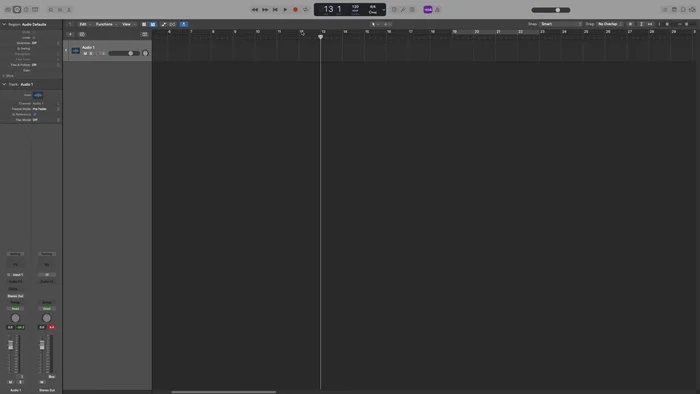
Basic Metronome Control
- Click above the metronome or press 'K'

Basic Metronome Control Unlock Advanced Metronome Options
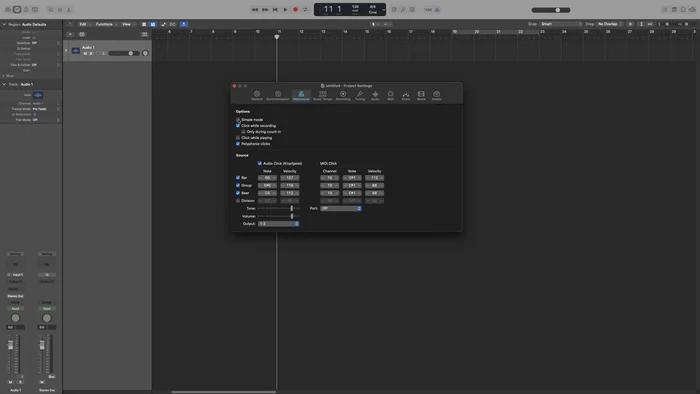
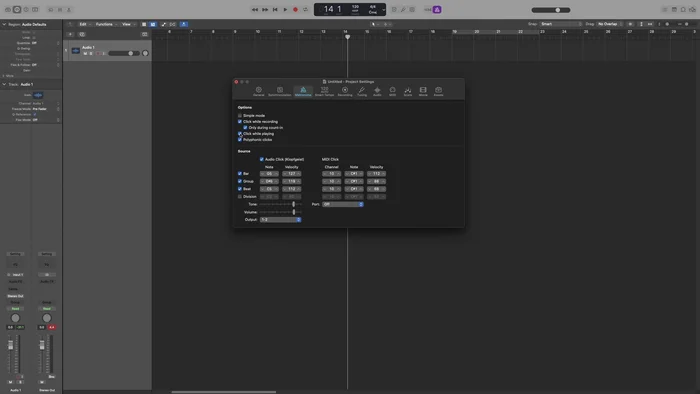
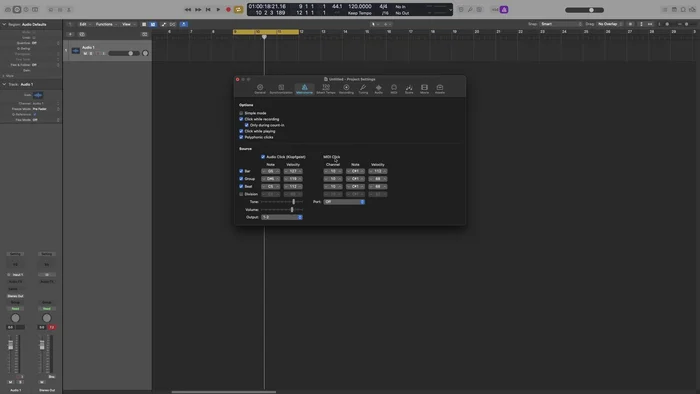
- Uncheck 'Simple Mode' in Metronome Settings
Unlock Advanced Metronome Options Set Click Track Behavior During Recording
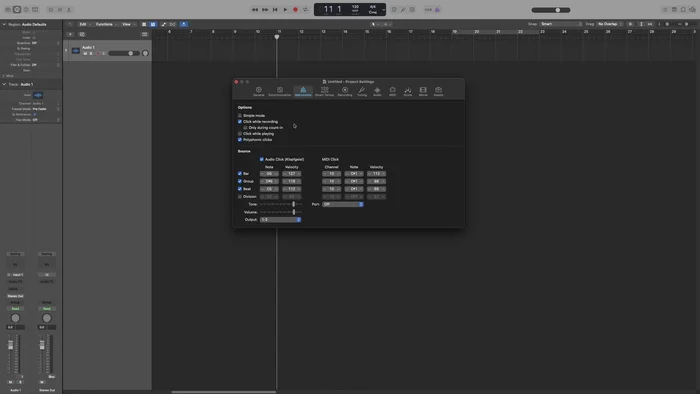
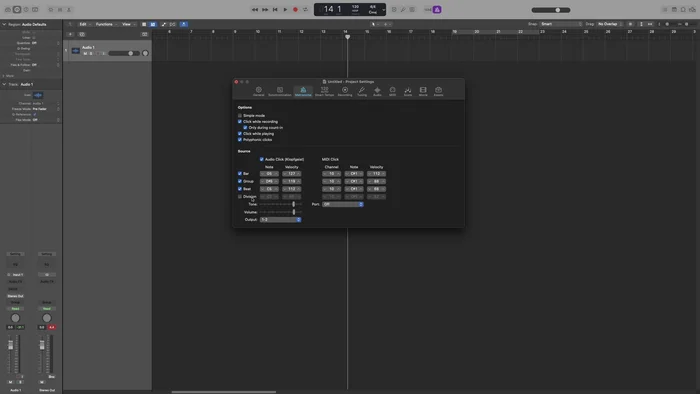
- Choose between 'Click While Recording' (always on), 'Only During Counting' (on for count-in, off during recording), or off.
Set Click Track Behavior During Recording Configure Count-in
- Set the number of bars for the count-in in Metronome Settings.
- Choose how many bars before the current bar the count-in should begin.
Configure Count-in Ensure Click During Playback
- Ensure 'Click While Playing' is checked in Metronome Settings.
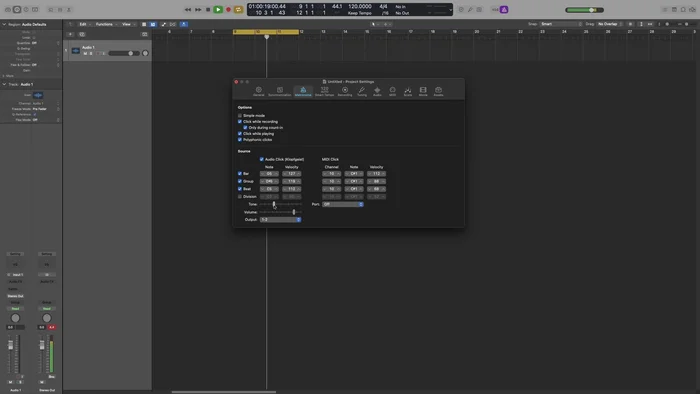
Ensure Click During Playback Customize Metronome Sound and Feel
- Change note, velocity, bar, group, bit, and division in Metronome Settings for better audibility and customization. Consider using higher notes for the bar to make it more evident.
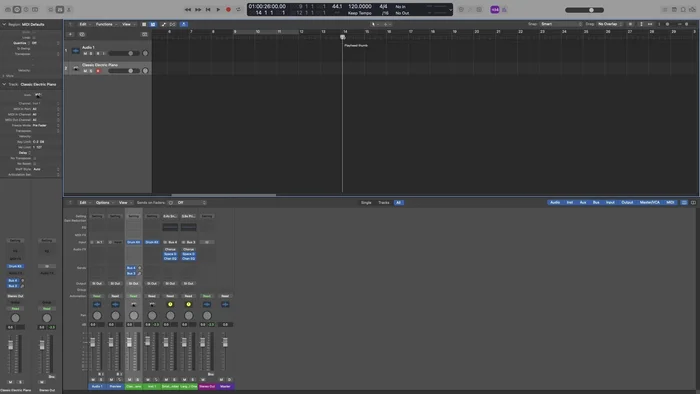
Customize Metronome Sound and Feel Enhance Metronome with Custom Instrument
- Replace the default metronome sound with a drum kit or other percussive instrument for a more musical click track.
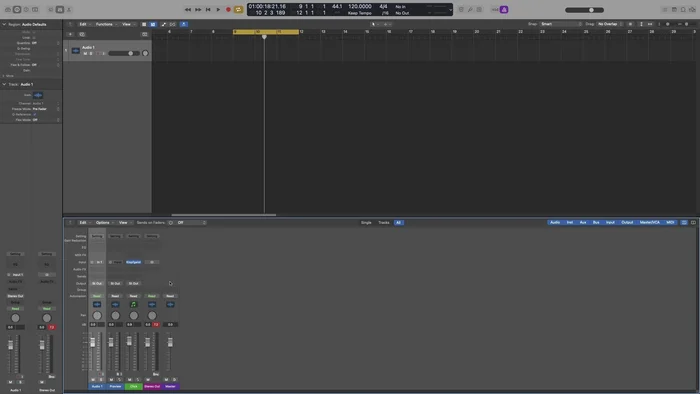
Enhance Metronome with Custom Instrument Adjust Metronome Output Levels
- Control volume and tone of the metronome to avoid clipping and bleeding into recordings. Use good headphones to monitor the sound.
Adjust Metronome Output Levels Use External MIDI Metronome
- Connect an external device like a synth via MIDI and use it as your metronome.
Use External MIDI Metronome

Read more: Mastering Rhythm: A Metronome-Based Exercise for Musicians
Tips
- Monitor Metronome Volume Carefully: The metronome's output is stereo, and high volume can cause clipping. Use good headphones to avoid this.
- Reset Logic Pro Preferences: If you significantly alter settings and need a fresh start, reset your Logic Pro preferences (except key commands).