Restoring a Century-Old Piano Bench: A Leather Re-upholstery Guide

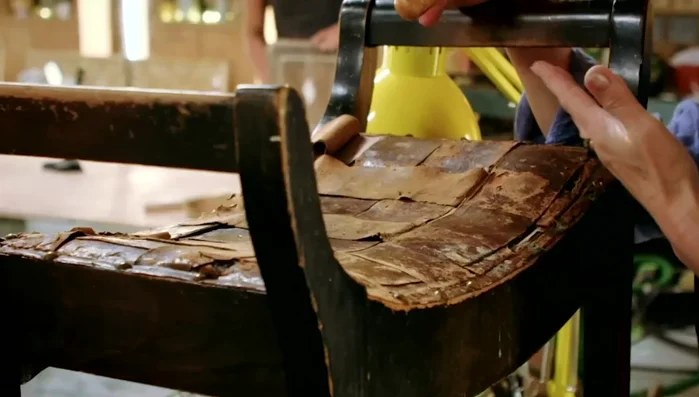
The gentle click of ivory keys, the resonant hum of a century-old piano – these are sounds often accompanied by the quiet presence of a worn, leather piano bench. These sturdy companions to musical masterpieces often bear the silent testament of countless hours spent practicing, composing, and performing. But time, use, and the elements inevitably take their toll, leaving these benches looking tired and neglected. This is especially true for the often-overlooked leather upholstery, which can become cracked, faded, and ultimately, unusable. This guide focuses on restoring such a piece of musical history, breathing new life into a cherished accessory.

Reviving a century-old piano bench isn’t just about restoring its appearance; it's about preserving a piece of the past. This detailed, step-by-step guide will walk you through the complete process of leather re-upholstery, from careful assessment and material selection to the final stitching, transforming a worn bench into a beautiful and functional piece once more. Let’s begin the journey to revitalizing your treasured piano bench.

Preparation and Safety Guidelines

Tools Needed
  • Head knife
  • Tacks (new)
  • Cleaning supplies
Safety Guidelines
  • Always wear appropriate safety gear, including gloves and eye protection, when working with sharp tools and chemicals.
  • Test any cleaning solutions or leather conditioners on a hidden area of the bench first to ensure they don't damage the leather.
  • Take detailed photos and measurements before disassembling any part of the bench. This will help with reassembly.

Step-by-Step Instructions

  1. Assessment and Preparation

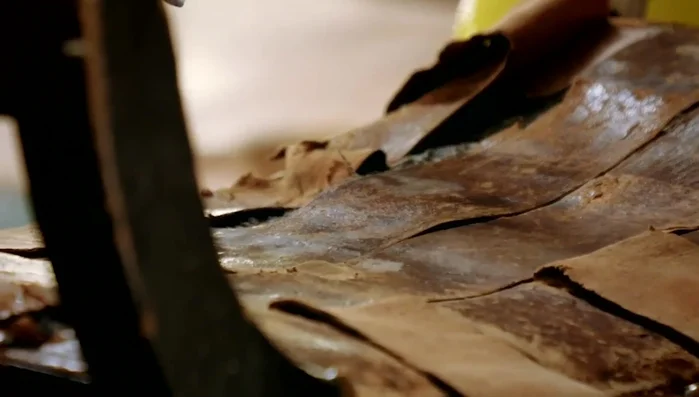
    • Assess the condition of the existing leather and plan for preservation or replacement.
    • Find replacement leather that closely matches the original.
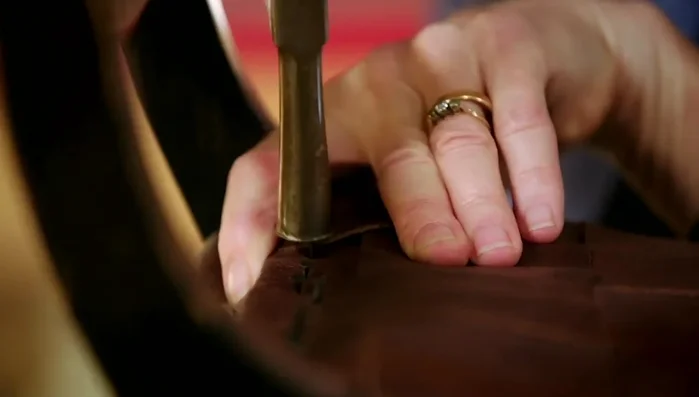
    • Remove old tacks (they likely won't be reusable).
    • Carefully remove the old leather pieces, keeping track of their original placement.
    Carefully remove the old leather pieces, keeping track of their original placement.Carefully remove the old leather pieces, keeping track of their original placement.
    Assessment and Preparation
  2. Stripping the Bench

    • remove old leather, padding, and calico.
    Strip the bench: remove old leather, padding, and calico.
    Stripping the Bench
  3. Woodwork Preparation

    • Clean the woodwork.
    Clean the woodwork.
    Woodwork Preparation
  4. Cutting New Leather

    • Use a head knife to carefully cut the new leather pieces to match the old ones.
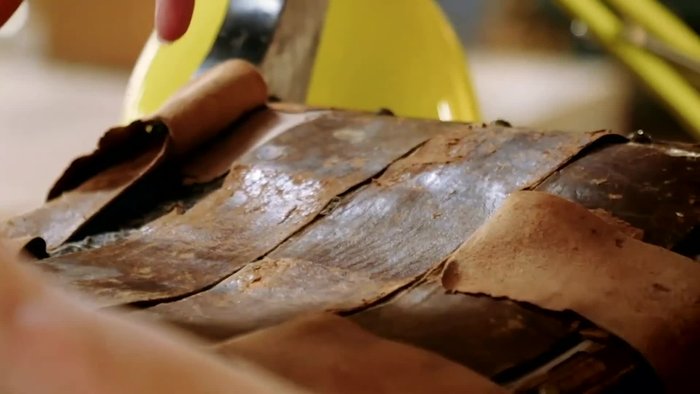
  5. Leather Attachment

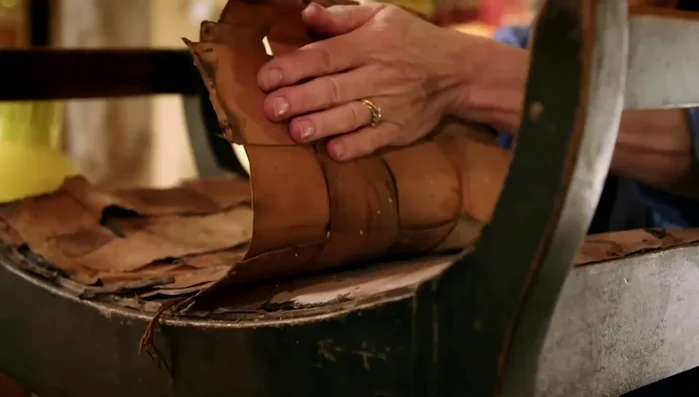
    • Begin attaching the new leather, paying close attention to tension and avoiding distortion.
    • Pull up each strand, ensuring even tension, and use your hand to push the leather while pulling.
    • Continue until all leather pieces are in place.
    Continue until all leather pieces are in place.Continue until all leather pieces are in place.
    Leather Attachment

Read more: Banish Mold: A Comprehensive Home Moisture Control Guide

Tips

  • Avoid putting too much stress on the leather hide while cutting, to prevent distortion.
  • Use the weight of your arm when using the head knife for even pressure.
  • Maintain even tension while pulling up the leather strands to avoid distortion.

Common Mistakes to Avoid

1. Using the Wrong Type of Leather

Reason: Choosing a leather that is too thin, too delicate, or unsuitable for high-wear areas will result in tears and premature deterioration.
Solution: Select a durable, thick, top-grain leather designed for upholstery applications.

2. Improper Staple Gun Usage

Reason: Stapling too close to the edge, not using enough staples, or driving staples crookedly can cause the leather to tear or look unprofessional.
Solution: Use a sufficient number of staples evenly spaced and positioned away from the edges of the leather.

3. Neglecting Proper Preparation

Reason: Failing to adequately clean, prepare, and prime the bench's underlying structure or failing to prep the leather itself leads to poor adhesion and uneven results.
Solution: Clean the bench thoroughly, repair any damage, and apply an appropriate primer before starting the upholstery process.

FAQs

What type of leather is best for re-upholstering a piano bench?
A durable, thick leather like top-grain or full-grain is ideal. Consider a leather specifically designed for furniture upholstery for optimal wear resistance. Avoid thin or delicate leathers.
Do I need special tools for this project?
While basic hand tools are sufficient, specialized tools like upholstery tackers or a heavy-duty stapler will greatly improve efficiency and the final result. You'll also need strong scissors or a rotary cutter for cutting the leather.
How can I remove the old leather without damaging the bench's wood?
Work carefully and patiently. Use a flathead screwdriver or similar tool to gently pry up staples. A heat gun can help soften the old glue, but use it cautiously to avoid scorching the wood. Take your time; rushing can lead to damage.
This guide focuses on restoring the beauty of a century-old piano bench through leather re-upholstery. Giving your bench a new lease on life is a rewarding project, and the results will complement your instrument beautifully. For those considering further enhancing their piano's aesthetic, you might find our previous guide on high-end piano coverings helpful – a selection of premium leather piano protectors. It explores various options to safeguard your investment while adding a touch of luxury.