A piano's resonant, melodious tone hinges on the precise tension of its strings, a tension meticulously maintained by its tuning pins. Over time, these pins can loosen, leading to a frustratingly out-of-tune instrument, requiring more than just a simple tuning. Replacing a piano tuning pin is a delicate procedure, demanding patience and the right tools, but it's a skill that can save you significant expense in the long run if you are comfortable working on your instrument. Understanding the intricacies of this process empowers you to keep your piano in peak condition.
This task isn't for the faint of heart, and improper technique can irrevocably damage your piano. However, with careful attention to detail and the right approach, you can successfully replace those problematic pins and restore your piano's glorious sound. Let's delve into a step-by-step guide that will walk you through the entire process, from pin removal to the final tightening and tuning.
Preparation and Safety Guidelines
- Tuning hammer (wrench)
- Screwdriver
- Needlenose pliers
- Drill bit (17/64 inch)
- Shop-vac (optional)
- Replacing tuning pins is extremely difficult and requires specialized tools and considerable skill. Attempting this without proper training can severely damage your piano.
- Always wear safety glasses to protect your eyes from flying debris or broken parts.
- If you are unsure about any step, consult a qualified piano technician. Improperly installed pins can lead to irreparable damage to the piano's soundboard or plate.
Step-by-Step Instructions
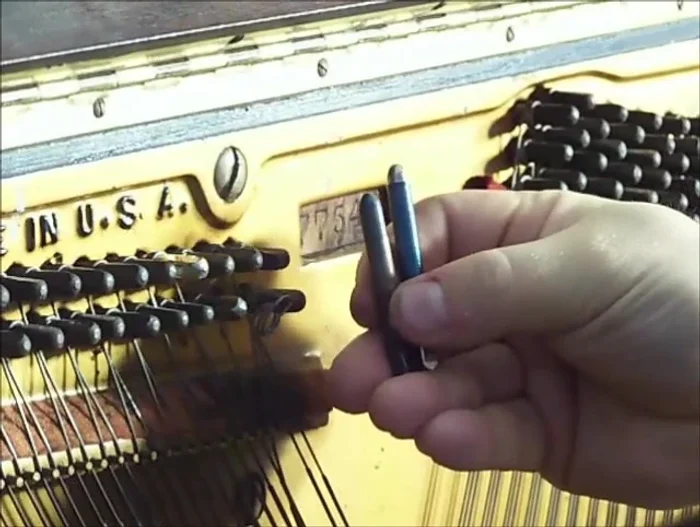
Prepare the Old Pin for Removal
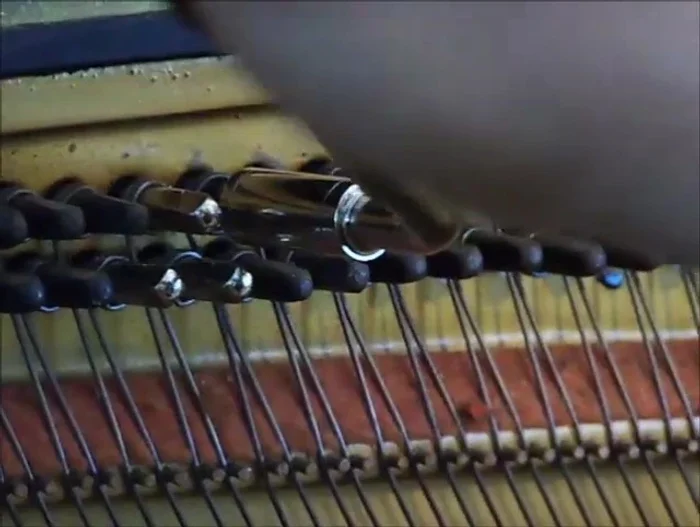
- Loosen the old tuning pin using the tuning hammer. Unwind the coils about two millimeters.

Prepare the Old Pin for Removal Remove the Old Tuning Pin
- Use a screwdriver and needlenose pliers to carefully remove the old pin. Be patient!
- Use the tuning hammer to loosen and remove the remaining portion of the old pin.
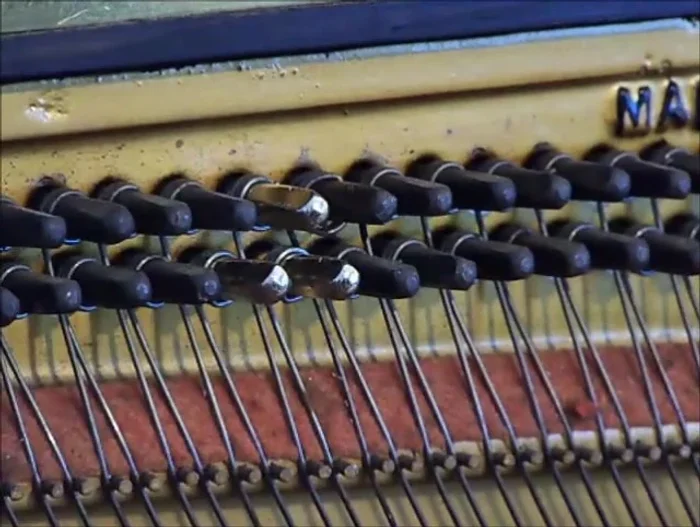
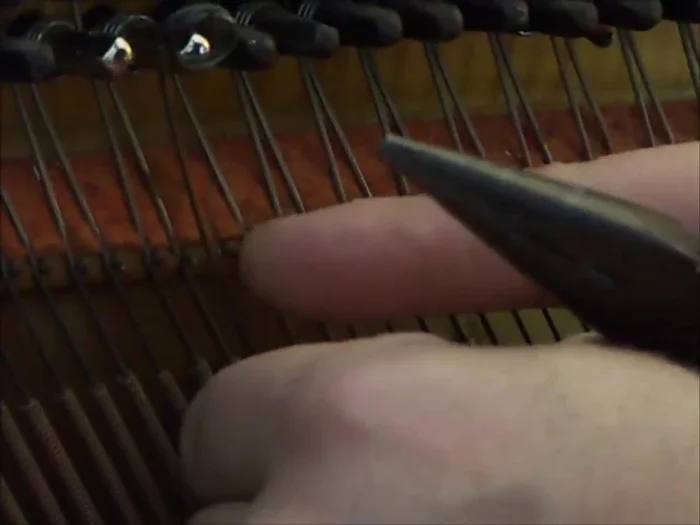
Remove the Old Tuning Pin Remove the String from the Old Pin
- Remove the string from the old pin.
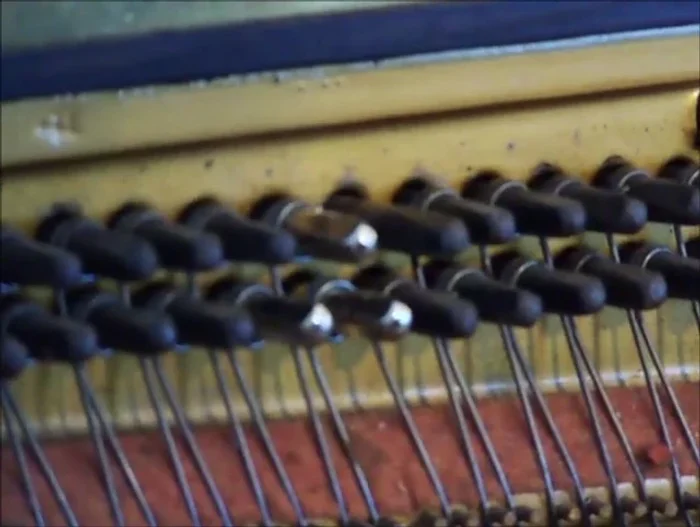
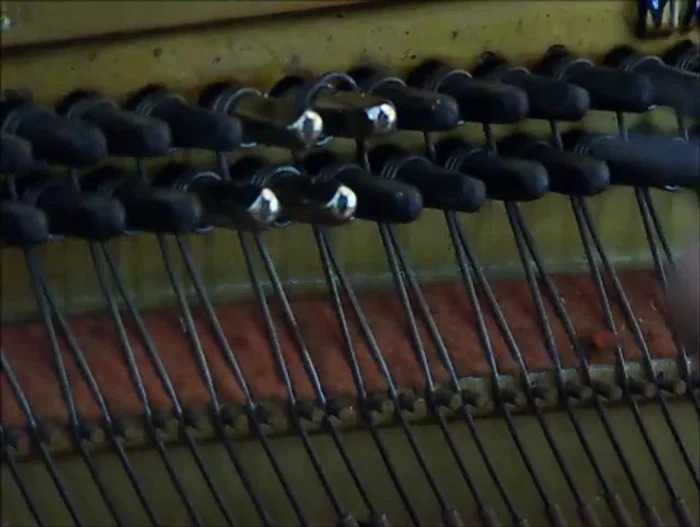
Remove the String from the Old Pin Prepare the Hole for the New Pin
- Drill a hole slightly larger than the new pin's diameter (using a 17/64 inch drill bit in this case).
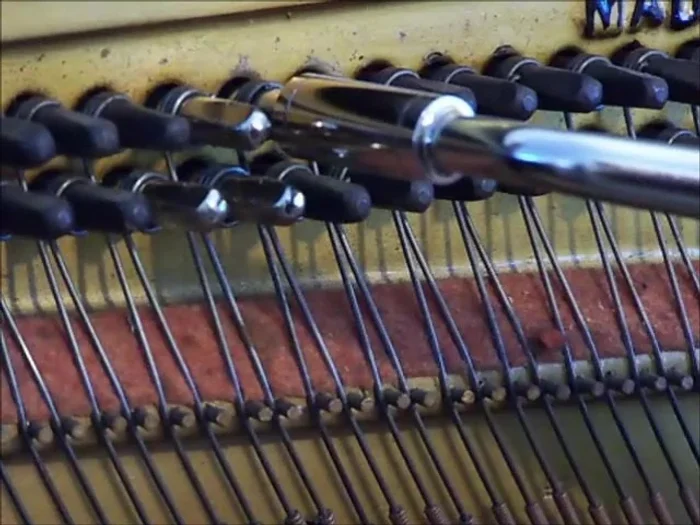
Prepare the Hole for the New Pin Insert and Secure the New Tuning Pin
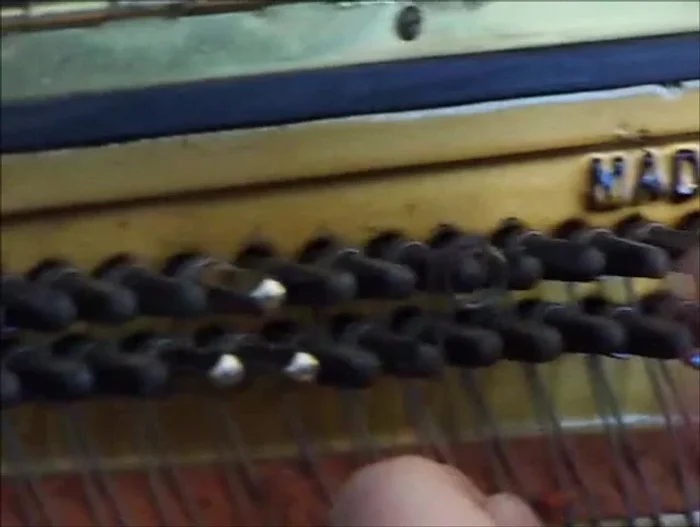
- Insert the new tuning pin into the hole and screw it in until nearly flush, leaving only a small amount of space for string attachment.
Insert and Secure the New Tuning Pin Attach and Secure the String
- Re-attach the string to the new pin, ensuring the windings are neatly placed and not overlapping.
- Tighten the new pin slightly (about a quarter turn), using needlenose pliers to crimp the string in place.
Attach and Secure the String Tune the String
- Tune the string to the correct pitch, addressing any warble by slightly over-tightening and then loosening until the sound is clear.
Tune the String

Tips
- Use chalk to mark bad pins before starting.
- Don't unwind the coils too much, or they'll become weak.
- A slightly undersized drill bit may work better than a perfectly sized one to prevent tightness.
- Use a shop-vac to keep the area clean while drilling.
- Crimp the string securely multiple times to ensure it's properly seated.