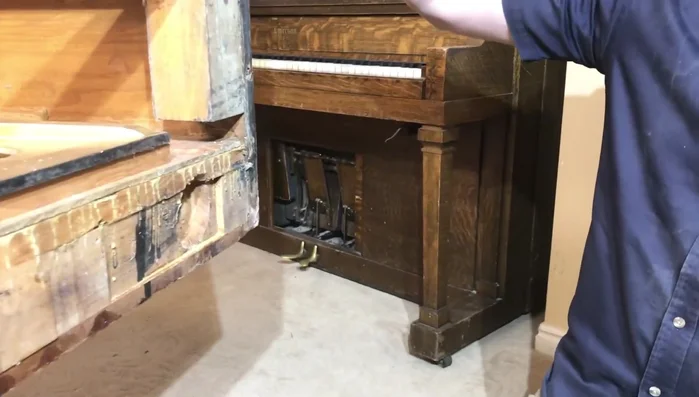
Many upright pianos, especially older models, rely on castors – small, typically cylindrical wheels – for mobility. Over time, these castors can become incredibly difficult to turn, often seizing up due to rust, grime, or simply years of friction. This frustrating issue can make moving your piano a significant struggle, potentially leading to damage to both the instrument and your floor. A common culprit is the castor's housing becoming too tight within its socket, preventing free rotation. This article explores a proven method for resolving this problem using readily available tools: a router and chisel.
This technique, while requiring some basic woodworking skills, offers a safe and effective solution, allowing you to restore smooth, effortless movement to your piano's castors. We’ll guide you through a step-by-step process, showing you exactly how to carefully use a router to create the necessary space and a chisel for fine-tuning, resulting in a perfectly functioning, easily maneuverable instrument. Let's get started!
Preparation and Safety Guidelines
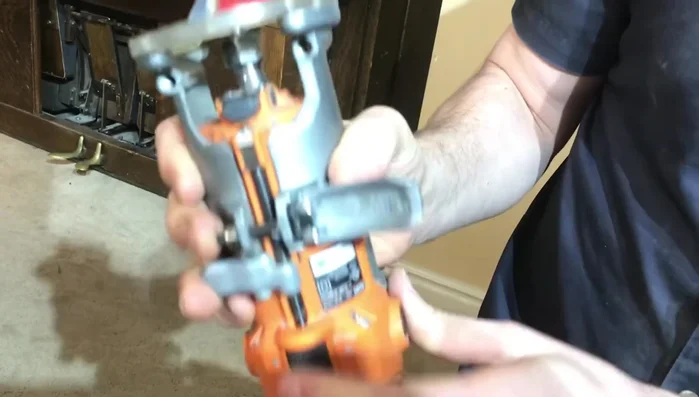
- Casters
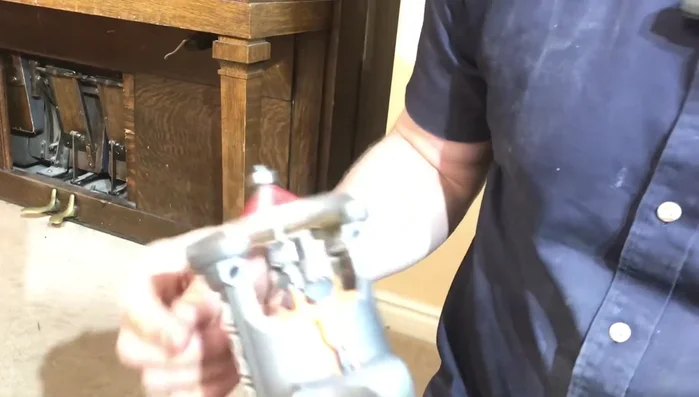
- Router
- Router bit
- Screwdriver
- Washers/Shims
- Chisel
- Eye protection
- Always unplug the piano from the power source before starting any work. Electrical components may be present inside the piano.
- Use caution when operating power tools like a router. Wear safety glasses and ensure the workpiece is securely clamped to prevent kickback or injury.
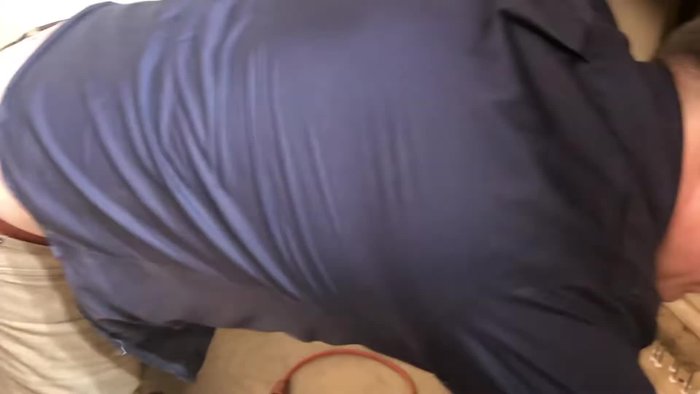
- Work slowly and deliberately. A piano is a delicate instrument. Rushing can lead to irreversible damage.
Step-by-Step Instructions
Assessment and Initial Attempt
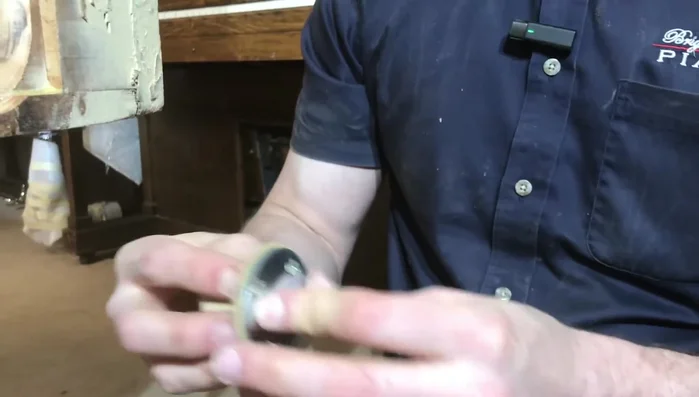
- The existing casters are worn, don't roll well, and leave marks on the floor. There's insufficient space for new casters.
- Try inserting the new casters. Observe that there isn't enough space.

Assessment and Initial Attempt Preparing for Routing
- Always wear eye protection when using a router. Be cautious due to the router's high speed and the uneven surface of the piano.
- Use the router's collar adjustment to control the depth of the bit's cut.
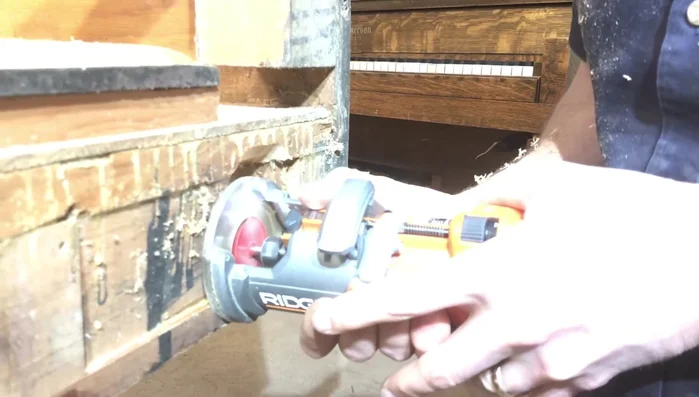
Preparing for Routing Routing the Holes
- Use a router with a bearing to carefully enlarge the existing holes in the piano's base to accommodate the new casters. Pay attention to maintaining a safe distance from the toe block.
- Make several passes with the router to gradually enlarge the hole without damaging the wood.
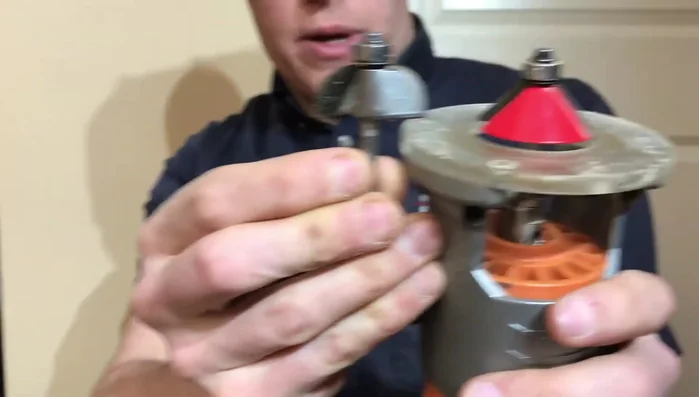
- If necessary, switch to a different router bit (e.g., a cone-shaped bit) to achieve the desired hole size. Remember to unplug the router before changing the bit.
Routing the Holes Fine-tuning with Chisel
- If the router leaves areas where the caster still rubs, use a chisel to carefully remove small amounts of wood. Work with the grain for better results.
Fine-tuning with Chisel Shim Adjustment (If Necessary)
- Use shims to raise the piano slightly if necessary to clear the casters. Carefully assess the clearance needed.
Testing and Installation
- After making adjustments, thoroughly test the caster movement to ensure proper clearance around the entire wheel. Consider the weight of the piano when testing.
- Install the new casters and secure them properly.
Testing and Installation

Tips
- Always prioritize safety when using power tools. Wear eye protection and hold the tool firmly.
- Work gradually when using a router, making multiple passes to avoid aggressive cuts.
- When using a chisel, work *with* the grain for cleaner and more efficient results.
- Account for the weight of the piano when testing caster clearance. Push firmly on the piano to simulate actual usage.