The Steinway & Sons piano, a pinnacle of craftsmanship, demands meticulous care to maintain its unparalleled sound quality. One often overlooked aspect of this maintenance is the crucial task of pedal tightening. While seemingly simple, improper tightening can lead to imprecise pedal response, hindering both performance and the instrument's longevity. A loose pedal not only affects the pianist's control but can also contribute to wear and tear on the intricate internal mechanism, potentially leading to costly repairs down the line. Neglecting this seemingly minor detail can significantly impact the overall playing experience.
This article will guide you through an efficient and effective method for tightening your Steinway piano pedals, ensuring optimal performance and extending the life of your instrument. We'll provide a clear, step-by-step process, empowering you to confidently maintain this vital component of your prized possession. Following these instructions will ensure your Steinway pedals remain responsive and reliable for years to come.
Preparation and Safety Guidelines
- Vice grips
- Crescent wrench
- Screwdriver (preferably a Yankee from Stanley with a wide slot)
- Teflon powder (optional)
- Always disconnect the piano from the power source before beginning any work on the pedals or internal mechanisms.
- Use the correct tools for the job. Improper tools can strip screws or damage the delicate pedal mechanism.
- If you are unsure about any step, consult a qualified piano technician. Improper adjustments can cause damage or injury.
Step-by-Step Instructions
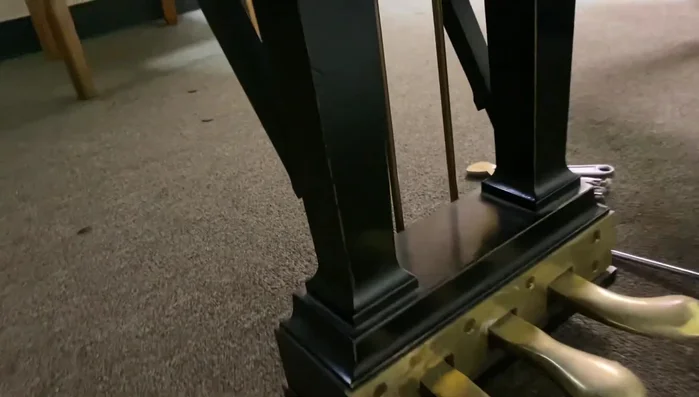
Remove Pedal Components
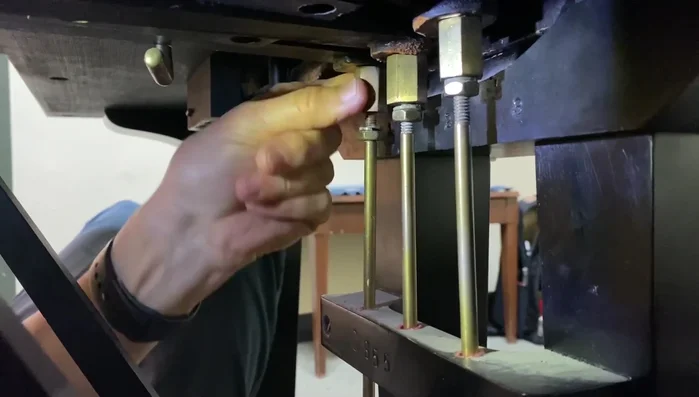
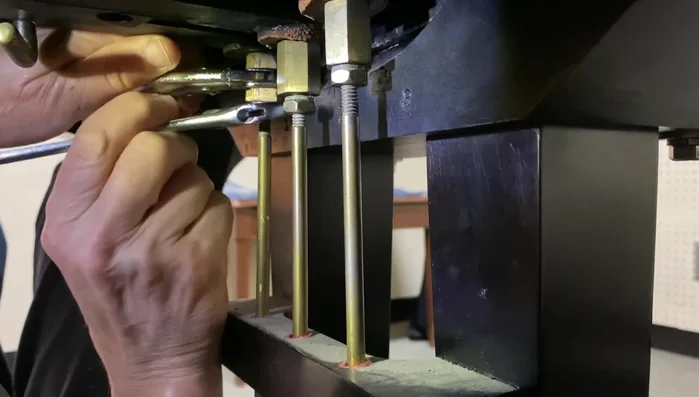
- Remove the rods from the cups at the back of the pedal.
- If the cups don't lift easily, use vice grips and a crescent wrench to loosen the rods.
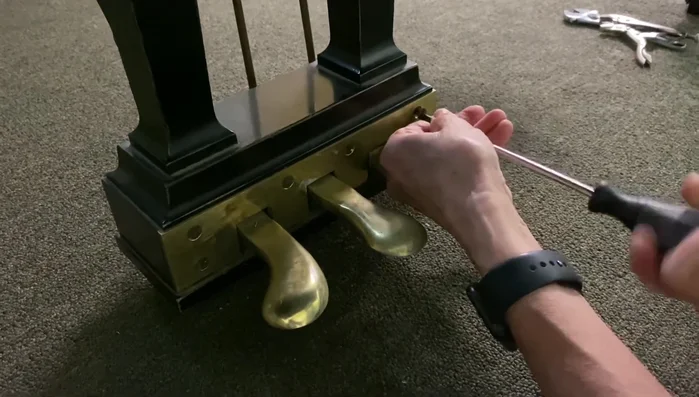
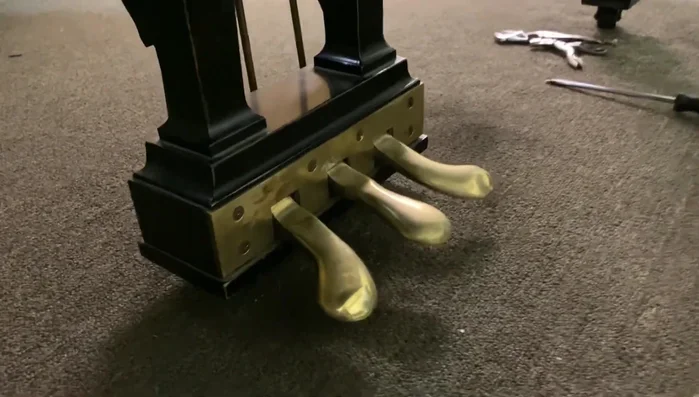
- Remove the plate screws at the front of the piano, keeping them in order.

Remove Pedal Components Remove Pedal Plate
- The screws are aligned when the plate is at the top.
Remove Pedal Plate Tighten Pedal Screws
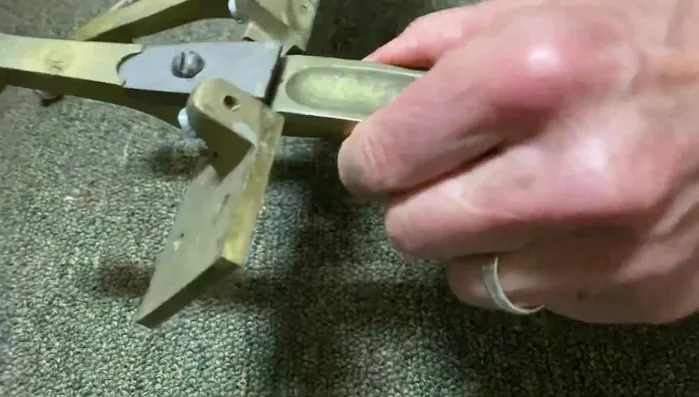
- Tighten the four screws at the top of the pedal system using a screwdriver (preferably a Yankee from Stanley with a wide slot) to eliminate side play.
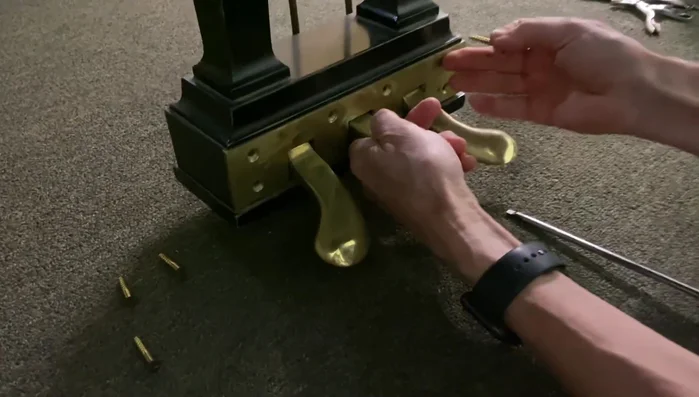
Tighten Pedal Screws Reassemble Pedal Plate
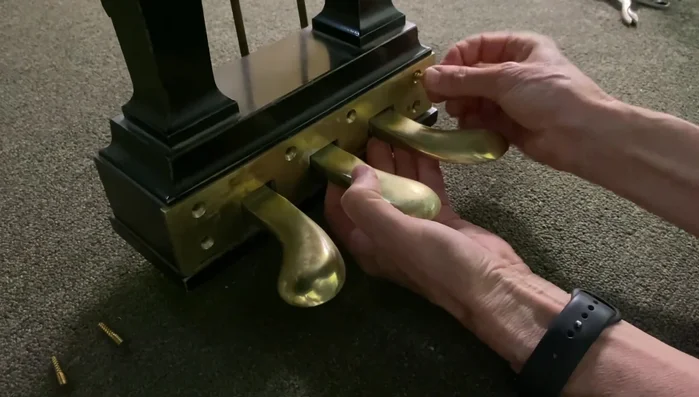
- insert the pedal plate, ensuring the screws are aligned (backwards first, then forward).
Reassemble Pedal Plate Reattach Pedal Rods
- Insert the rods back into the cups at the back. If squeaking occurs, apply Teflon powder.
Reattach Pedal Rods Adjust Pedal Height
- Adjust the pedal height until there's about a quarter of an inch of play.
Adjust Pedal Height Tighten Rods and Final Adjustments
- Tighten the rods.
Tighten Rods and Final Adjustments
Tips
- Use a wide-slotted screwdriver (like the Yankee from Stanley) to avoid damaging the screw slots.
- Always tighten screws backwards first, then forwards. This helps align the threads.
- If squeaking occurs at the cups, use Teflon powder.