This step-by-step guide walks you through the process of building your own custom bench, a rewarding DIY project perfect for any skill level. Learn how to craft a sturdy and visually appealing bench tailored to your exact specifications, from planning and material selection to assembly and finishing. This project demonstrates the ease and satisfaction of creating handcrafted furniture that complements your home's aesthetic. Whether you're a seasoned DIY enthusiast or a beginner looking for a fulfilling project, this guide will provide clear instructions and helpful tips to ensure your success.We'll cover all aspects of the construction, from measuring and cutting the lumber to securing the legs and support beam using a combination of glue and screws. You'll learn techniques for concealing fasteners for a professional finish and discover the importance of pre-drilling pilot holes to prevent wood splitting. The guide also highlights the benefits of using treated lumber for durability and weather resistance, making your custom bench suitable for both indoor and outdoor use. Get ready to create a functional and beautiful piece that you'll be proud to showcase.
Pros And Cons
- Customizable to any size or specification
- Can be stained or varnished for a rustic look or other finishes
Read more: Top 5 Wooden Piano Benches
Planning and Material Selection
Before starting any construction project, careful planning is crucial. I began by determining the desired dimensions of my bench. My goal was a 56-inch long bench, perfectly sized for my dining room table.
Next, I chose my materials. I opted for treated lumber because of its ease of staining and varnishing. The treated wood ensures a more durable and weather-resistant finish, making it ideal for indoor and outdoor use.
With the dimensions finalized and materials selected, I started by cutting the main seat boards to length. The precise measurements were essential to ensure the bench’s final size met my requirements.
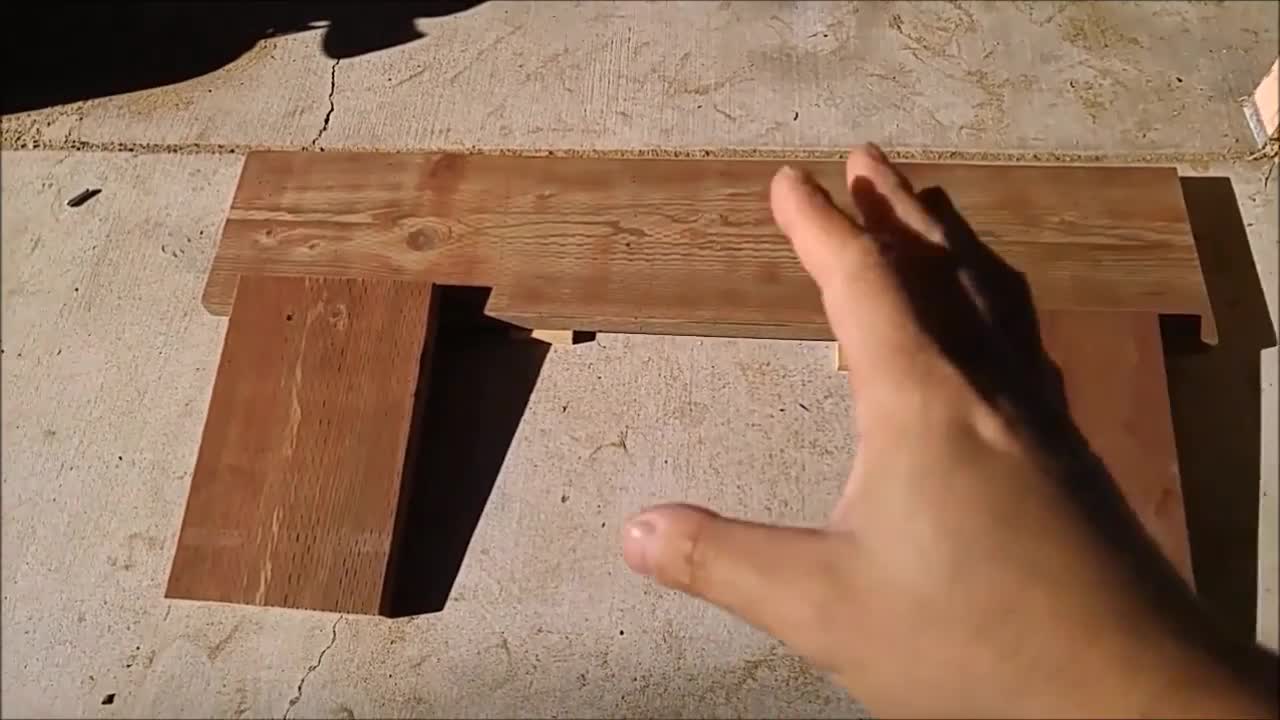
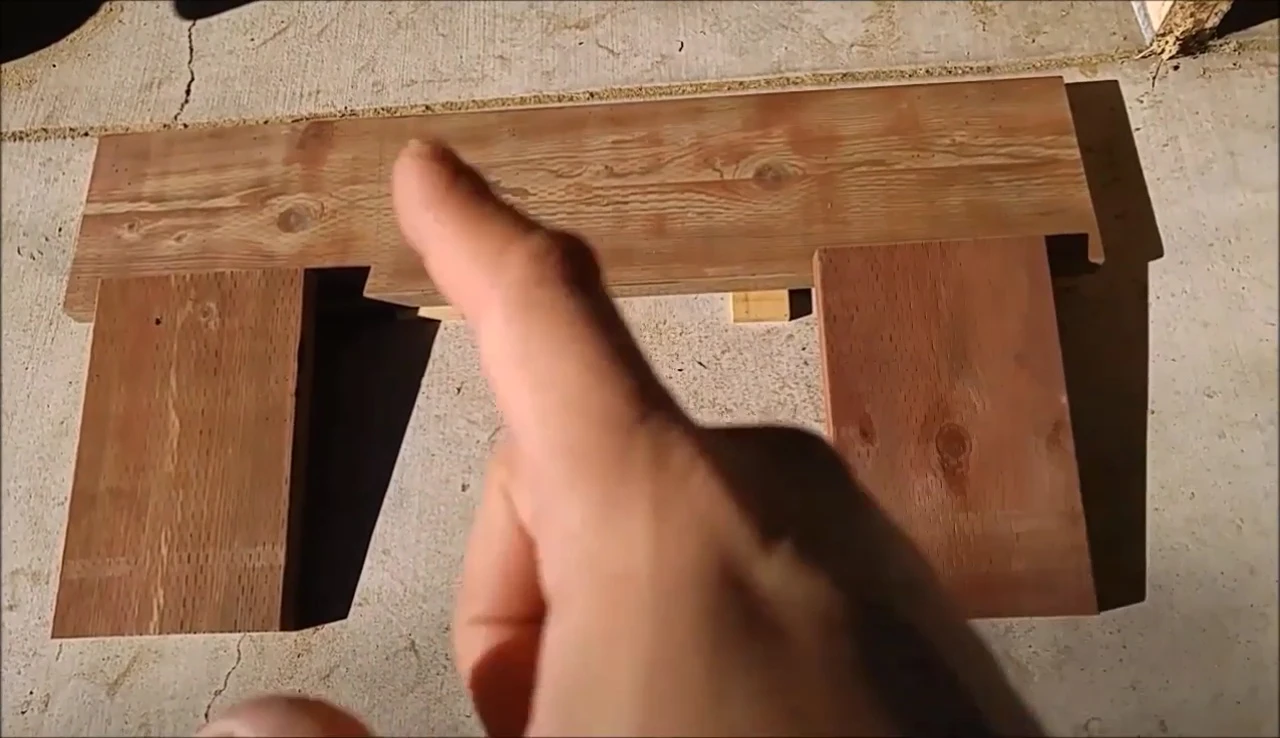
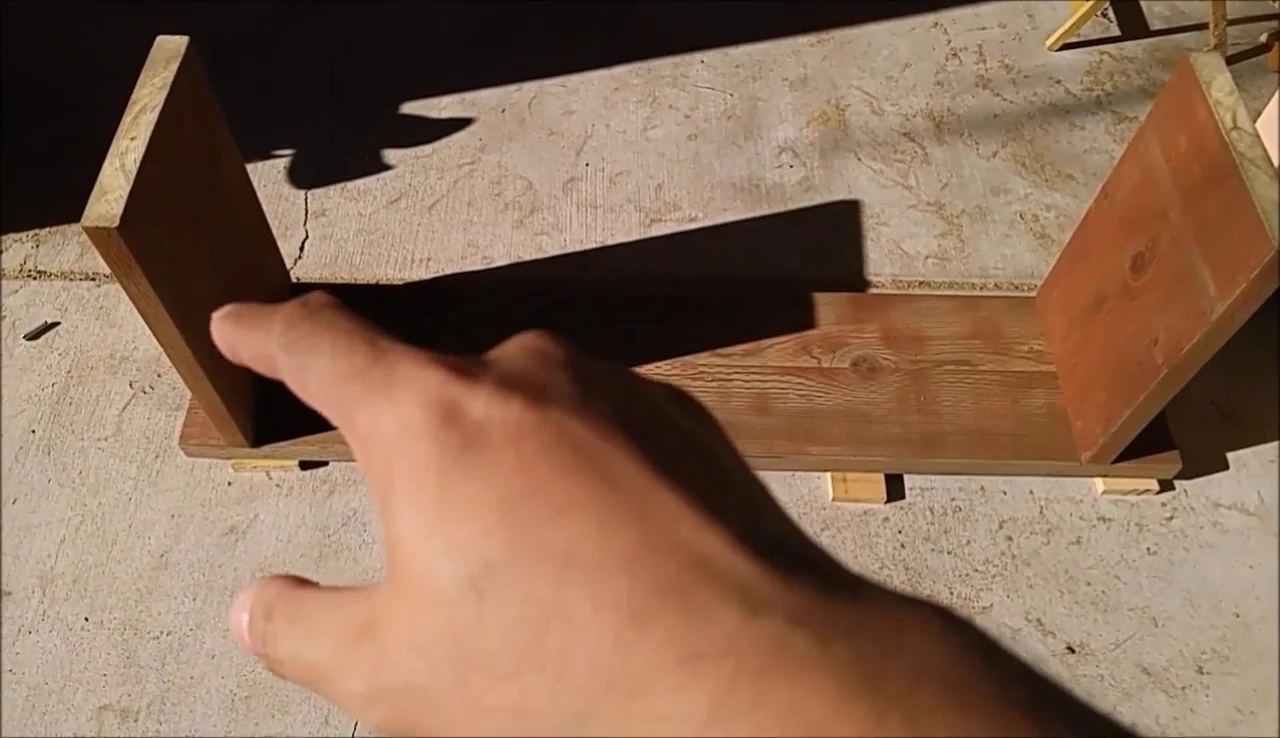
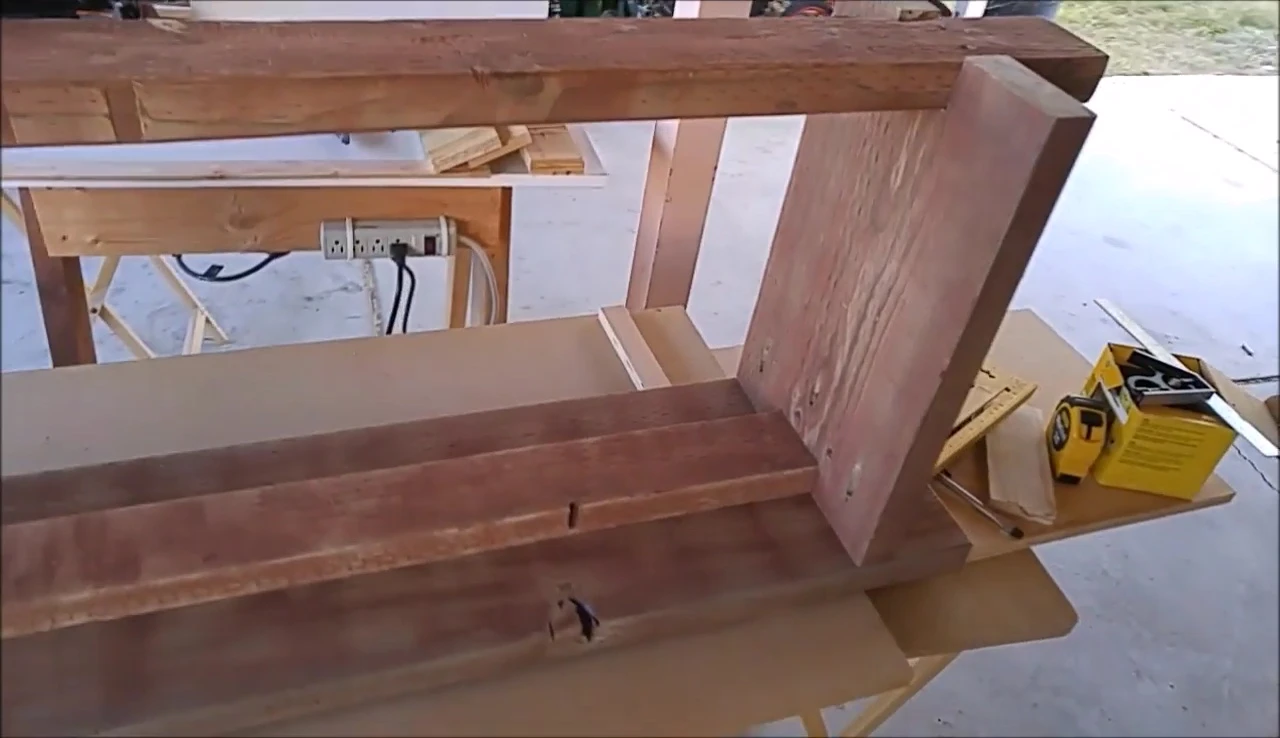
Constructing the Bench Legs and Support Beam
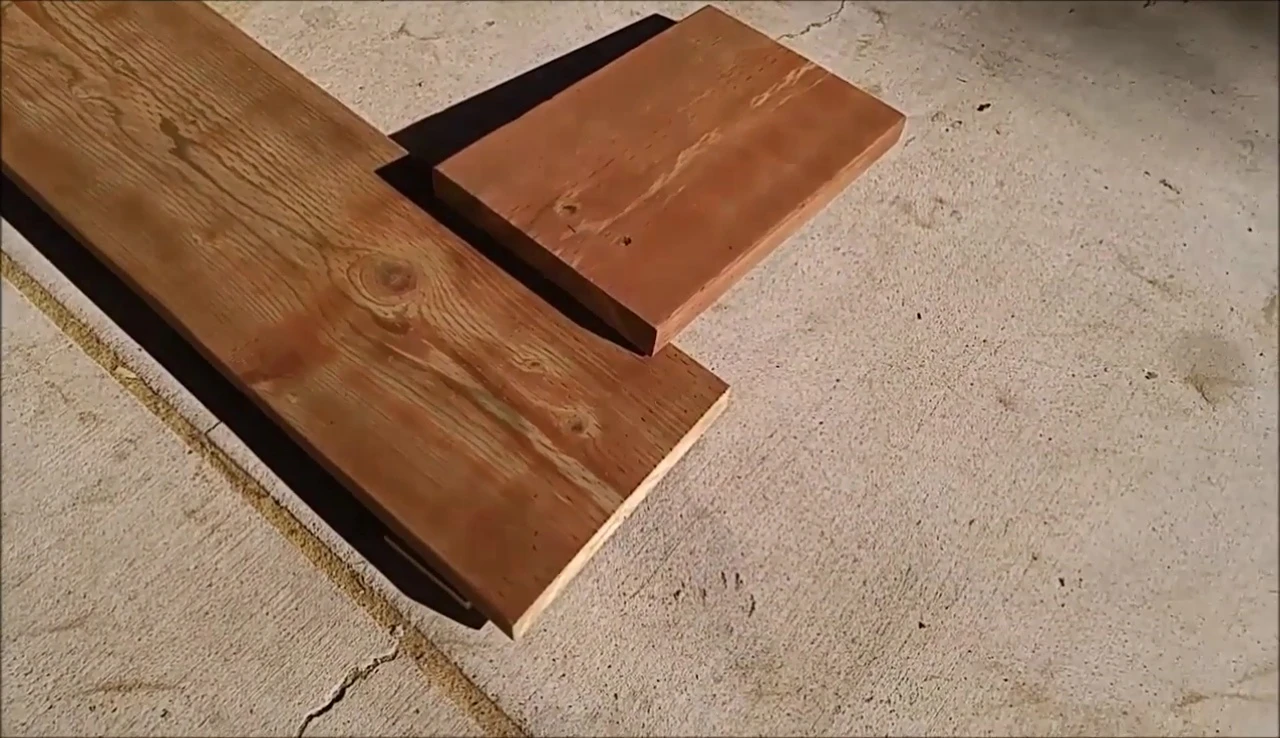
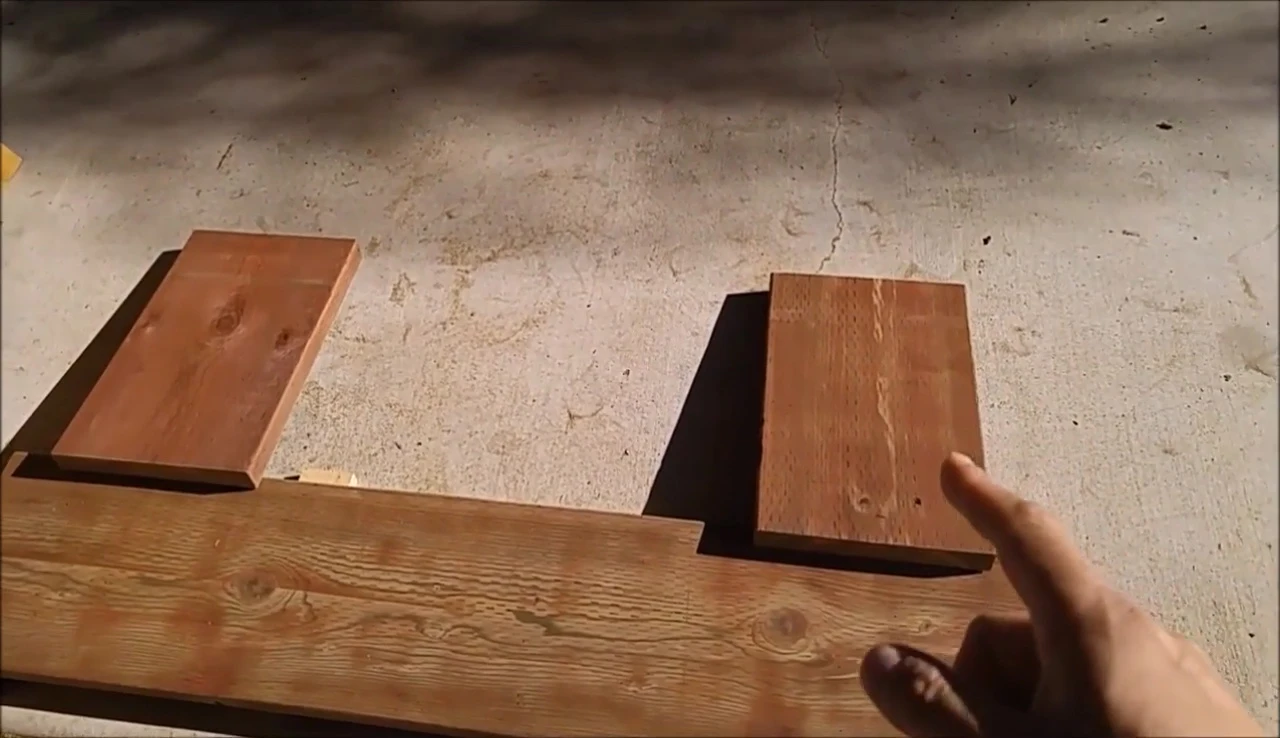
The leg construction utilized the leftover pieces from cutting the seat boards. By creatively incorporating these pieces, I reduced waste and added a unique design element to the bench.
A key aspect of the design was incorporating a central support beam for added stability and strength. This reinforces the structure and ensures the bench can comfortably support the weight of multiple people.
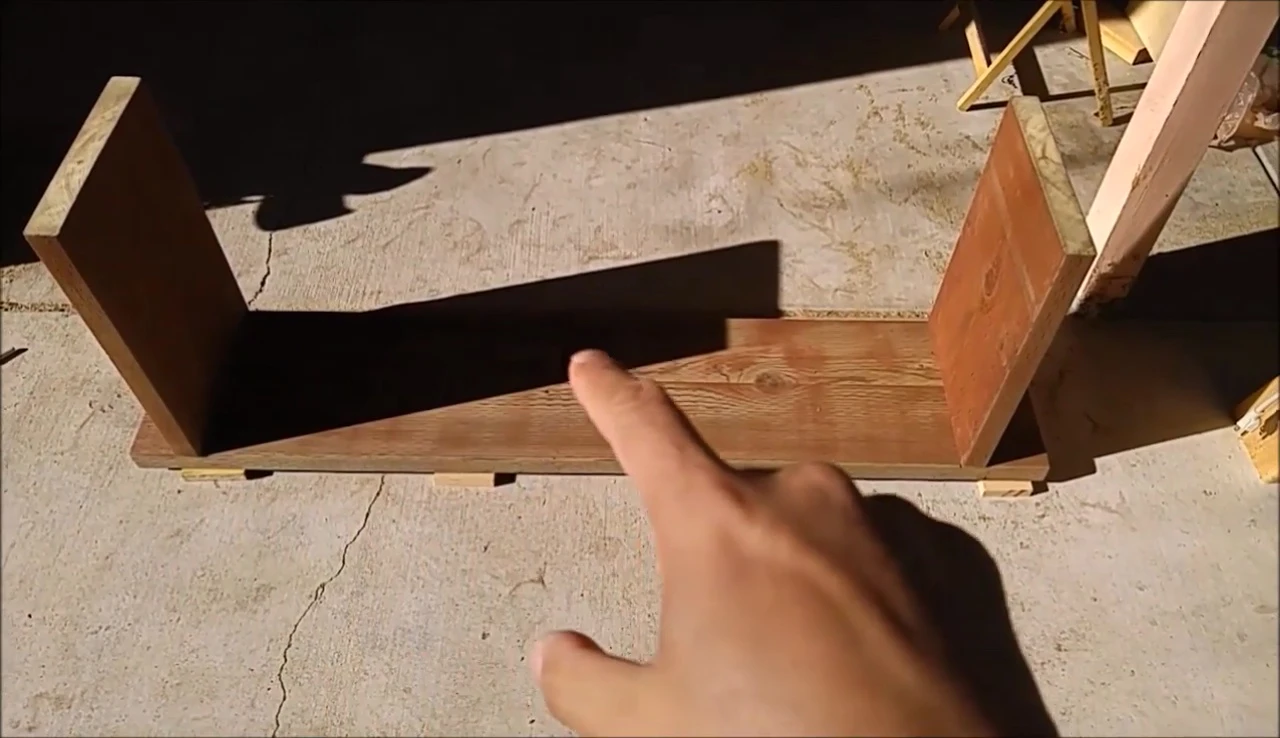
To create a secure connection between the legs and the support beam, I cut notches into each leg. These precisely positioned notches ensured a snug, stable fit that enhances the bench's structural integrity.
Assembly and Securing the Structure
With the legs and support beam prepared, assembly commenced. Wood glue provided a strong initial bond between the components. This step was crucial for ensuring a long-lasting and sturdy bench.
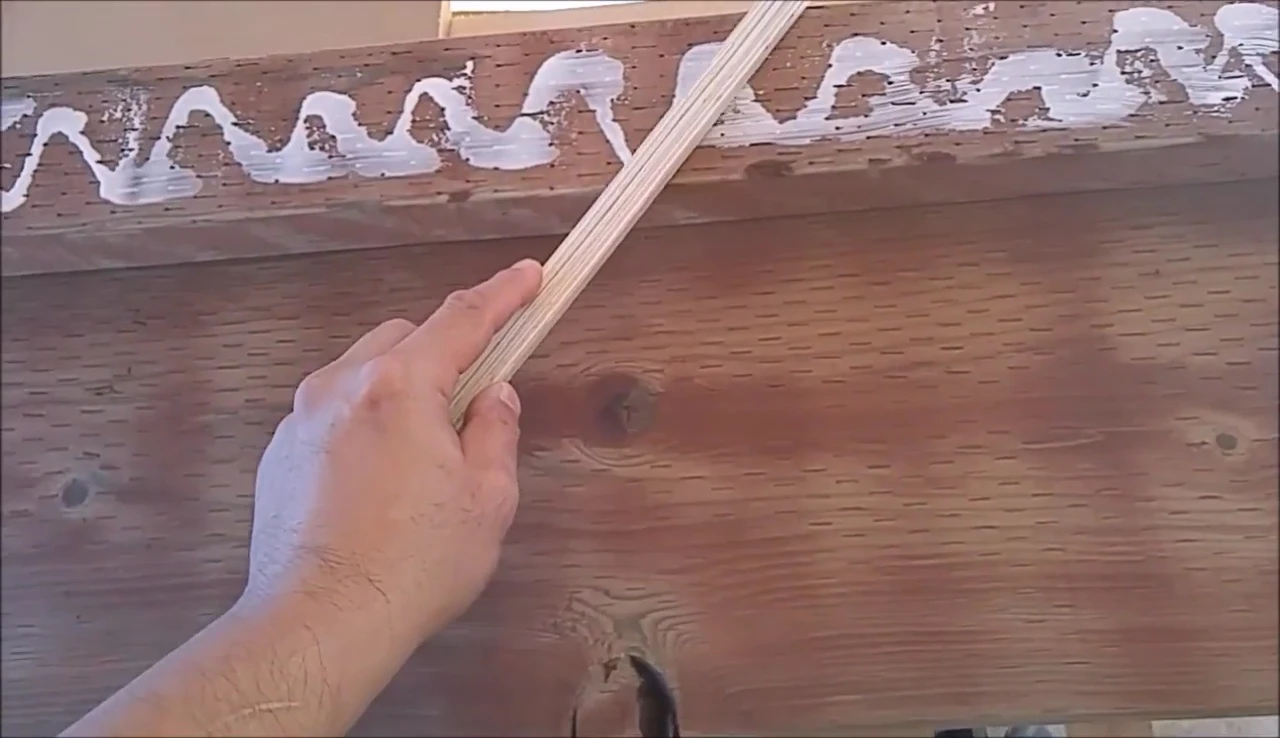
After allowing the glue to cure, I securely fastened the components using screws. Pre-drilling pilot holes prevented wood splitting and ensured precise screw placement. This resulted in a solid and stable framework.
To conceal the screws and enhance the bench's aesthetics, I used pocket holes. This technique enabled me to secure the components without visible fasteners, resulting in a cleaner, more polished finished product.

Finishing Touches and Final Thoughts
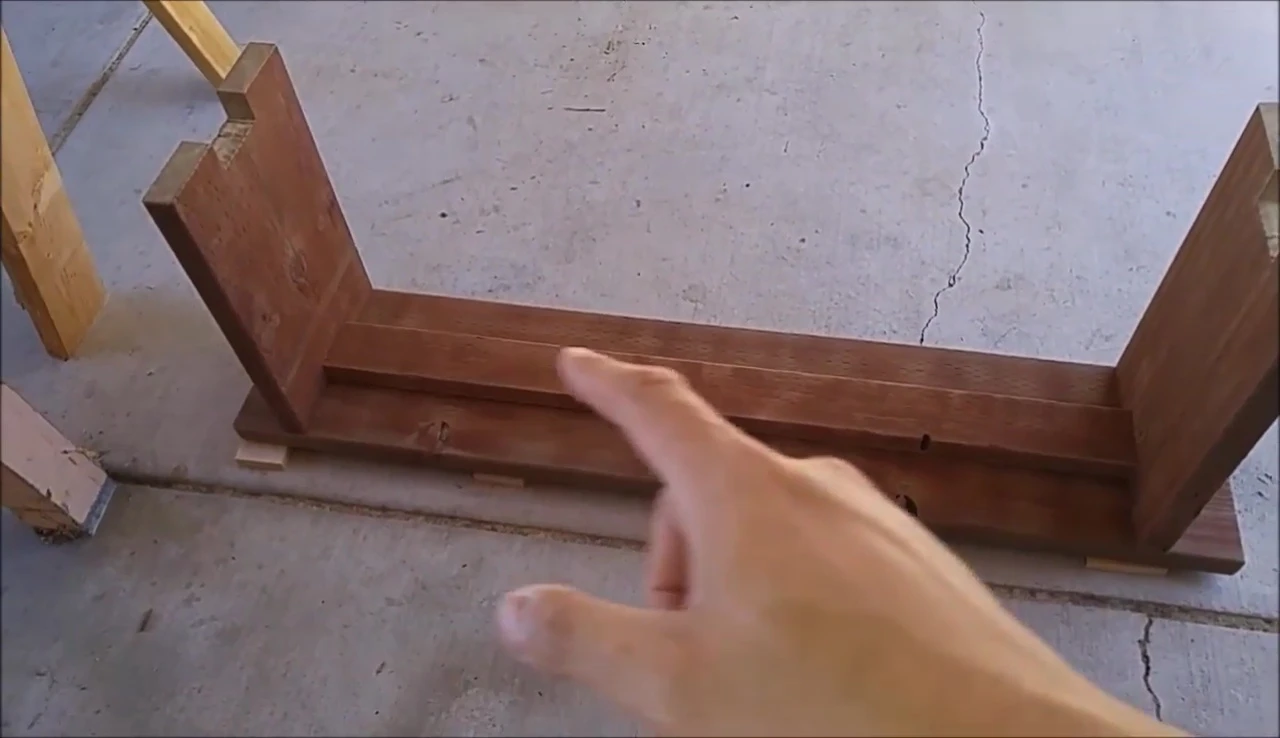
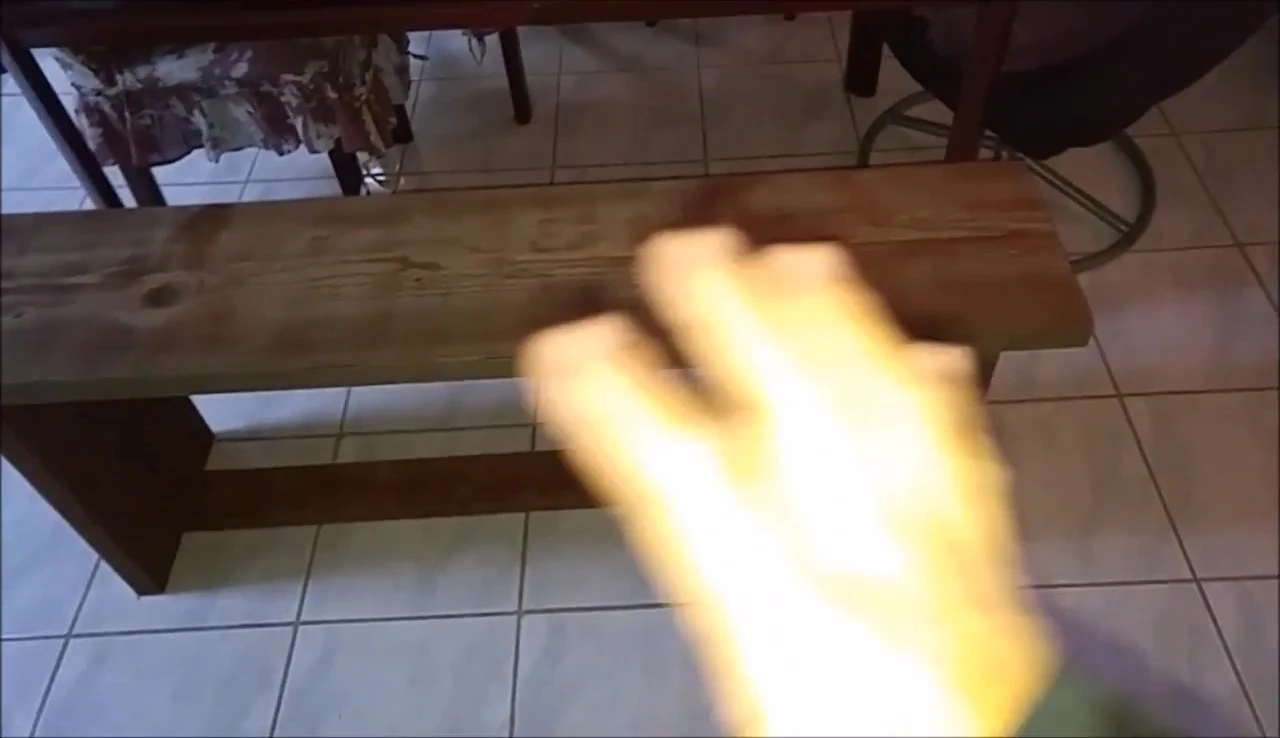
Once the bench was fully assembled, I checked for levelness and stability. This final check ensured that the bench was perfectly balanced and ready for use.
The final step involves finishing the wood. Options such as staining and varnishing protect the wood from damage and enhance its aesthetic appeal. Applying a finishing coat enhances both the appearance and longevity of the bench.
Overall, building this custom bench was a rewarding DIY project. The ability to customize the dimensions and design to meet specific needs and preferences was particularly satisfying. This project showcases the versatility and practicality of handmade furniture. The use of treated wood, coupled with careful construction techniques, makes this a resilient and visually appealing piece.