Transform your ordinary keyboard into a stunning masterpiece with this comprehensive guide to a DIY custom paint job. We'll walk you through the complete process of repainting a harmonic table keyboard, achieving a vibrant, unique color using Chroma CodeRed special effect paint. This paint offers a captivating color shift between red and yellow, depending on the viewing angle, adding a mesmerizing visual element to your finished keyboard. Get ready to unleash your creativity and personalize your workspace with a keyboard that truly reflects your individual style.This project details each step, from meticulous surface preparation and multiple base coat applications to the careful layering of the Chroma CodeRed paint and the final polishing for a high-gloss finish. We'll cover the disassembly and reassembly of the mechanical components, ensuring your keyboard remains fully functional after its dramatic transformation. With patience and attention to detail, you'll achieve a professional-looking, unique keyboard that is sure to turn heads. Let's dive into the exciting world of custom keyboard painting!
Read more: 5 Gorgeous Brown Piano Keyboard Covers
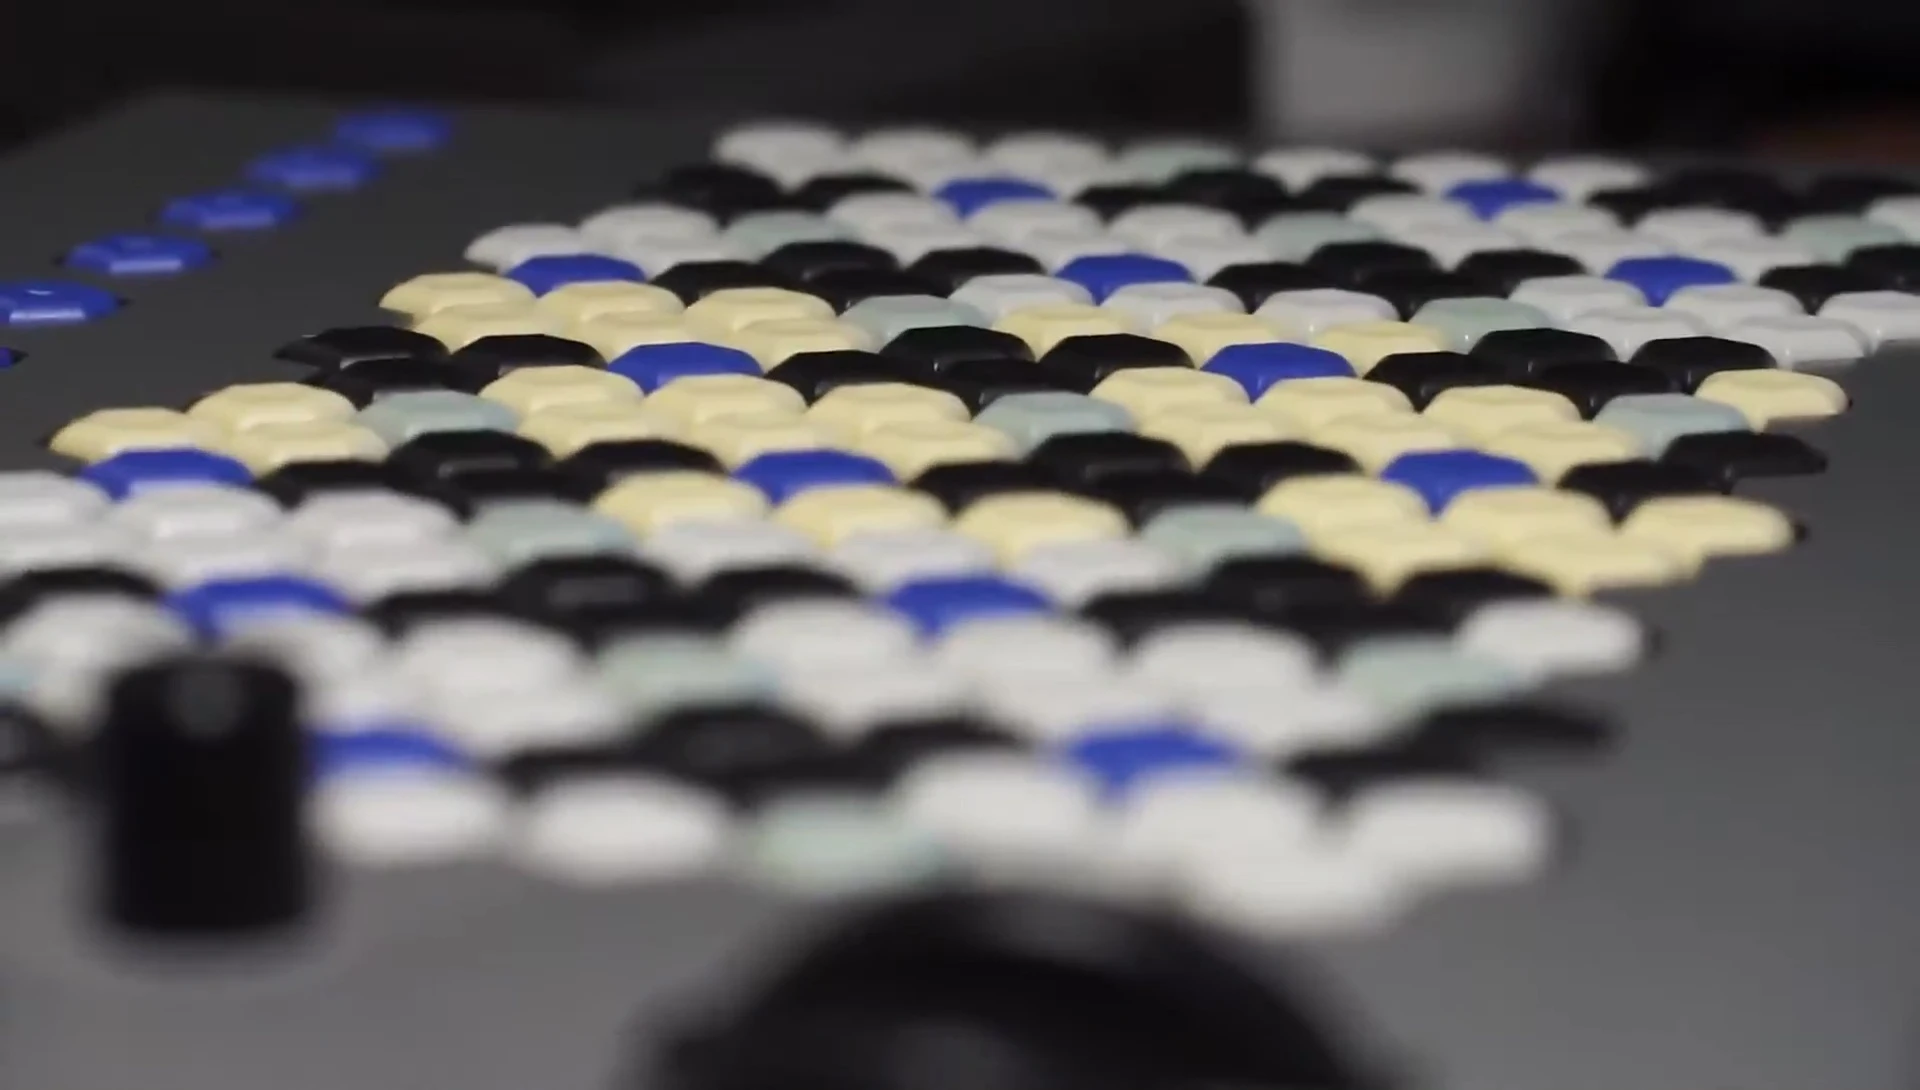
Project Overview: Transforming a Harmonic Table Keyboard
This project details the complete process of repainting a custom keyboard, specifically a harmonic table keyboard. The goal is to achieve a vibrant, custom color using a special effect paint. The process involves several steps, from surface preparation to final polishing, resulting in a stunning, unique keyboard.
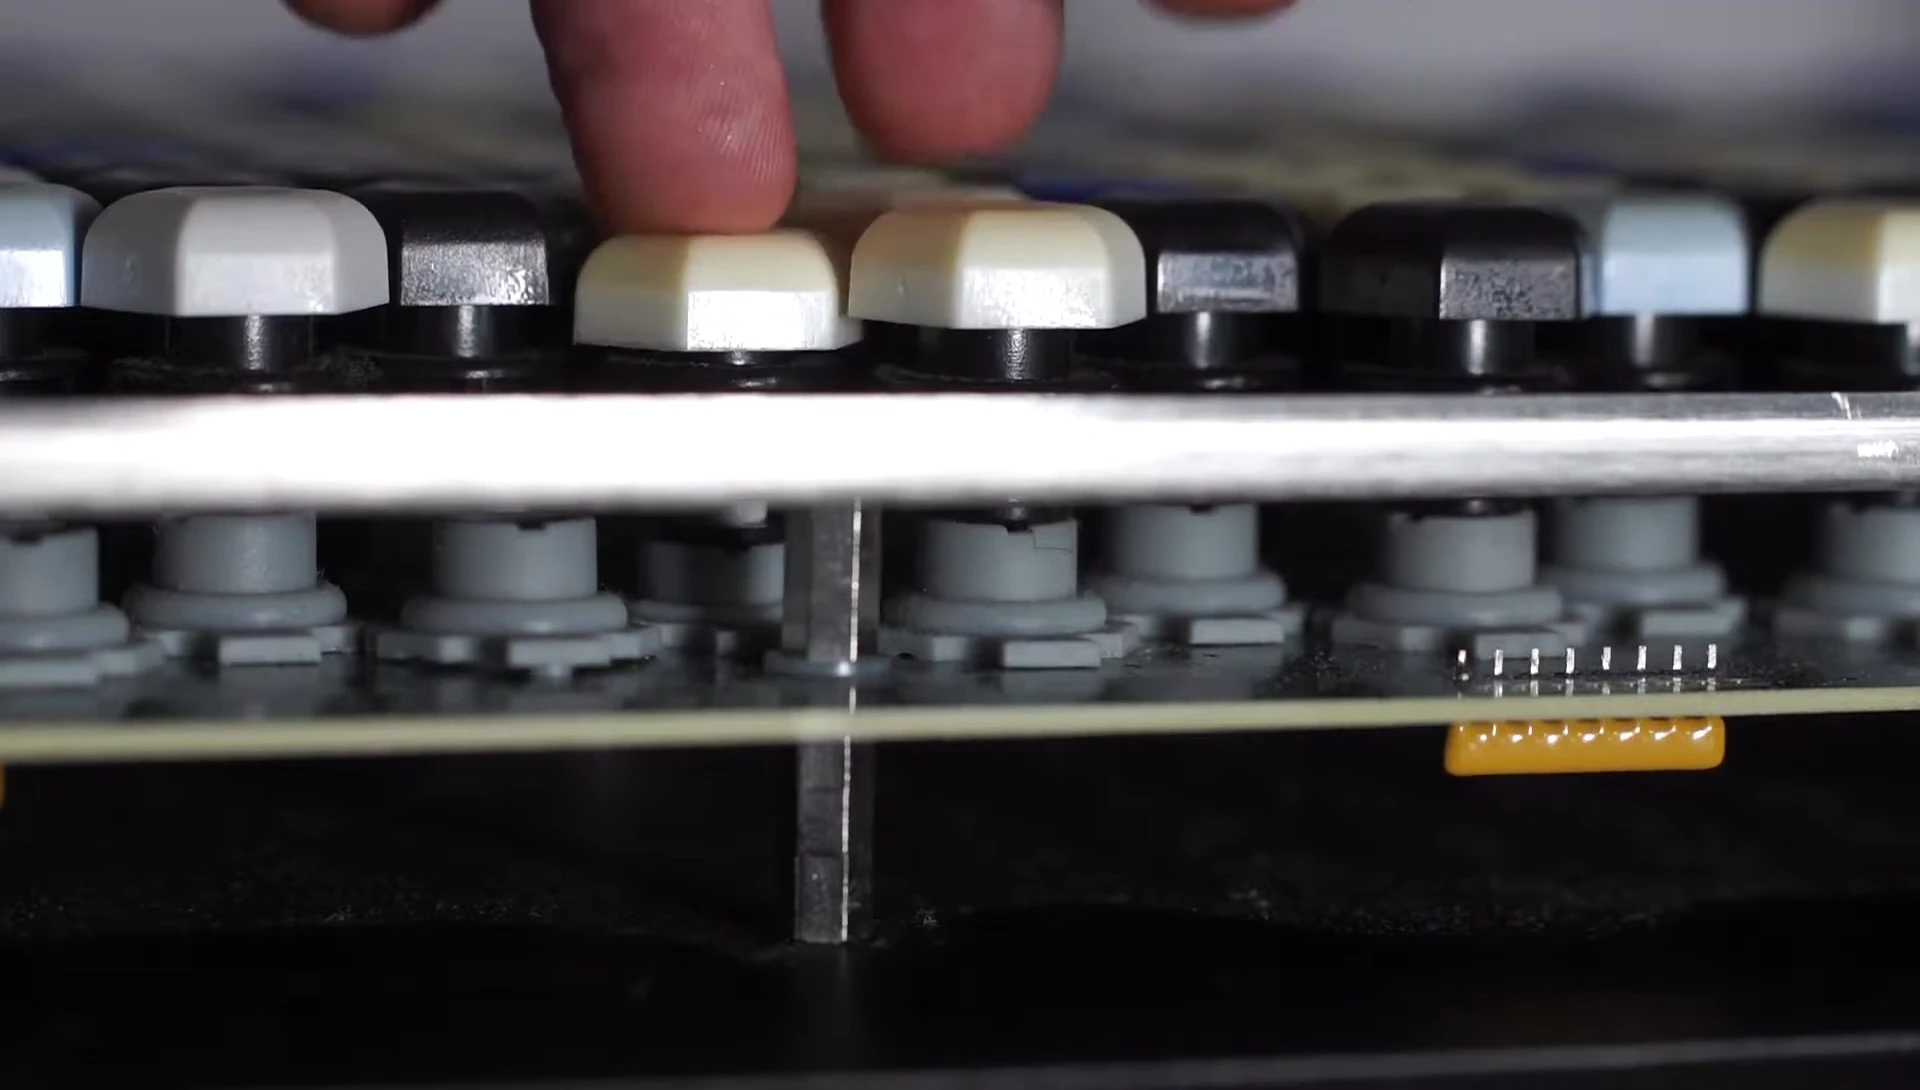
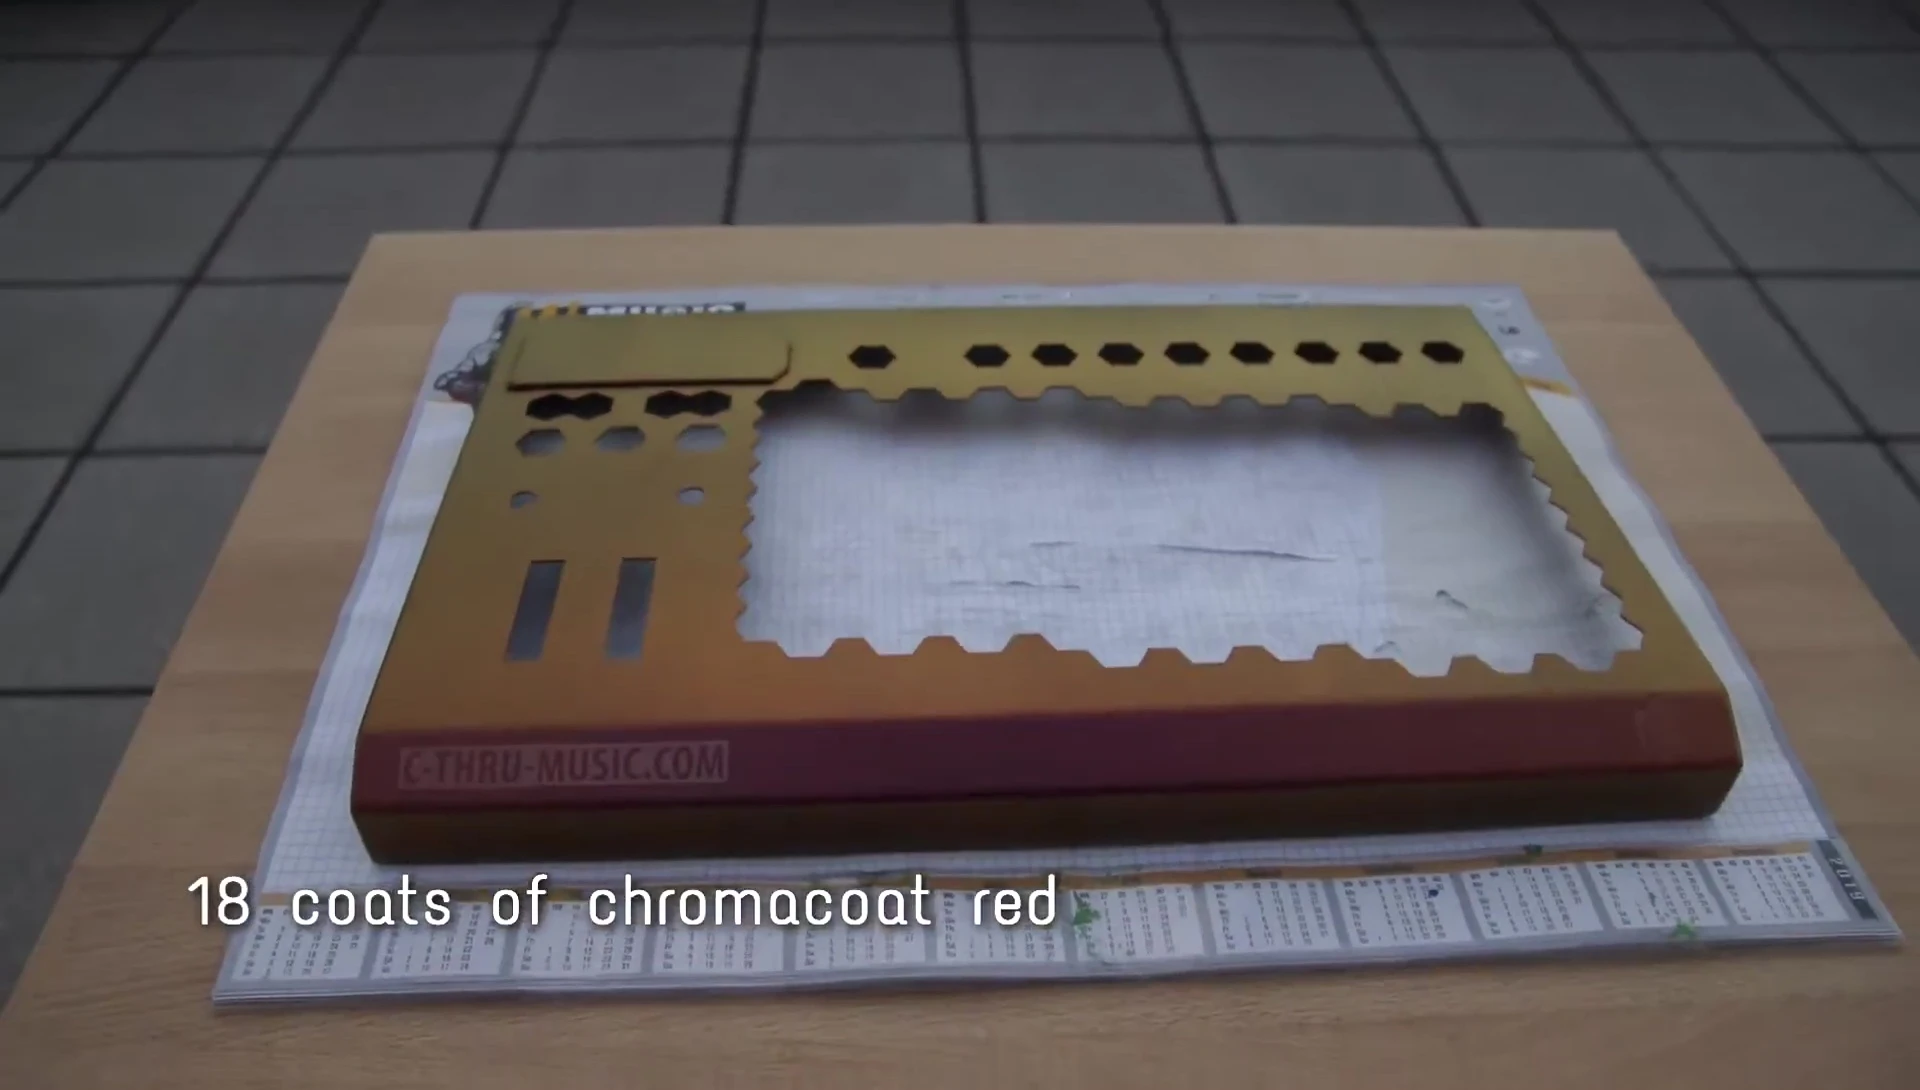
The paint used is 'Chroma CodeRed,' a special effect paint that shifts between red and yellow depending on the viewing angle. This adds a unique visual element to the finished product. The project also covers the disassembly and reassembly of the keyboard, showcasing the inner workings of the mechanical components.
Surface Preparation and Base Coating
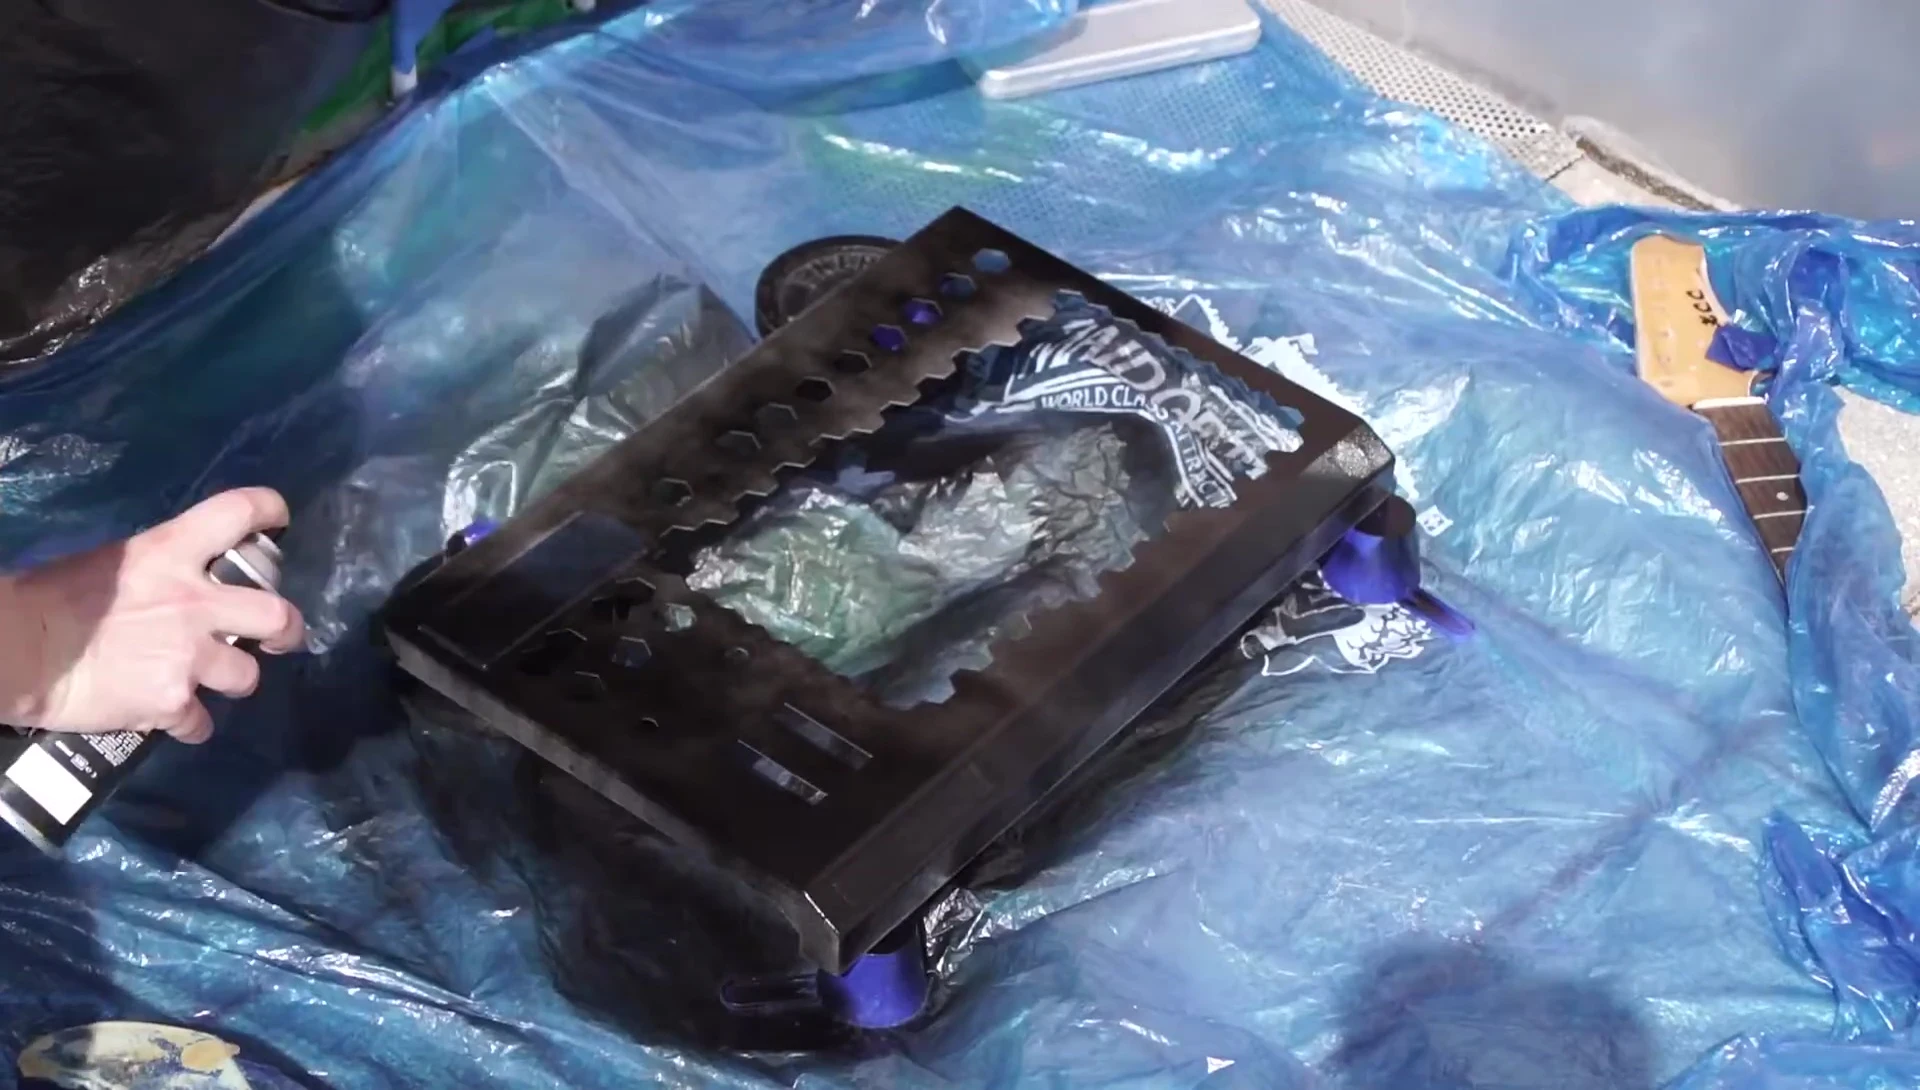
Before applying any new paint, thorough surface preparation is crucial. This involves sanding the old paint to create a rough surface, ensuring proper adhesion of the new base coat. Multiple coats of black base coat are applied to provide a solid foundation for the color coat.
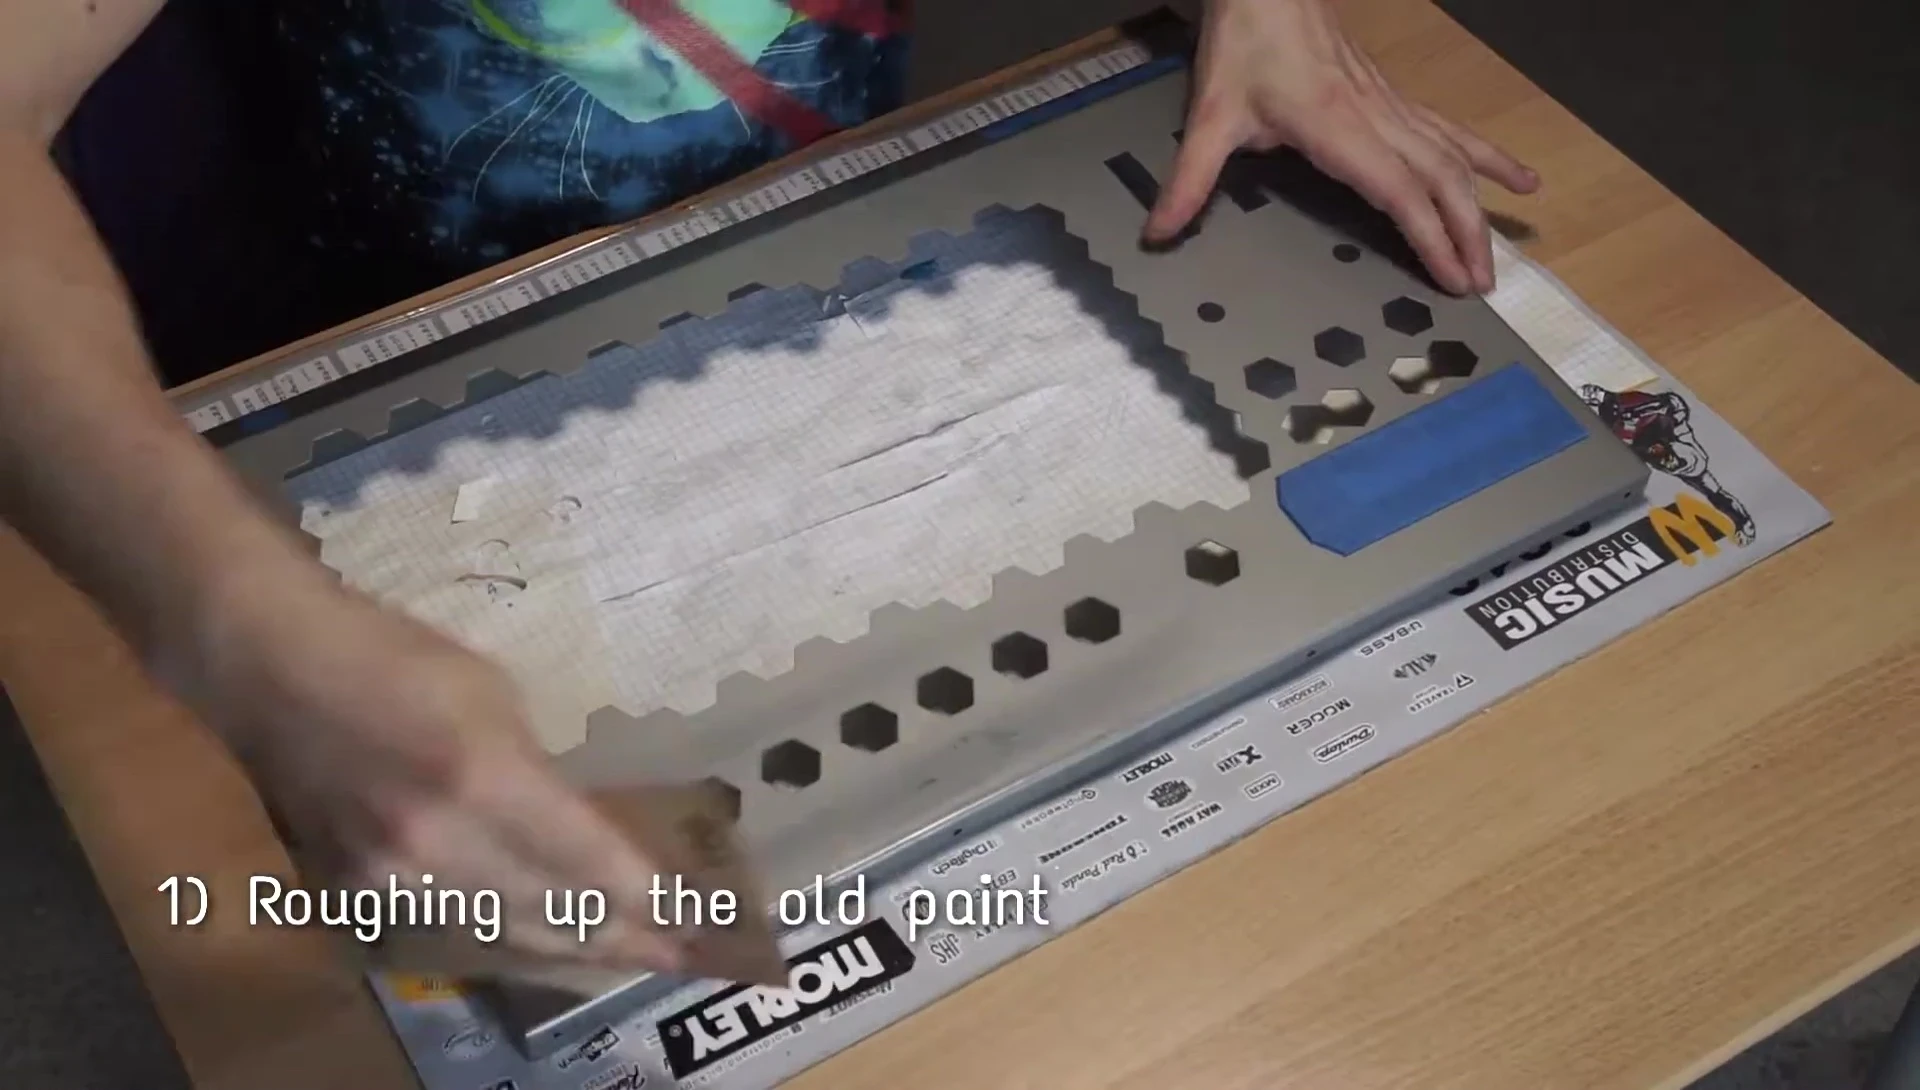
The process also includes cleaning the surface to remove any dust or debris. This step is vital for preventing imperfections and achieving a smooth, professional-looking finish. The quality of the base coat directly impacts the final appearance and durability of the paint job.
Applying the Chroma CodeRed Paint
The Chroma CodeRed paint is applied in multiple thin coats. Due to its subtle nature, achieving the desired effect requires patience and multiple layers. The process might seem lengthy, but each coat builds upon the previous one, creating a rich, multi-dimensional color shift.
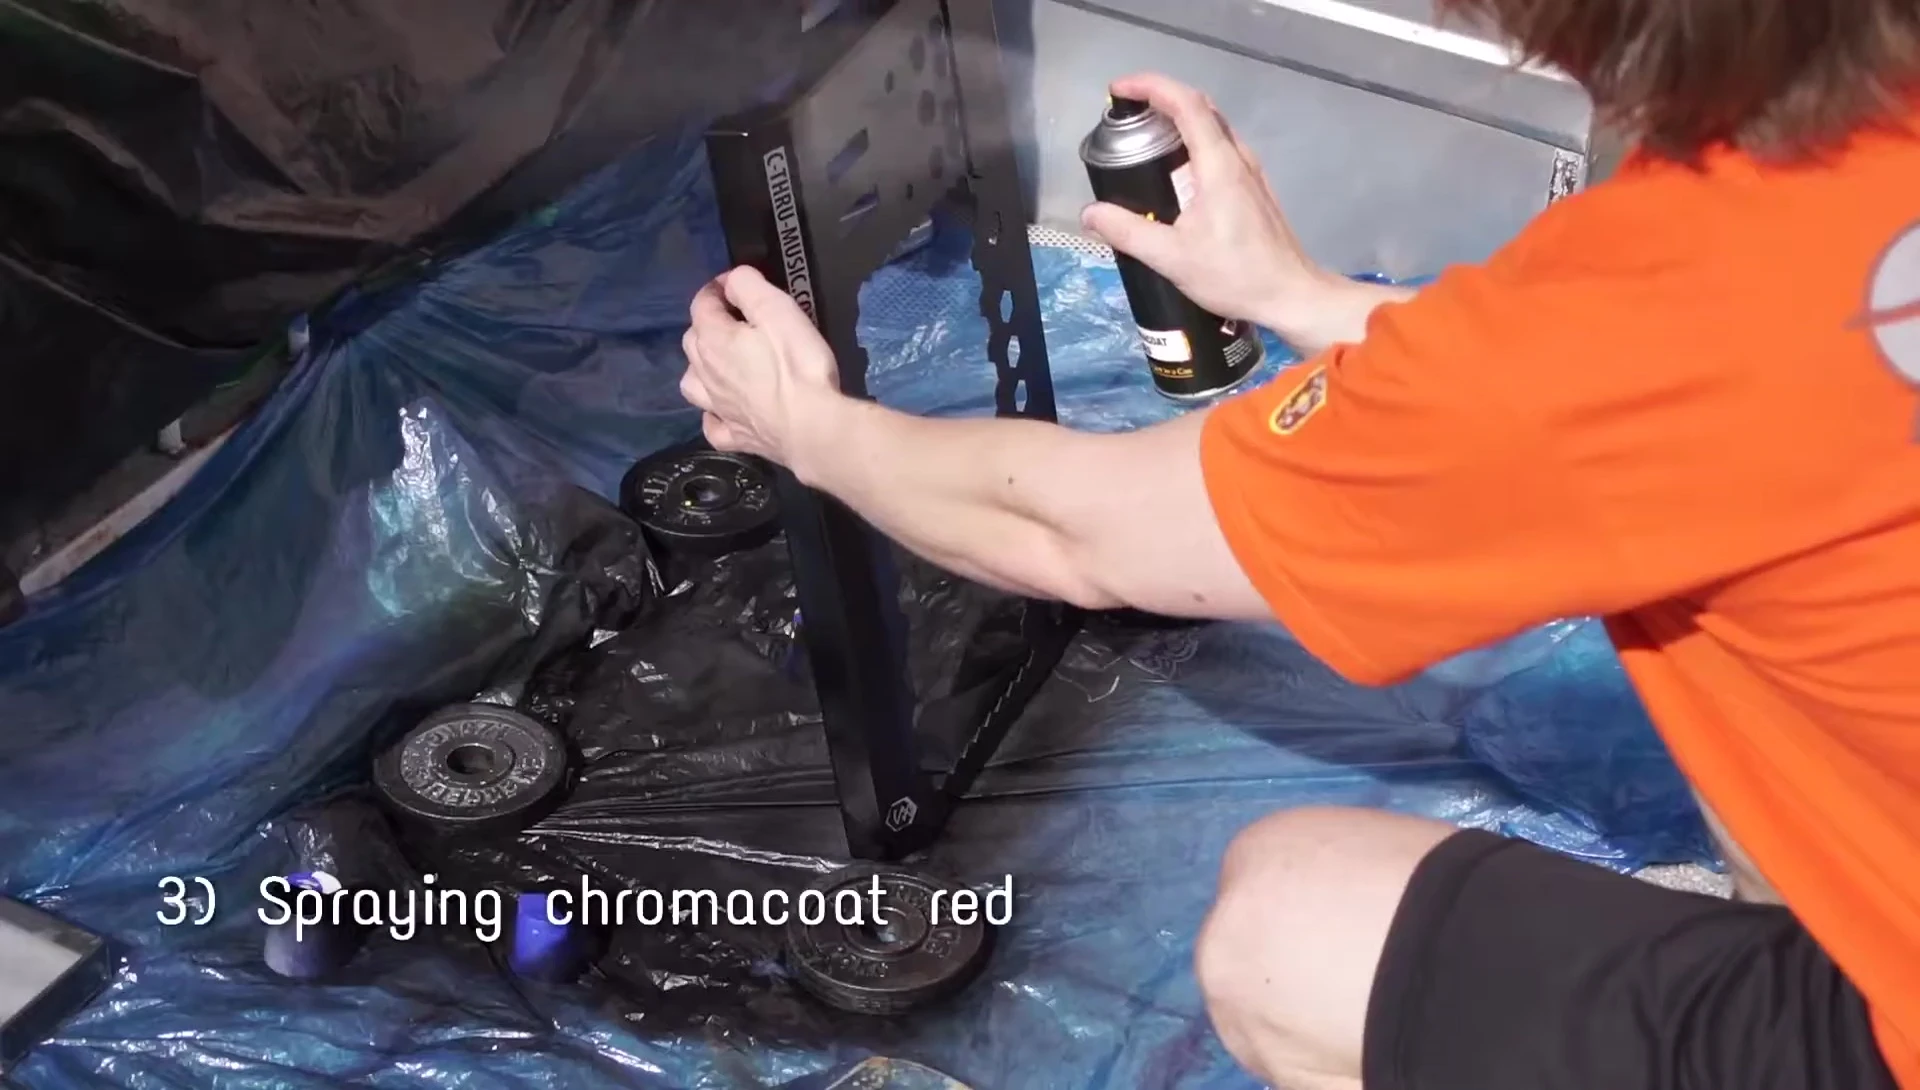
The number of coats needed can vary based on the desired intensity and opacity. Regularly checking the progress and allowing sufficient drying time between coats is critical for a successful outcome. This step showcases the patience required for intricate custom paint jobs.
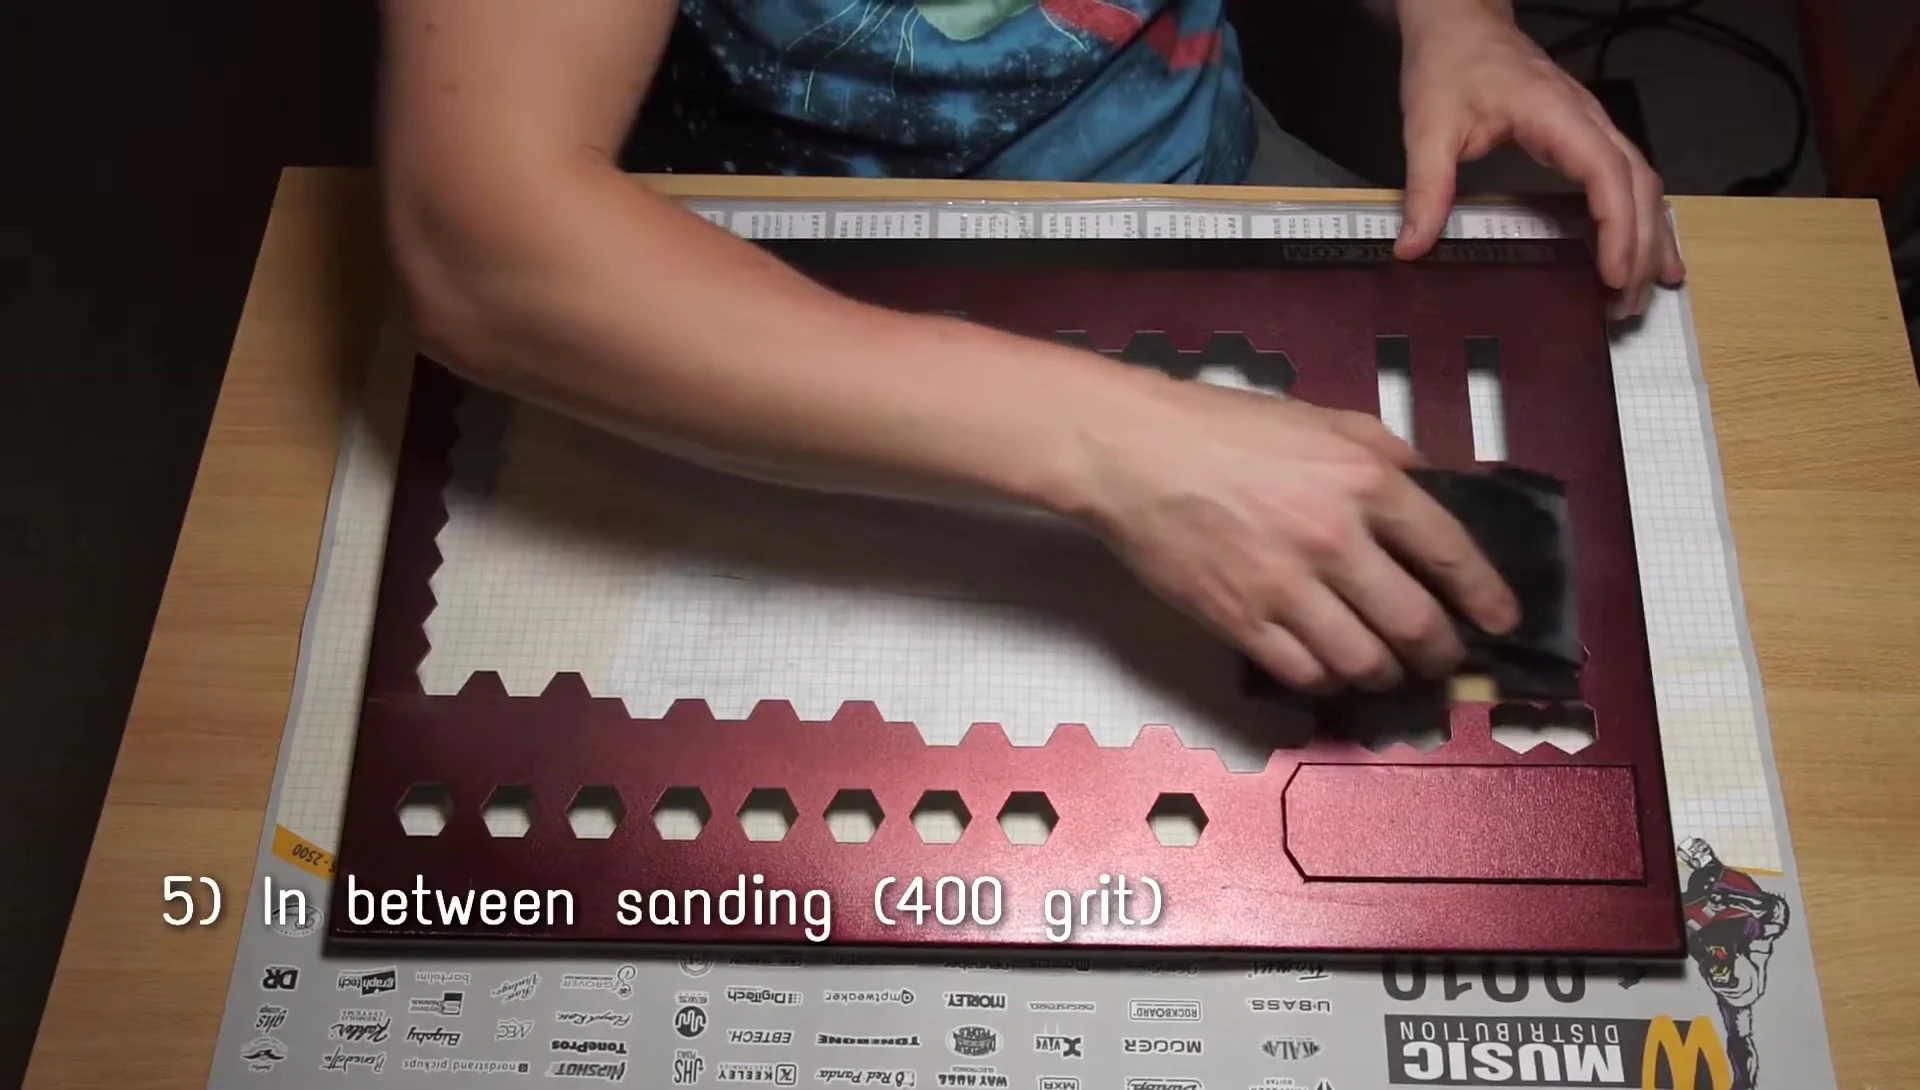
Sanding, Polishing, and Final Touches
After the paint has cured, several sanding steps are performed to refine the surface. This involves using different grit sandpaper, progressing from coarser to finer grits for a smooth finish. Wet sanding with finer grits ensures a flawless surface for polishing.
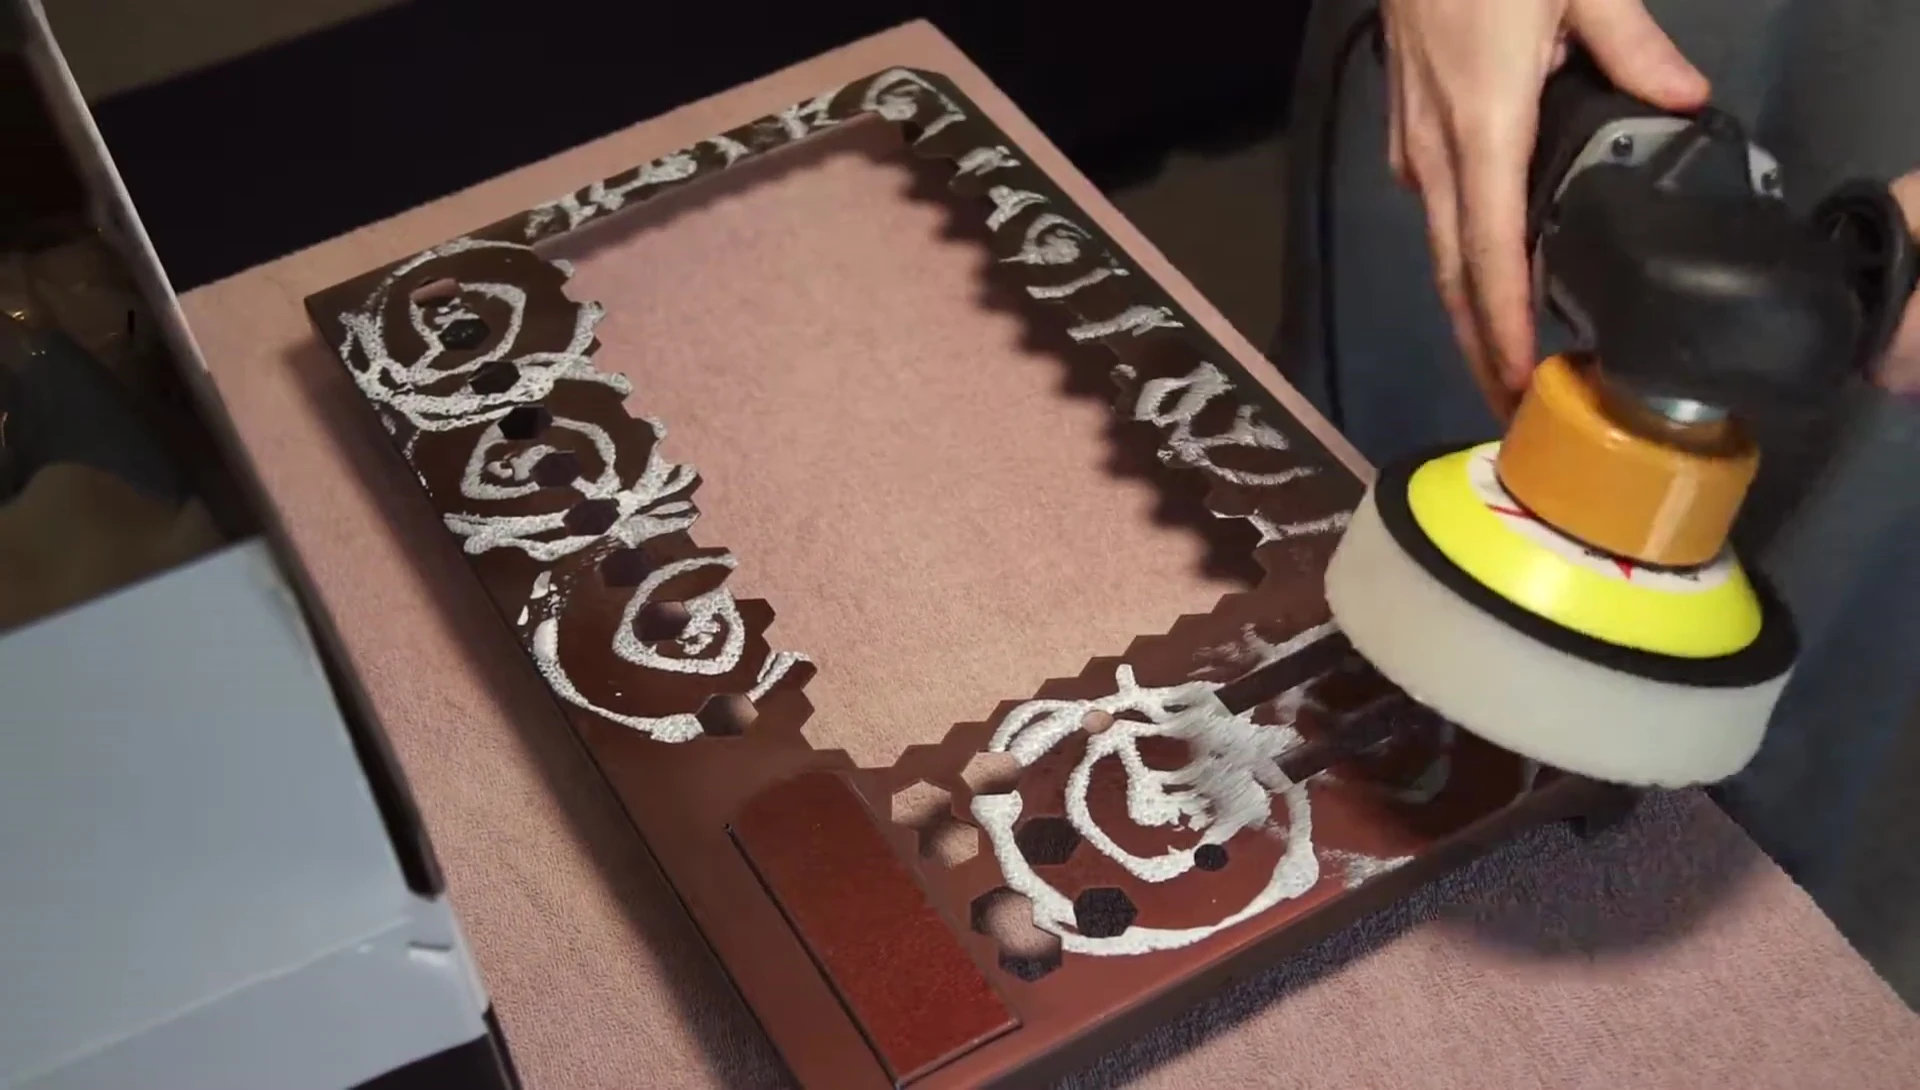
A polishing machine is used to achieve a high gloss finish. This requires careful attention to detail, and a polishing compound is used to enhance the shine. The final polishing step gives the keyboard a professional, showroom-ready appearance.
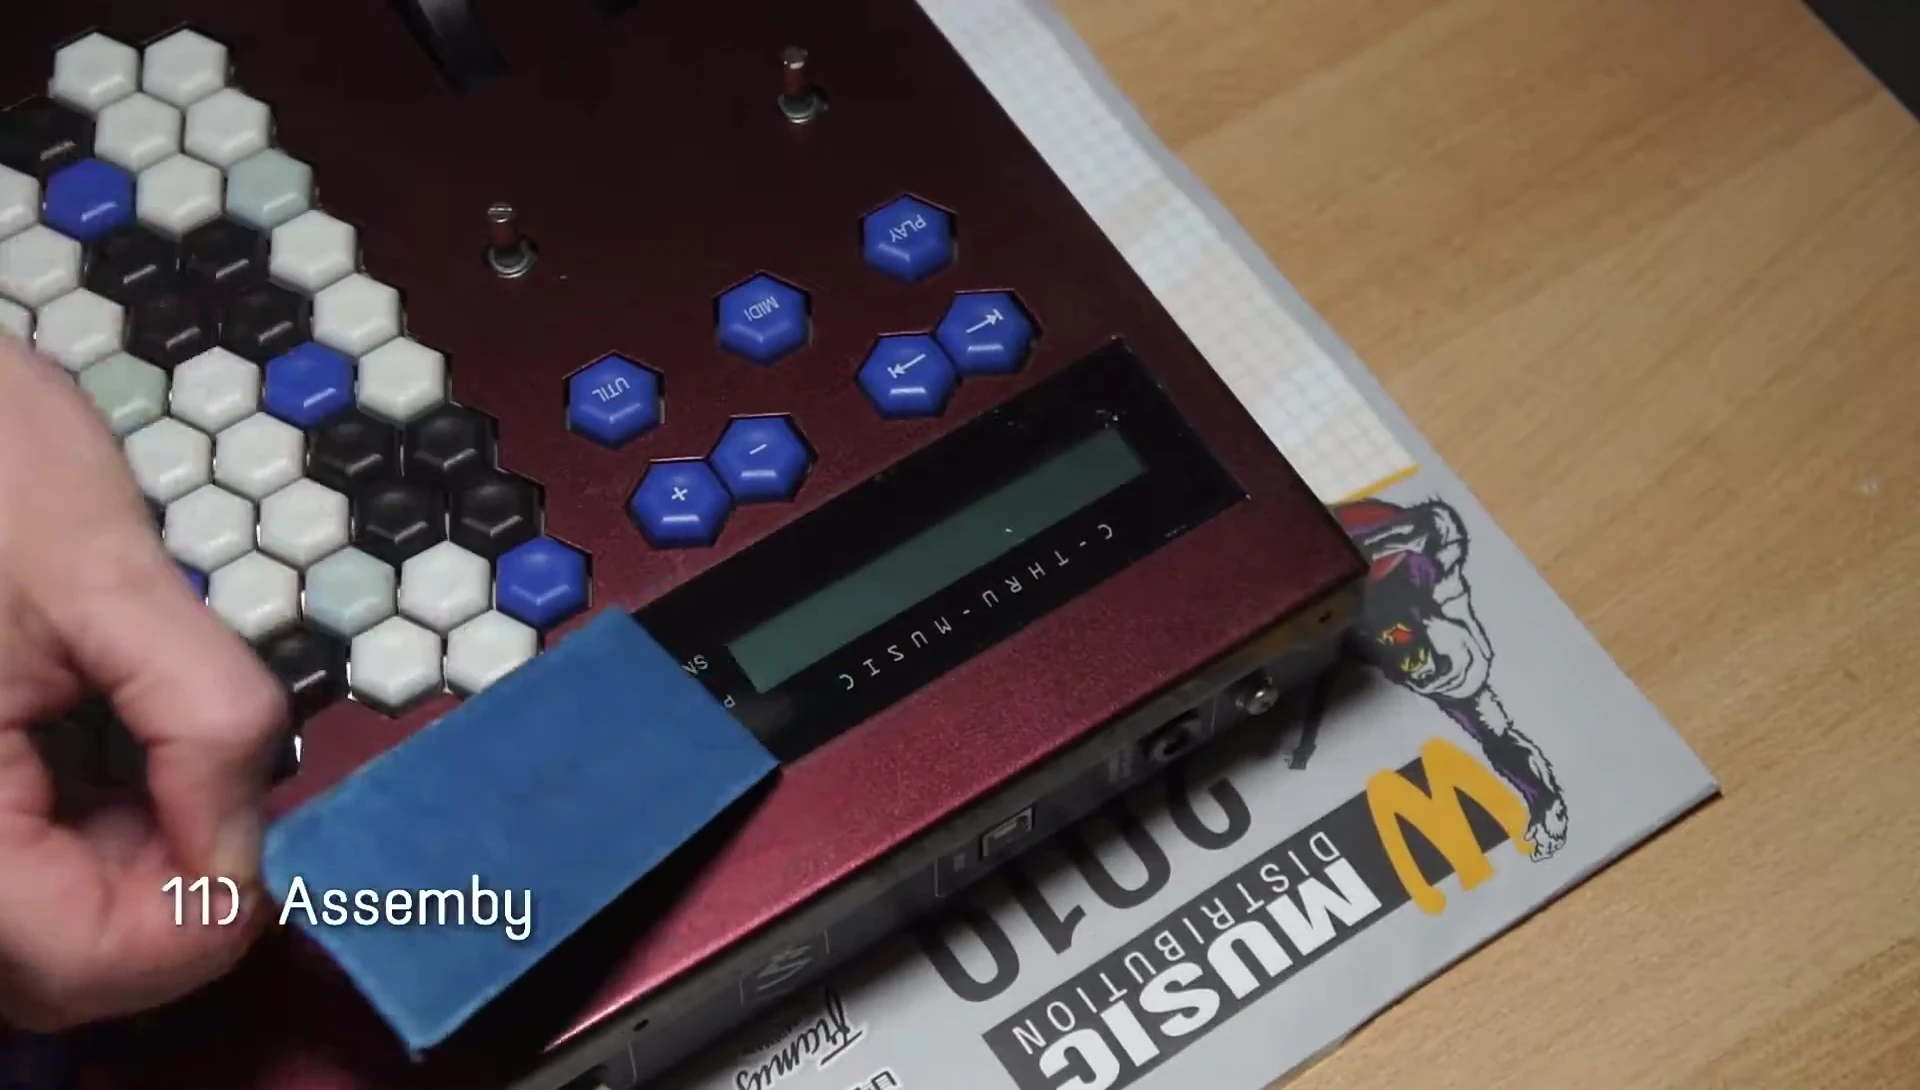
Reassembly and Conclusion
The final step involves carefully reassembling the keyboard. This requires attention to detail to ensure all parts are correctly placed and functional. The finished keyboard showcases a dramatic transformation, showcasing a unique color and a high-gloss finish.
This DIY project demonstrates that with patience and attention to detail, one can transform a standard keyboard into a unique, personalized piece. The result is a visually stunning keyboard that stands out from the ordinary.