This review details a successful repair of unsightly scratches on the piano black trim of a 2019 Mazda CX-5. Years of wear and tear left the center console marred with numerous blemishes, despite previous attempts at repair with ceramic coating. The author sought a more effective solution to restore the vehicle's aesthetic appeal and protect the vulnerable surface from further damage. This led to the discovery and application of Screen Protect, a protective film designed for delicate surfaces.The review chronicles the step-by-step installation process, highlighting both the straightforward aspects and the challenges encountered, particularly with the curved sections of the console. It emphasizes the importance of consistent wetting with the provided soapy solution to allow for adjustments and prevent premature adhesion. The author provides valuable tips for a successful application and ultimately assesses the long-term effectiveness and overall value of the Screen Protect kit in achieving a flawless and lasting repair.
Read more: 5 Luxurious Leather Piano Covers: A Buyer's Guide
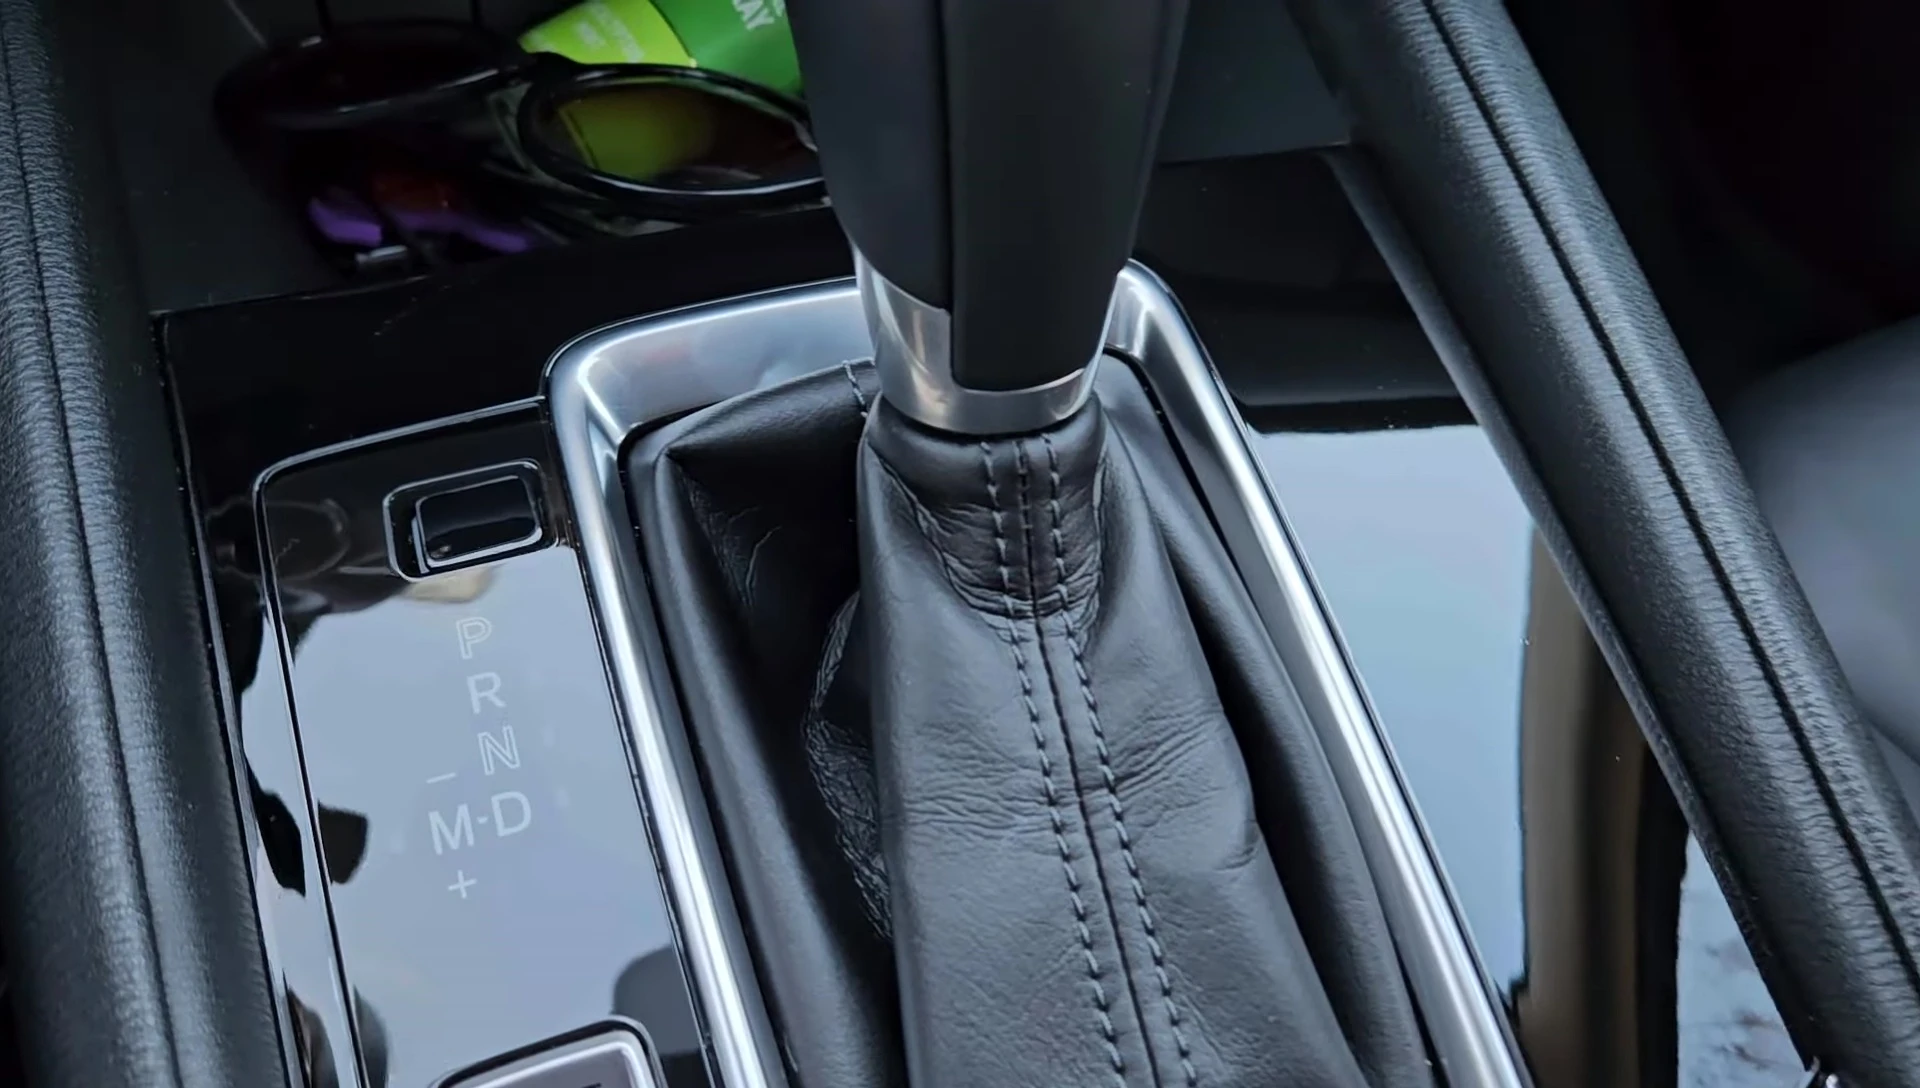
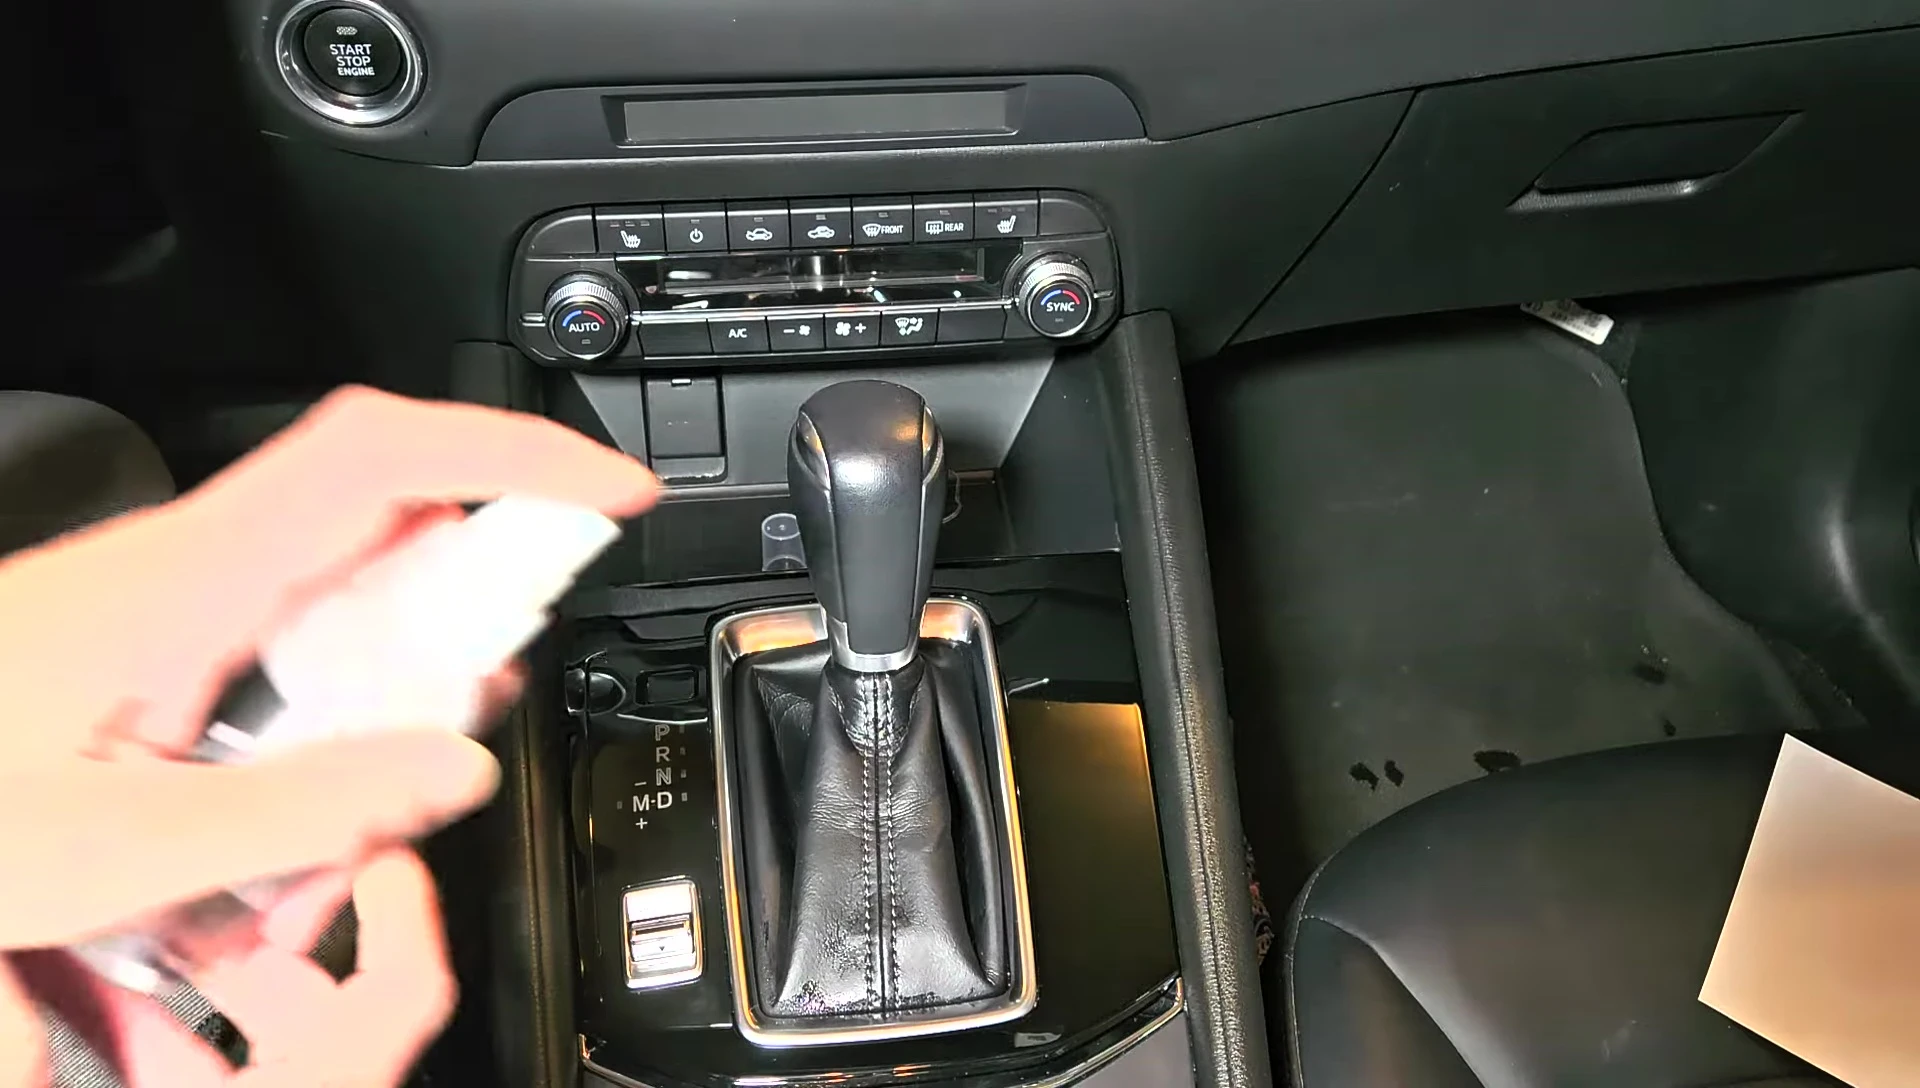
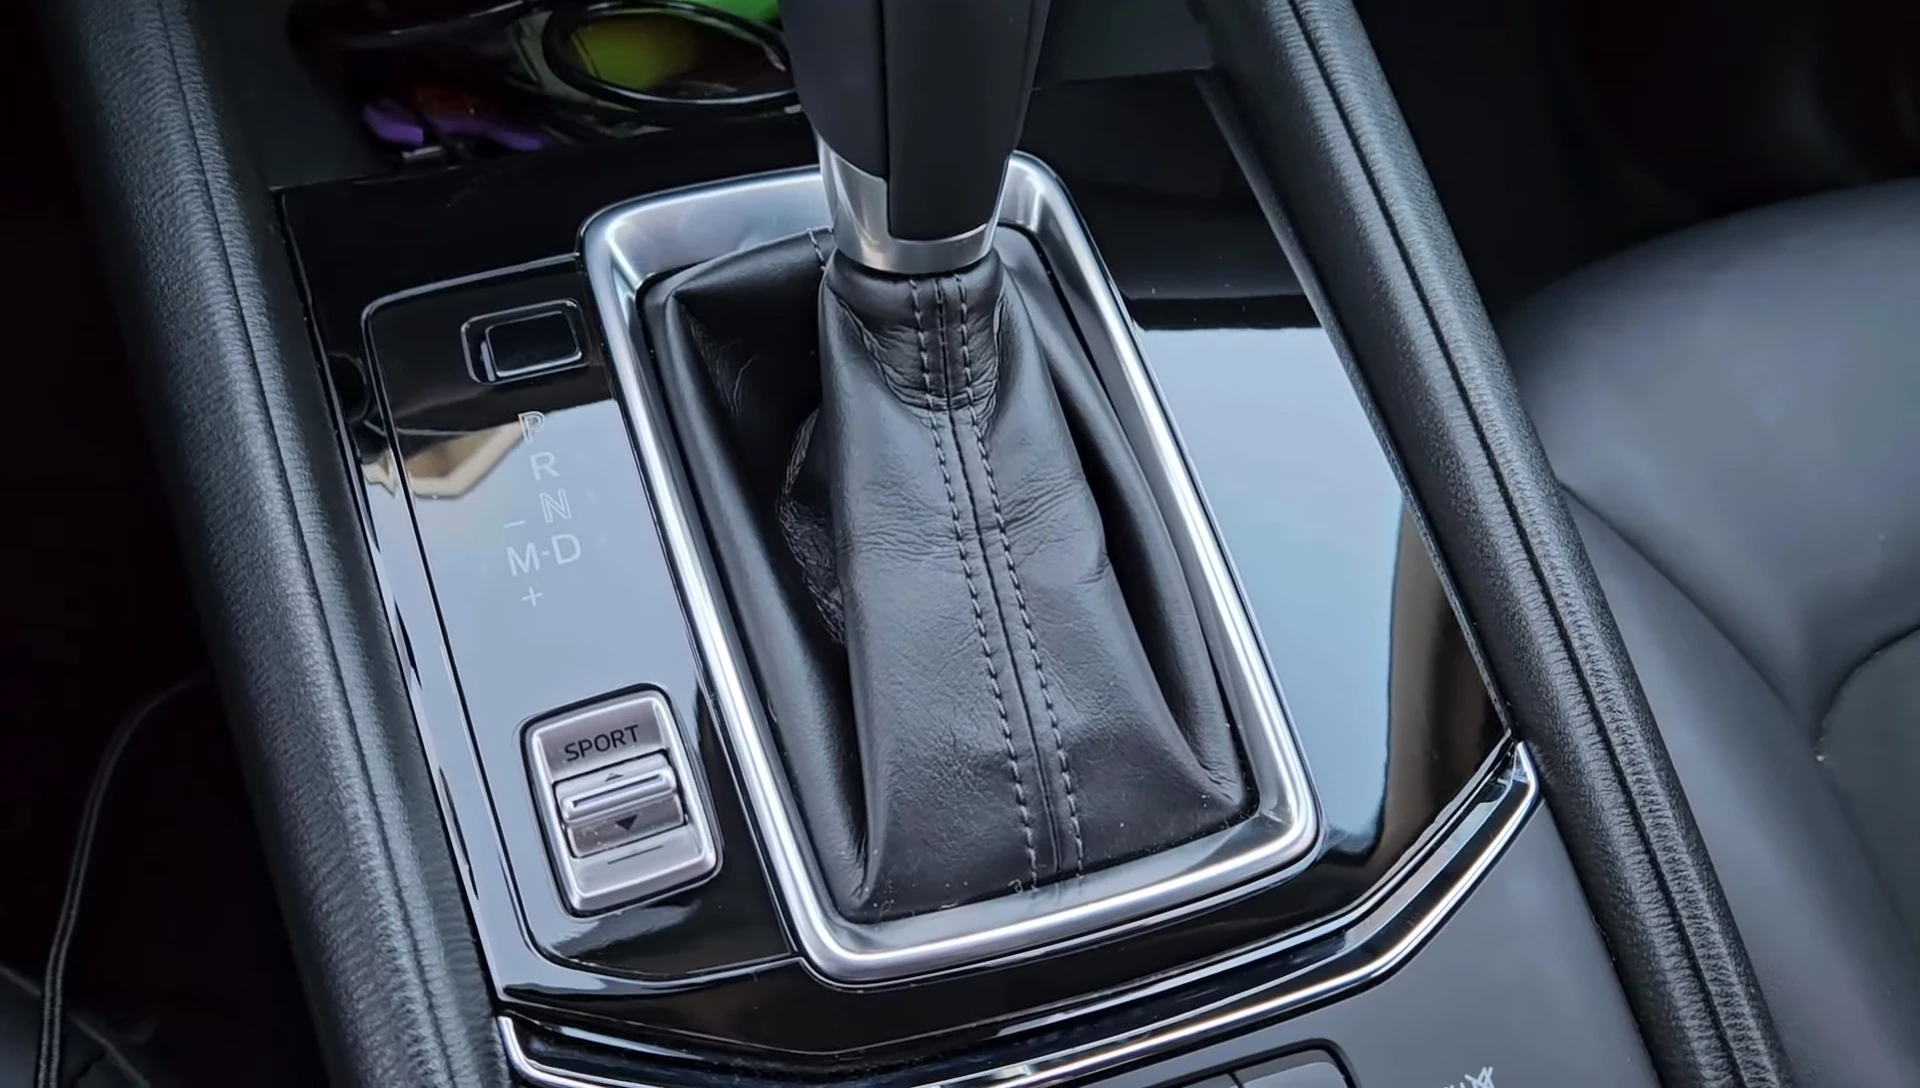
The Problem: Scratched Piano Black Trim
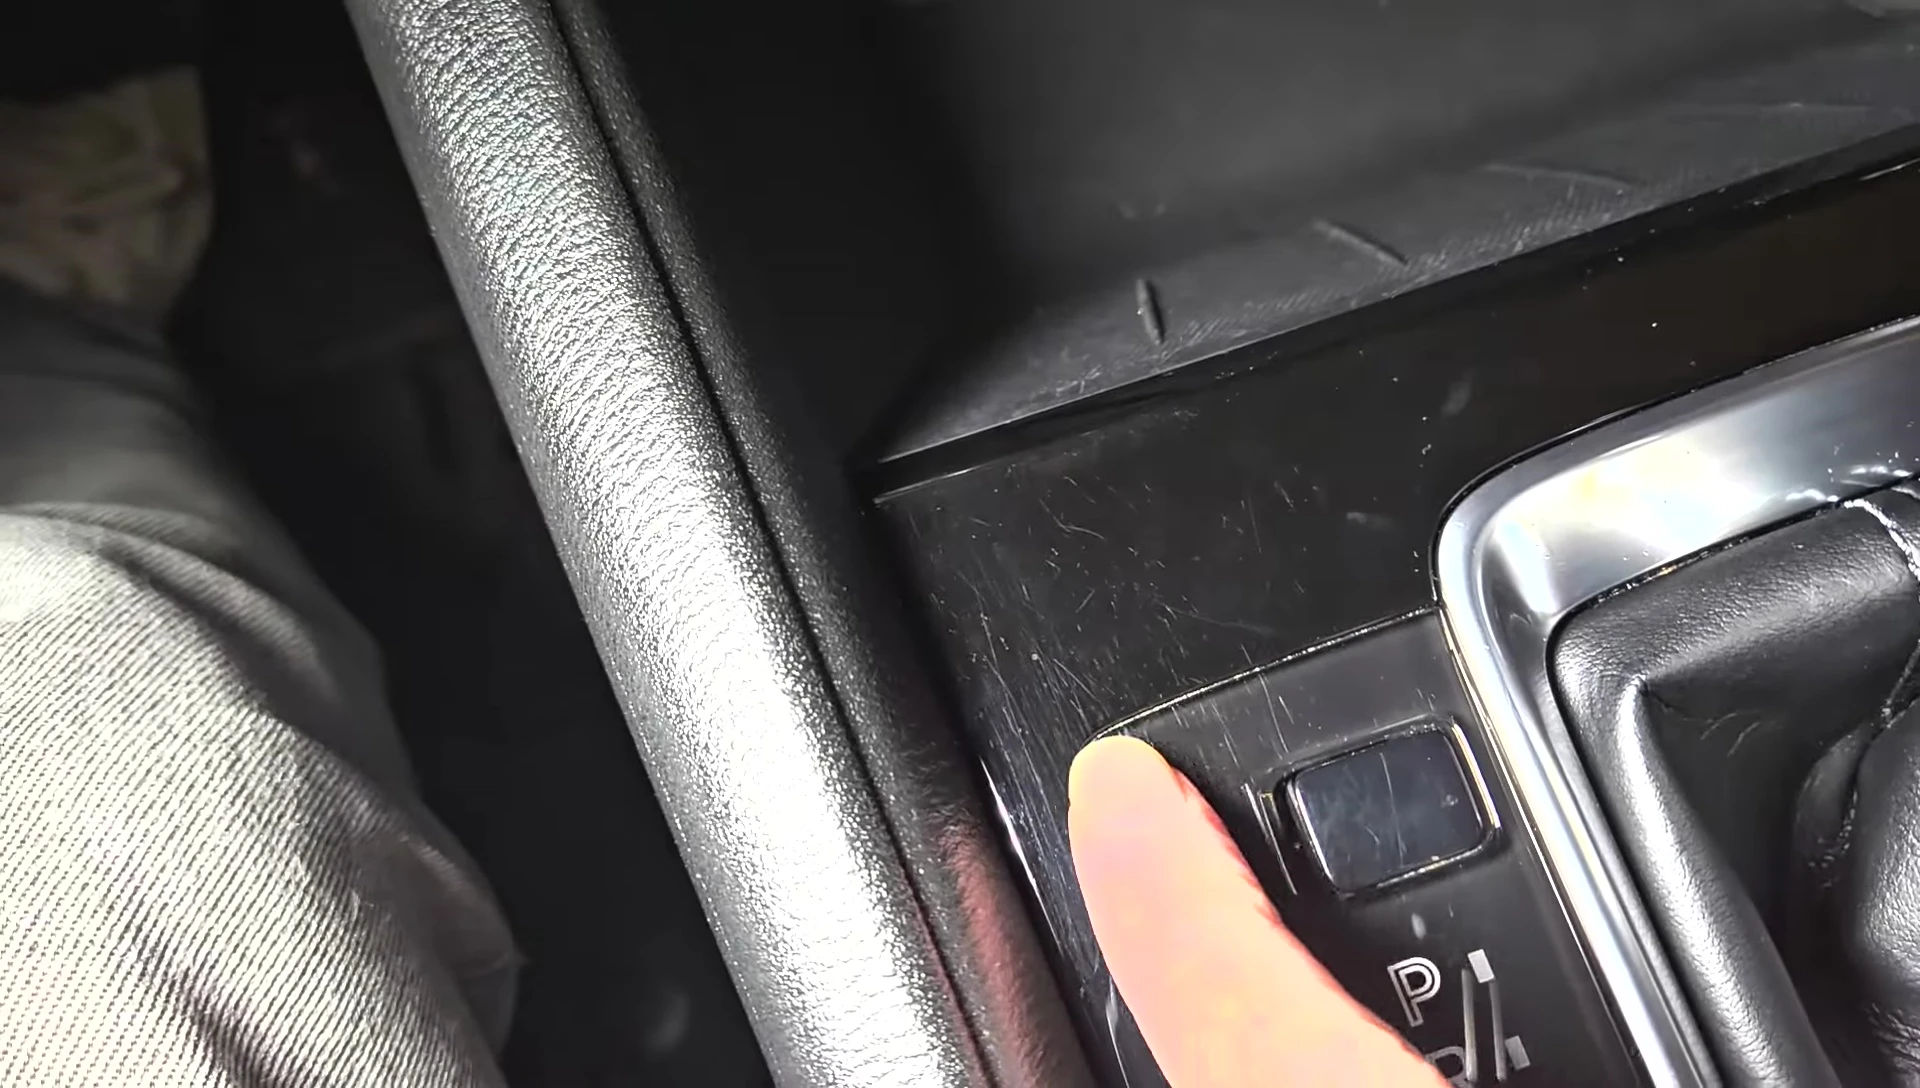
My 2019 Mazda CX-5's piano black trim, a common issue in this model, had accumulated numerous scratches over four years. Previous attempts at repair with ceramic coating proved insufficient. The scratches, especially on the center console, were unsightly and detracted from the vehicle's appearance. This prompted me to seek a more effective solution.

I explored different methods to remedy this persistent problem before trying a new product. The goal is to find something that effectively hides the scratches while providing lasting protection.
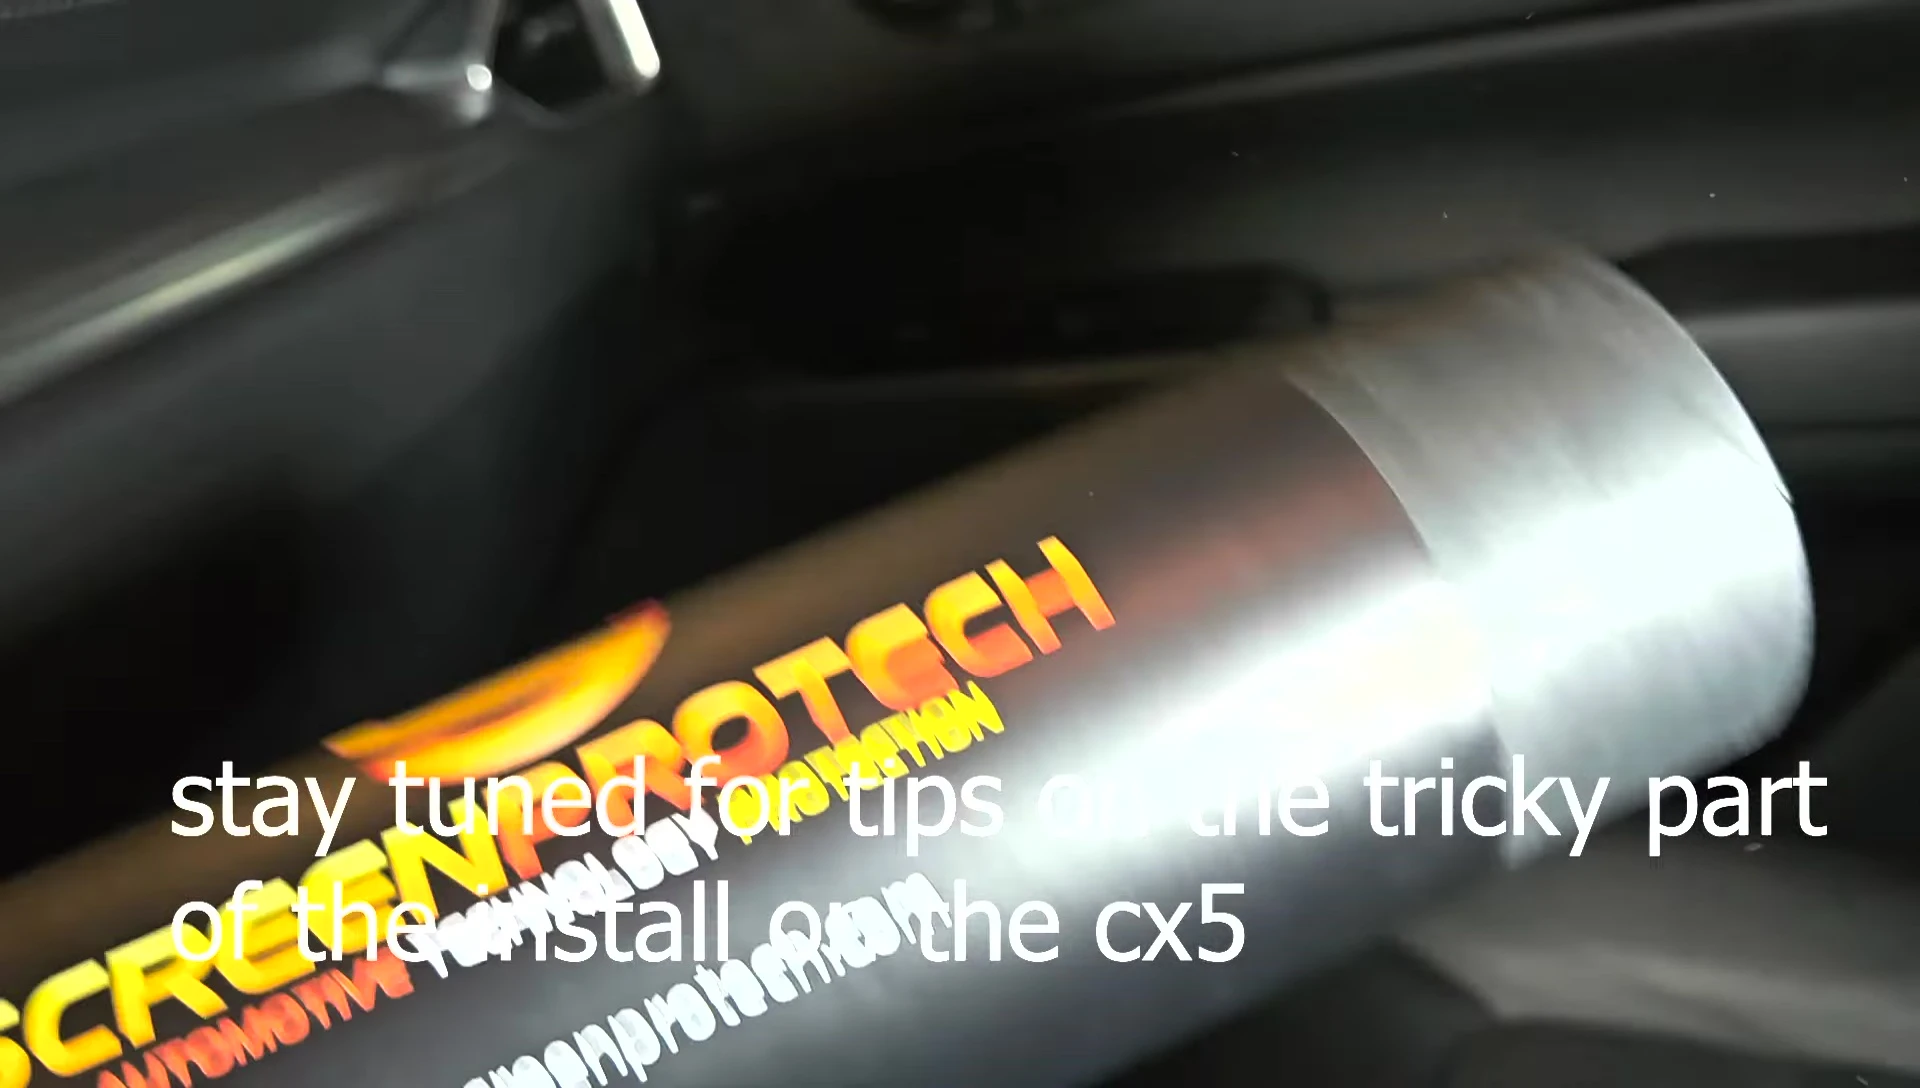
Introducing Screen Protect
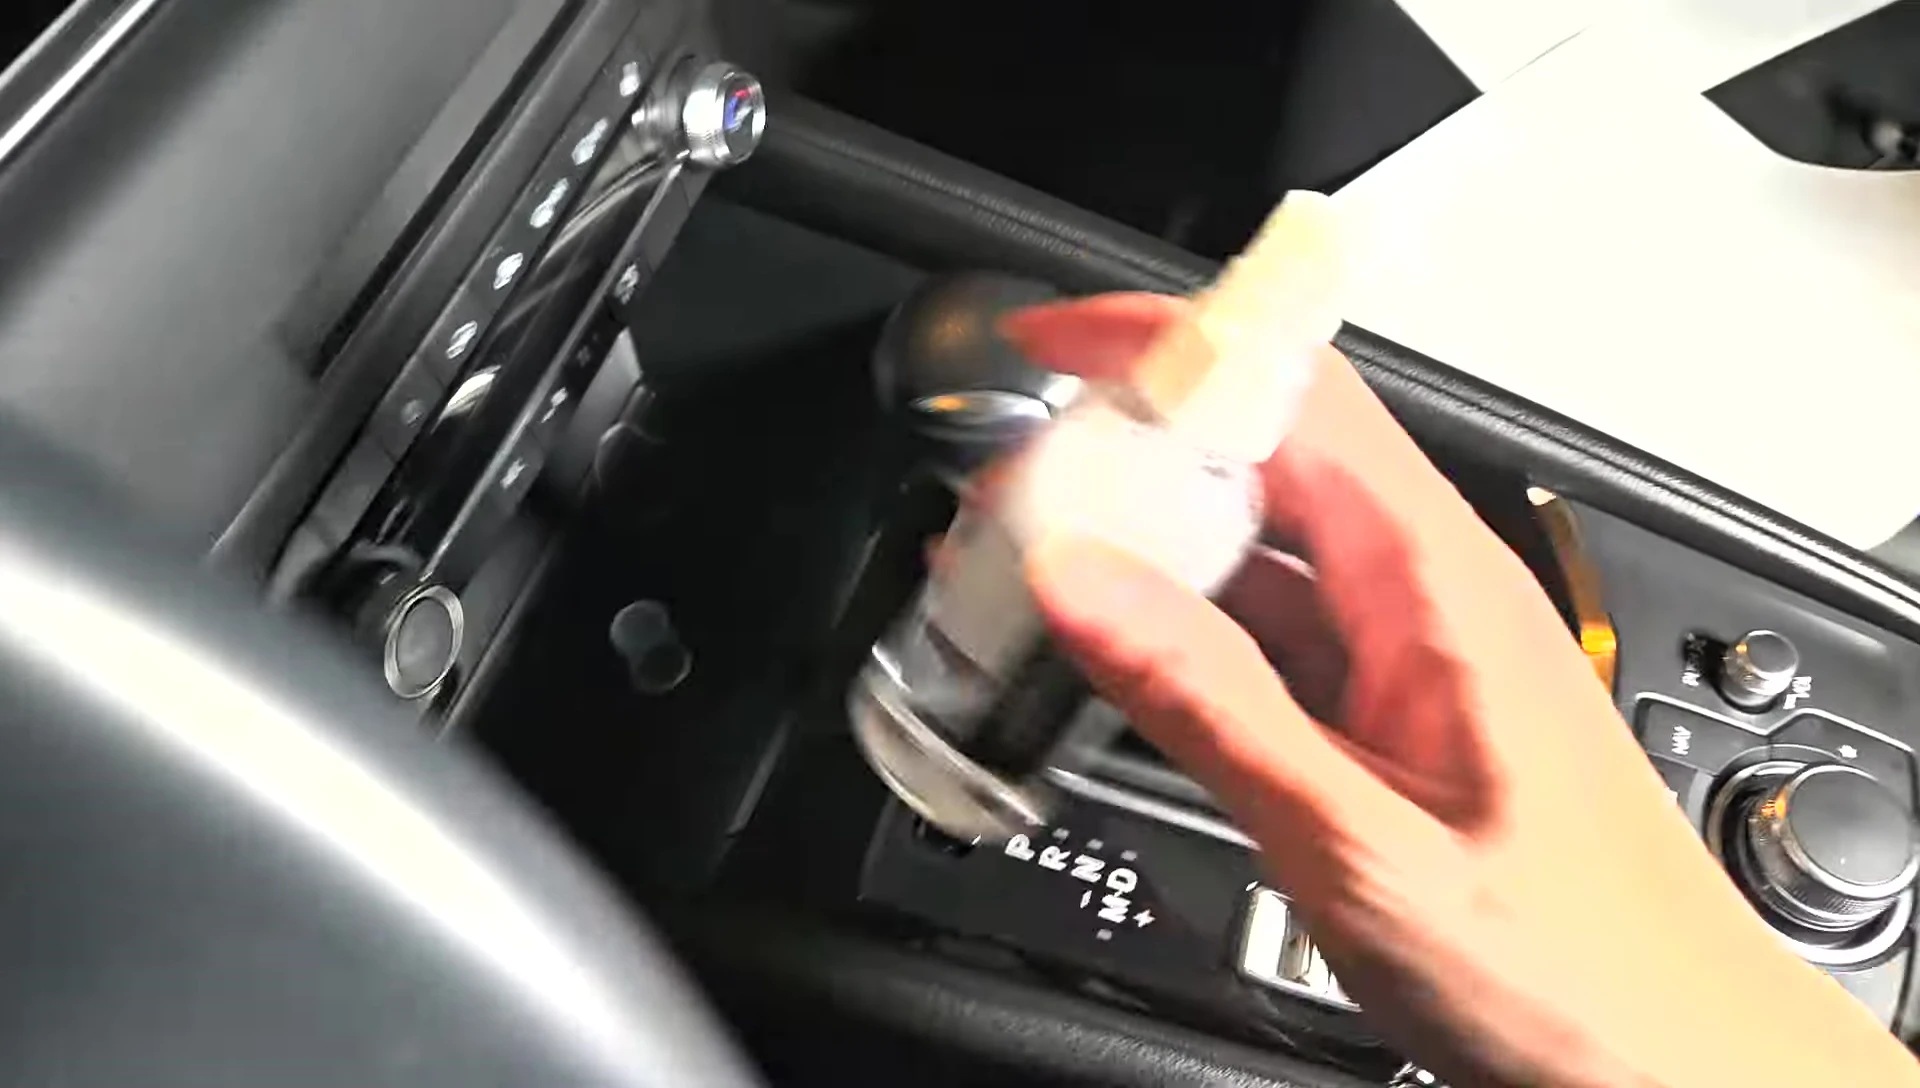
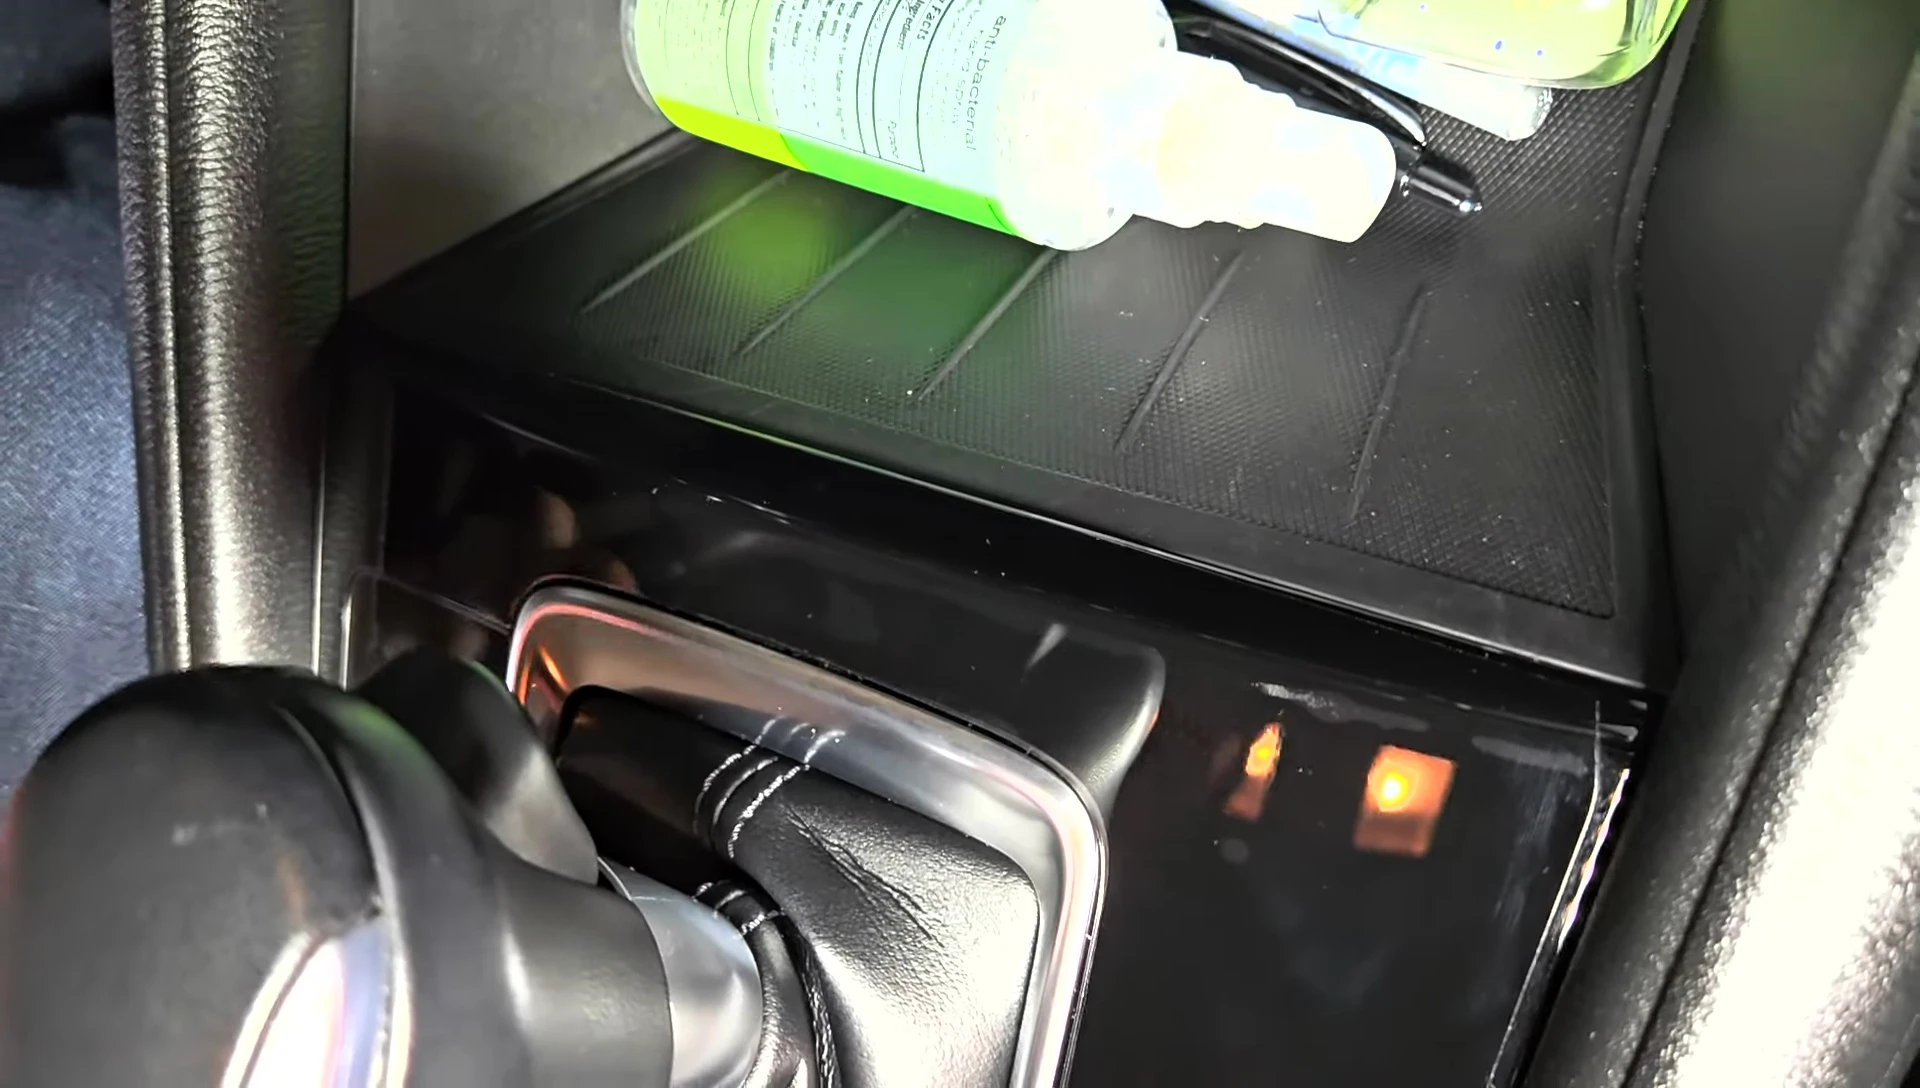
I decided to try Screen Protect, a product designed to cover and protect delicate surfaces like piano black trim and screens. The kit includes a microfiber cloth, a plastic squeegee for application, a spray bottle with soapy solution, and the protective film itself.
The packaging was simple yet contained everything needed for a smooth installation. The instructions were clear, and I was eager to see if this product lived up to its claims.
Installation Process
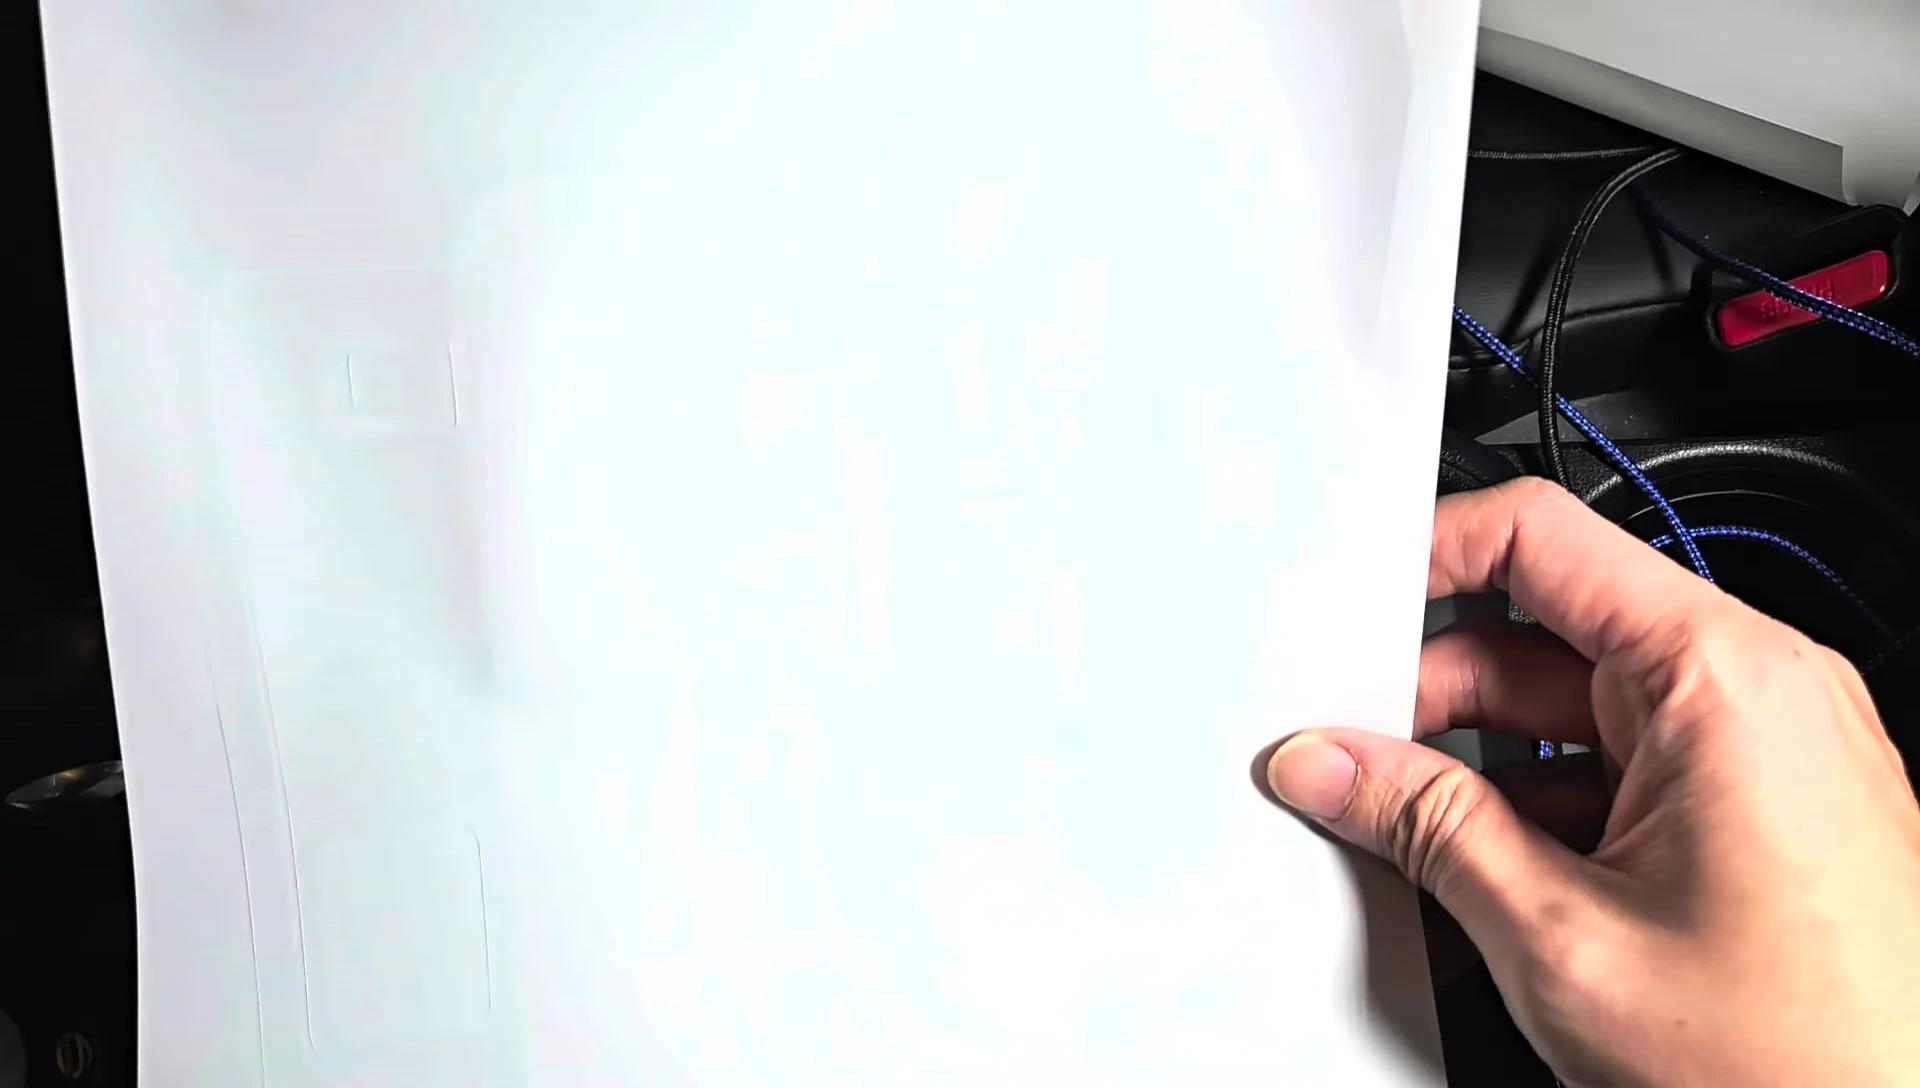
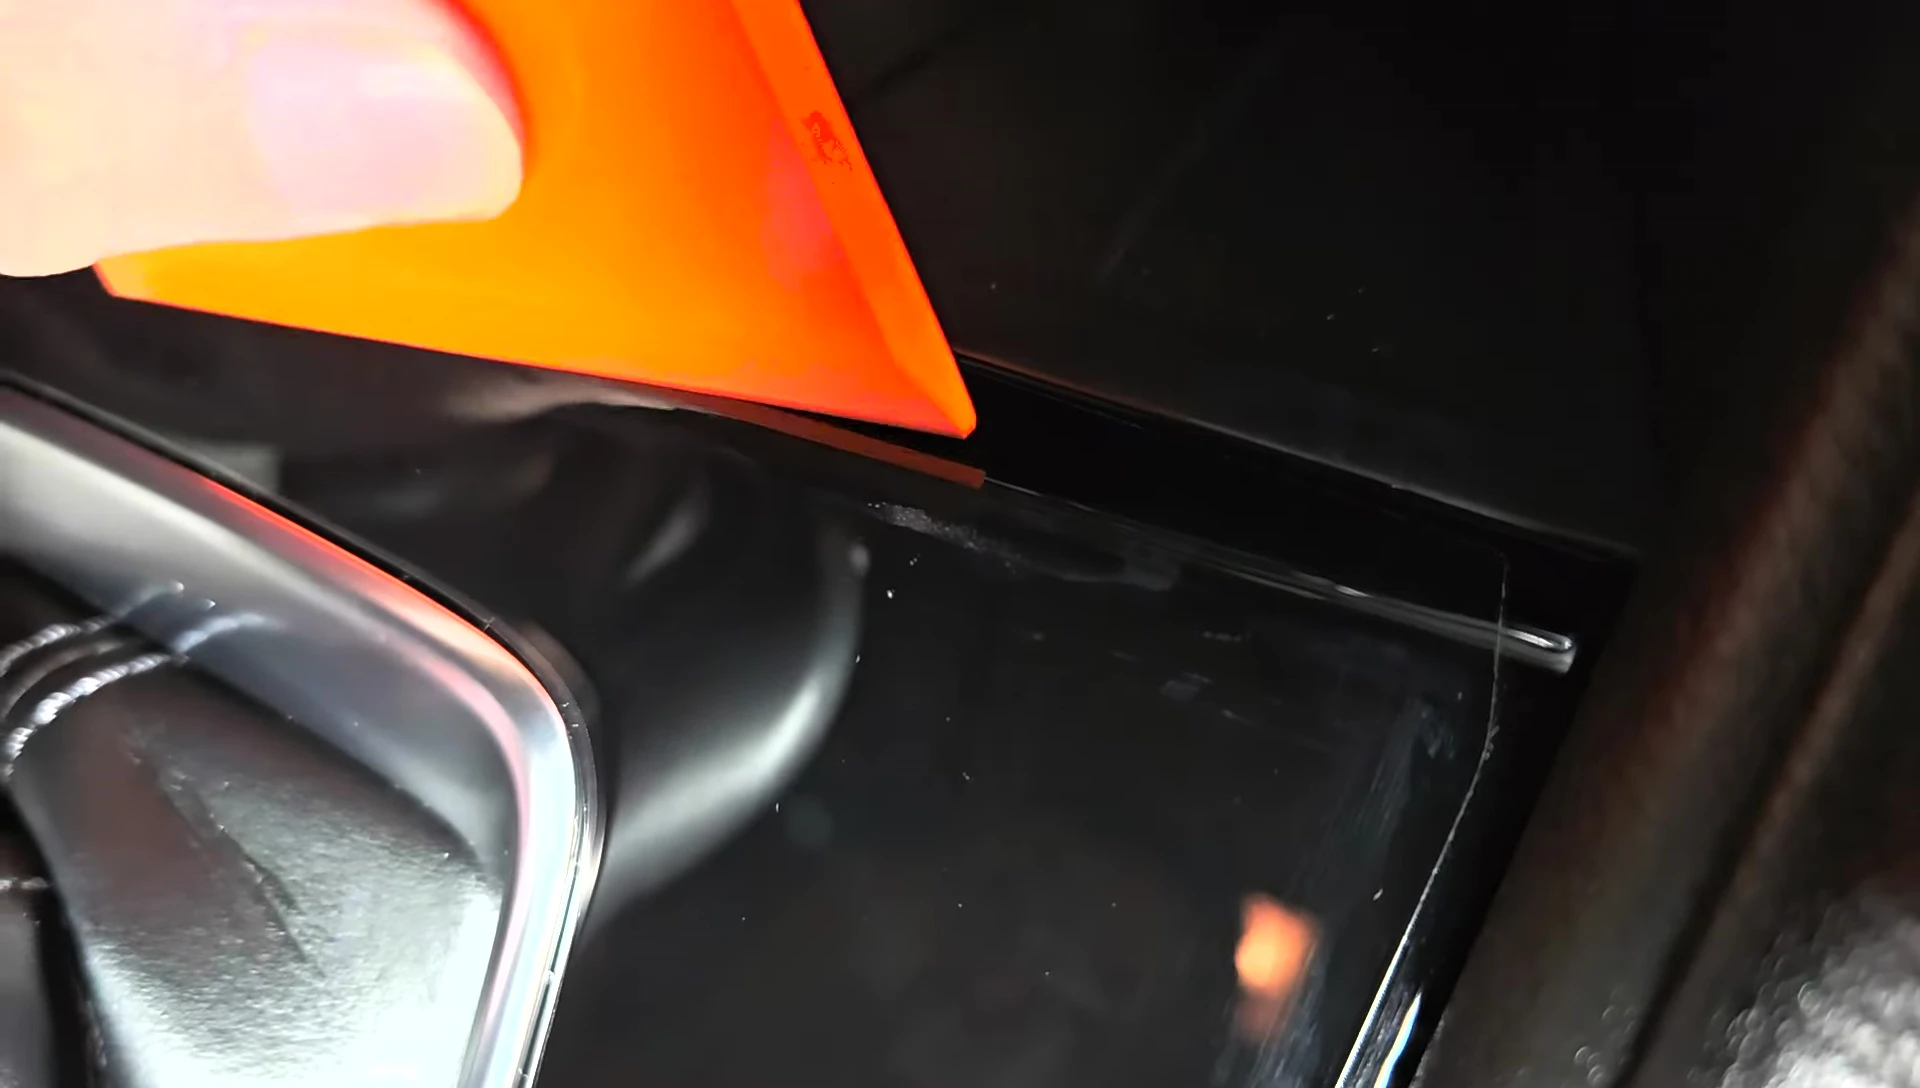
The installation started with cleaning the surface thoroughly. Applying the film involved multiple pieces—a large one for the main console area, and smaller ones for specific sections. The process required precise placement and careful smoothing using the squeegee to avoid bubbles.
The most challenging part was the curved area of the console. Keeping the film wet with the solution was crucial to prevent premature adhesion and allow for adjustments. It's a bit of a tricky process that requires patience and precision.
Tips and Tricks
One tip is to keep the film consistently wet with the solution to prevent it from sticking too quickly. This allows for repositioning and adjustments. Using less soapy water might help with adhesion in challenging areas.
The flat sections of the console were easier to cover than the curved areas, which demanded more attention and patience. Gentle pressure with the squeegee helped eliminate air bubbles and secure the film.
Final Results and Conclusion
A month after installation, the Screen Protect film remains in place flawlessly. No bubbles or peeling are visible, and the scratches are effectively hidden. The overall look is greatly improved. The product effectively concealed the blemishes while offering a protective layer.
I am very pleased with the final outcome and would highly recommend this product to anyone seeking a simple, effective solution for scratched piano black trim. The Screen Protect kit is easy to use, delivers fantastic results, and is worth its price.