Antique piano stools, often overlooked heirlooms, possess a unique charm and historical significance that transcends mere functionality. Their elegant designs, intricate carvings, and often-worn upholstery whisper tales of countless musical performances and family gatherings. Sadly, time and use take their toll, leaving these beautiful pieces faded, chipped, and in need of restoration. But fear not, the process of restoring an antique piano stool can be a rewarding experience, transforming a damaged piece into a cherished family treasure.
This complete guide will walk you through every step of the restoration journey, from initial assessment and cleaning to reupholstering and final polishing. Whether you're a seasoned restorer or a complete beginner, we'll equip you with the knowledge and techniques needed to breathe new life into your antique piano stool. Let's embark on this fascinating project, turning a tired relic into a stunning centerpiece, ready to grace another generation of musicians.
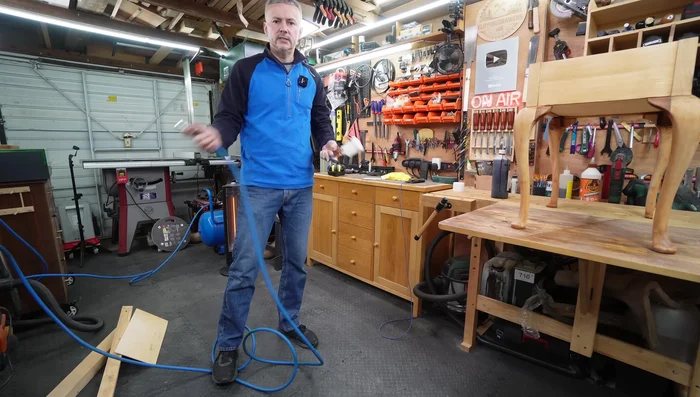
Preparation and Safety Guidelines
- Sandpaper
- Glue
- Chisels
- Wood Filler
- Carving Tools
- Oxalic Acid
- Shellac
- Upholstery Needles
- Thick Thread
- Brass Hinges
- Spray Gun
- Acetone
- Various Woodworking Tools
- Always disconnect the piano stool from any power source before beginning any restoration work. This prevents accidental shocks and injuries.
- Wear appropriate safety gear, including gloves and eye protection, to protect yourself from sharp objects, splinters, and chemicals.
- If unsure about any step in the restoration process, consult a professional piano technician or furniture restorer. Improper handling can cause irreparable damage.
Step-by-Step Instructions
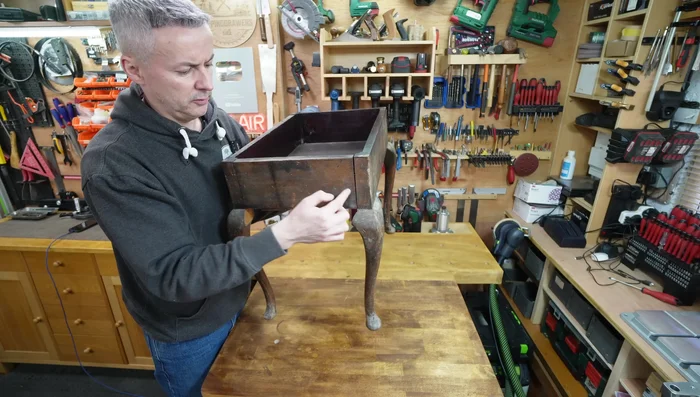
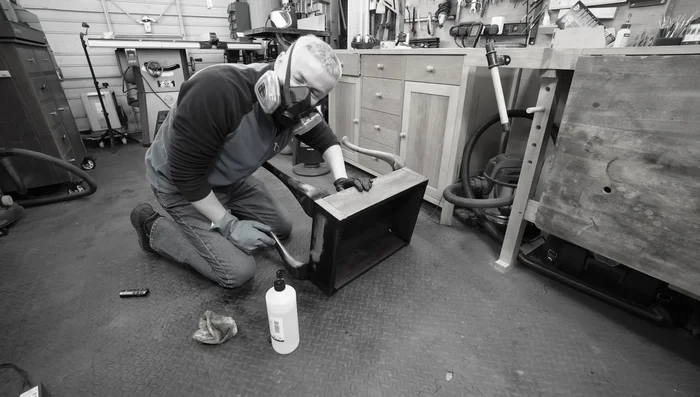
Initial Assessment and Disassembly
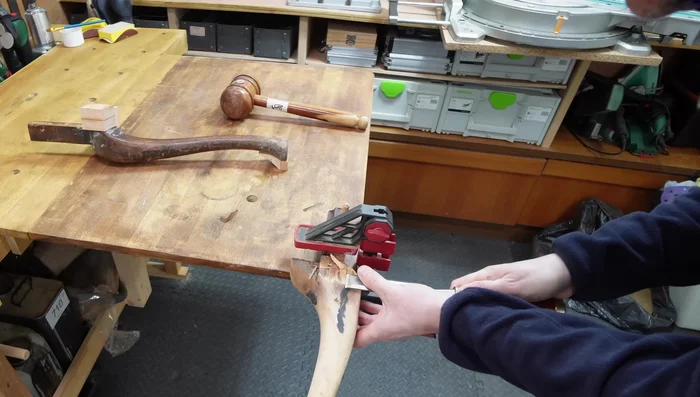
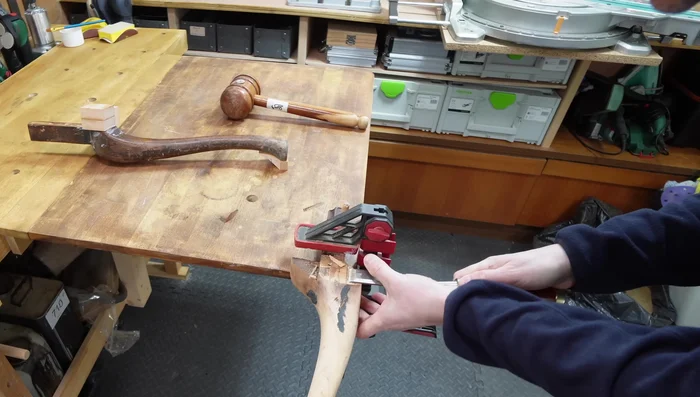
- Assessment and Disassembly

Initial Assessment and Disassembly Surface Preparation
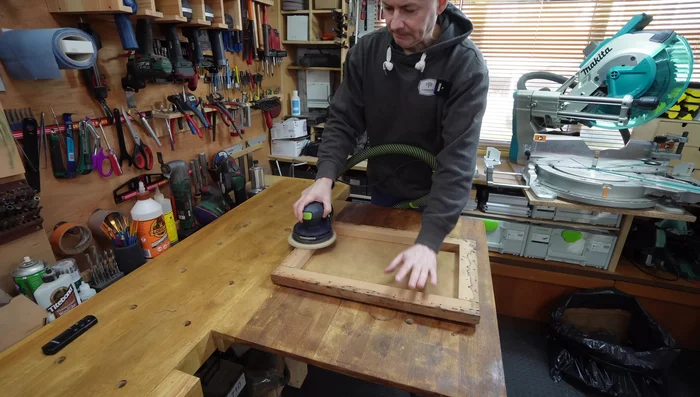
- Sanding and Surface Preparation
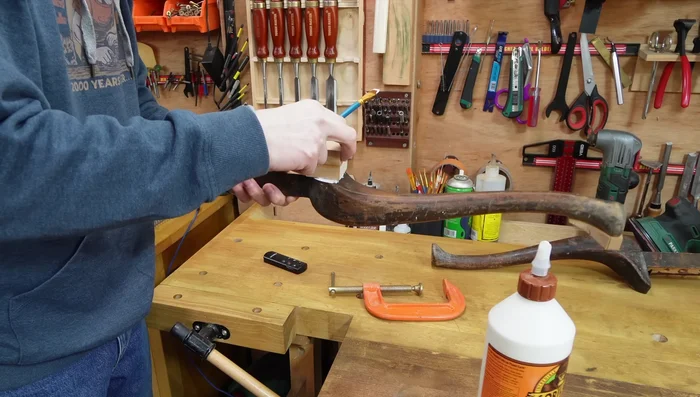
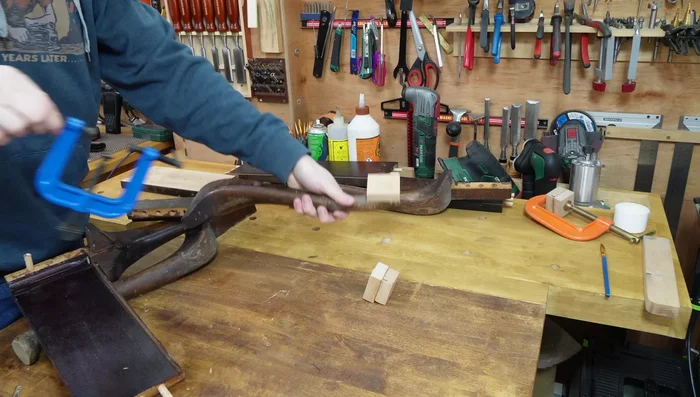
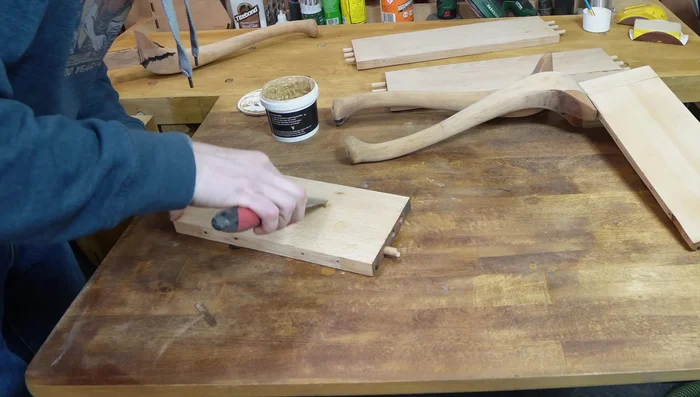
Surface Preparation Major Repairs: Gluing and Wood Block Placement
- Repairing Broken Joints and Missing Pieces with Glue and Wood Blocks
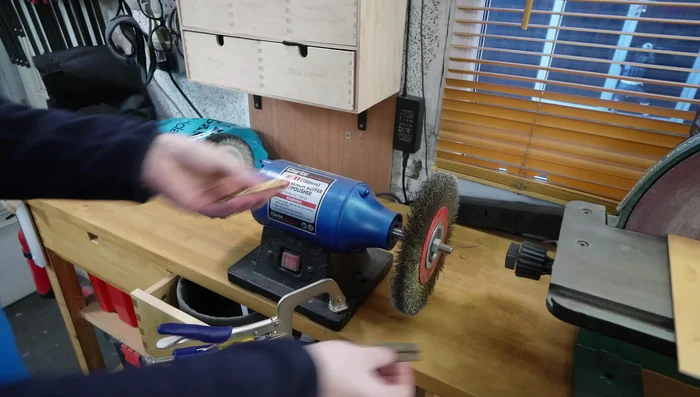
- Removing Excess Material with Beno
Major Repairs: Gluing and Wood Block Placement Carving and Shaping Repairs
- Carving and Shaping the Wood Filler
- Additional Shaping and Refinement with Chisels
Carving and Shaping Repairs Crack Filling and Surface Treatment
- Applying Oxalic Acid to Even Out Tone and Remove Stains
- Filling Cracks with Wood Filler
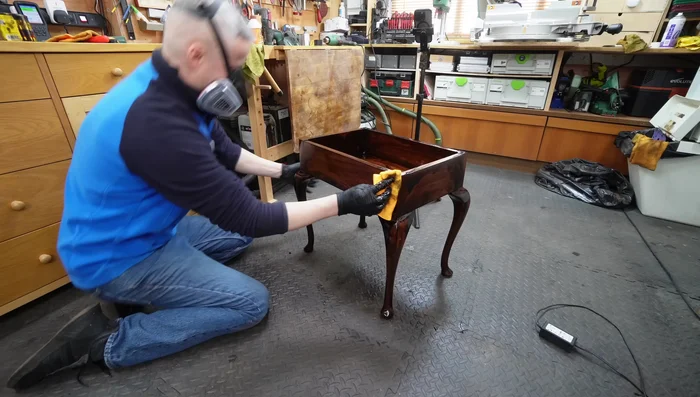
Crack Filling and Surface Treatment Finishing: Shellac Application
- Preparing and Applying Shellac
Finishing: Shellac Application Final Sanding
- Final Sanding
Staining Process (with correction)
- Applying Stain (Initial Attempt)
- Removing Patchy Stain with Acetone
- Reapplying Oil-Based Stain
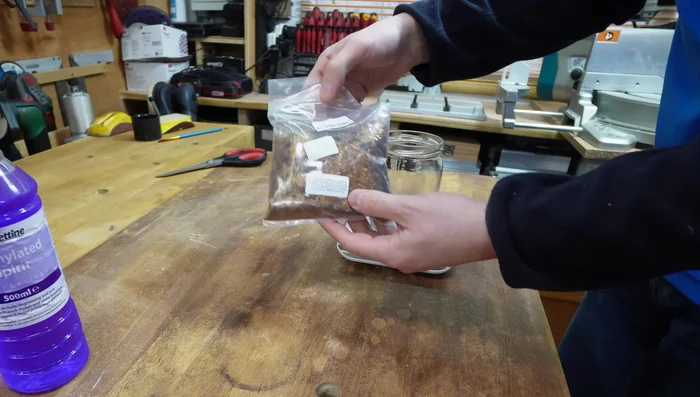
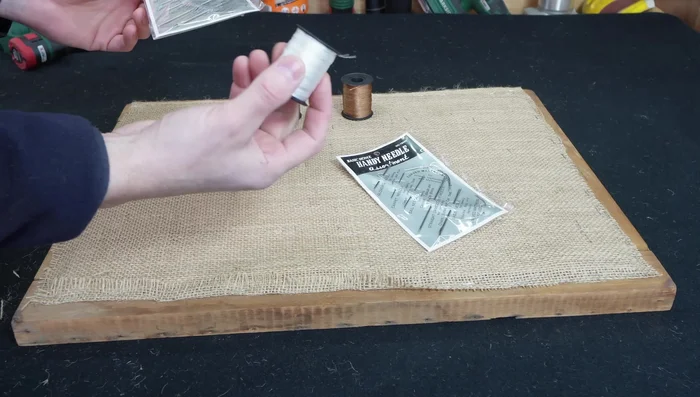
Staining Process (with correction) Seat Restoration: Horsehair Preparation
- Preparing and Attaching Horsehair to the Seat
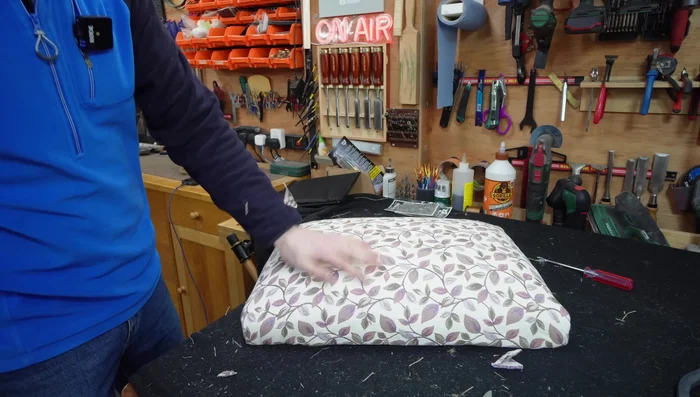
Seat Restoration: Horsehair Preparation Seat Upholstery
- Attaching Fabric to the Seat
Seat Upholstery Final Assembly and Refinement
- Replacing Hinges and Reassembly
Final Assembly and Refinement

Read more: Mastering the Moving Slip Seat: Upholstering a Piano Bench Like a Pro
Tips
- Use a Beno to remove material more easily during carving.
- Apply glue in stages for a less stressful process. High glue in low temperature solidifies quickly.
- Use oil-based stain for a more even finish if initial stain is patchy.