The humble piano bench, often overlooked, can be a surprisingly rewarding upholstery project. Far from a simple fabric swap, mastering the art of recovering a piano bench, especially one with a moving slip seat, unlocks a world of satisfying craftsmanship. This seemingly straightforward piece of furniture presents unique challenges, from navigating the complex mechanism of the sliding seat to ensuring a perfectly taut, professional finish. The satisfaction of transforming a worn-out bench into a stunning centerpiece for your musical haven is unparalleled.
This guide delves into the intricacies of upholstering a piano bench with a moving slip seat, guiding you through each step of the process. Whether you're a seasoned upholsterer or a curious beginner, prepare to learn the techniques necessary to achieve a flawless result, transforming your old bench into a testament to your newfound skills. Let’s get started with our step-by-step instructions.
Preparation and Safety Guidelines
- Fabric
- Scissors
- Tape measure
- Magnetic tack hammer
- Pins
- Staple gun
- Always disconnect power to any electrical components before starting any disassembly or repair work. Failure to do so could result in serious injury or death.
- Use appropriate safety glasses and a dust mask when working with staples, springs, or fabrics. Flying debris and inhaled particles can cause injury.
- Work in a well-ventilated area, especially when using adhesives or solvents. Proper ventilation prevents exposure to harmful fumes.
Step-by-Step Instructions
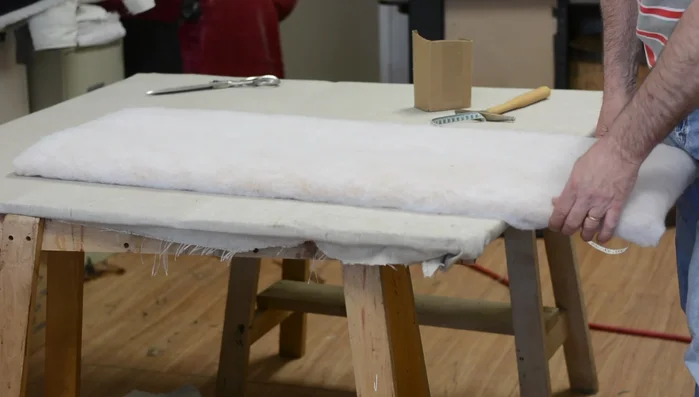
Measuring and Fabric Preparation
- Measure the bench where you'll be tacking/stapling, adding 1.5 inches to each side for stretching.
- Transfer measurements to your fabric, ensuring the fabric is rolled inwards and the bottom faces you.
- Mark the center of the fabric (front and back). Notch the front and, using a defined stripe as a guide, find the matching point on the back and notch it. Avoid relying on just folding and notching both ends simultaneously, as stripes may not perfectly align.

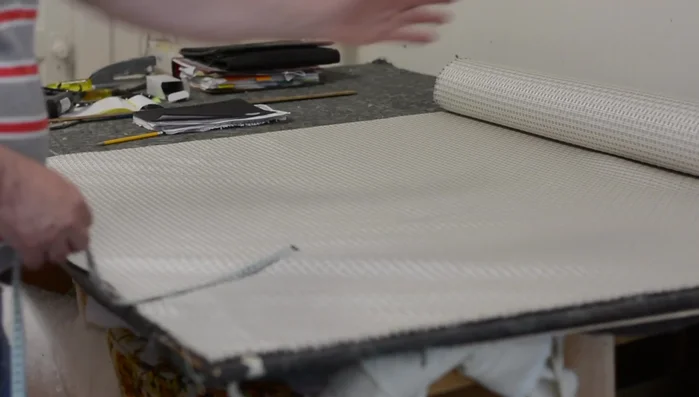
Measuring and Fabric Preparation Initial Fabric Placement and Pin Tacking
- Place the fabric on the bench, aligning notches with the center point. Leave 1.5 inches of fabric on each side.
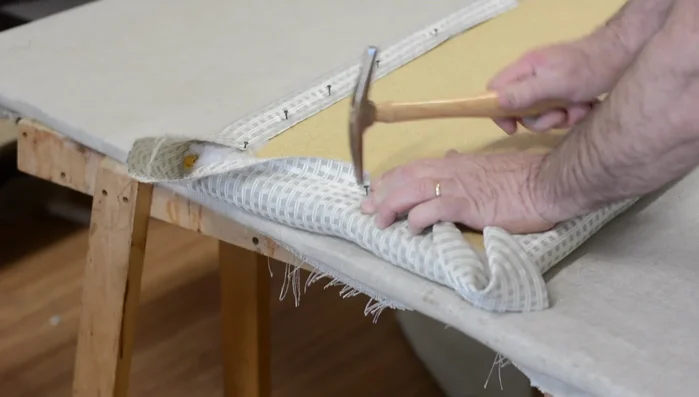
- Begin pin tacking using a magnetic hammer. Start with the center and ends, using a gentle stretch. Avoid over-stretching initially.
- Add pin tacks every 3 inches or so. Don't start stapling yet; pin tacking provides better control initially.
- Add pin tacks to the sides at the center points, ensuring straight stripes.
Initial Fabric Placement and Pin Tacking Refining the Stretch and Pin Tacking
- Undo and re-pin tack one side, applying more stretch. Use your body weight to position and hold the fabric. This is a one-person job; adjust your position (chair, height, etc) to maintain good control.
- Make sure your stripes are straight and even, working half a side at a time. Use the magnetic tack hammer to easily pick up pins.
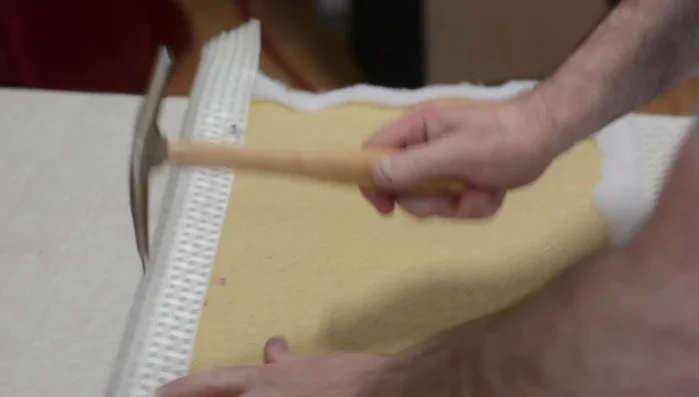
Refining the Stretch and Pin Tacking Stapling and Corner Pleating
- Once you have even tension, move on to stapling. Begin by placing a staple near the end of the fabric; this helps create a clean pleat.
- For the corners, ensure the good (pleated) side faces outwards. Place a staple near the corner to help with pleating. The pleat size will depend on the padding.
- Finish stapling, making sure the stripes remain straight. Minor adjustments can be made before the final staples are set.
Stapling and Corner Pleating


Read more: Antique Piano Stool Restoration: A Complete Guide
Tips
- Use a magnetic tack hammer to greatly simplify pin tacking.
- Don't overstretch initially; refine the stretch gradually.
- Striped fabric is ideal for beginners, as the lines act as guides.
- Adjust your working position as needed for better control.
- Work half the side at a time for better control during stretching and stapling.