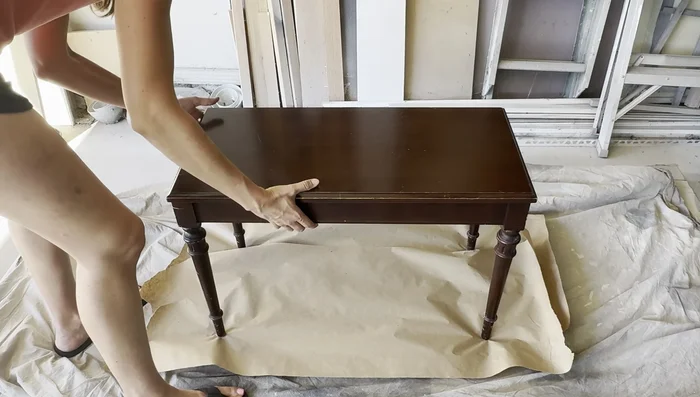
The piano bench, often overlooked, is a crucial element of any pianist's experience. More than just a seat, it’s a statement piece, reflecting the elegance and sophistication of the instrument itself. A worn or damaged bench, however, can detract significantly from the overall aesthetic. Restoring a piano bench to its former glory, or even giving it a stylish makeover, is a rewarding project that can breathe new life into your musical haven. The right stain can dramatically transform the bench, bringing out the natural beauty of the wood or creating a completely new look.
This article will guide you through the process of refinishing your piano bench, focusing specifically on the crucial aspects of stain matching and achieving a flawless final finish. We'll walk you through each step, from preparation and sanding to stain application and final sealing, ensuring your bench emerges revitalized and ready to complement your piano for years to come.
Preparation and Safety Guidelines
- Smart Strip stripper
- Chip brush
- Safety glasses
- Brown craft paper
- Flathead screwdriver
- Scraper
- Finishing cleaner
- Quadruple zero steel wool pad
- Paper dowel
- Paper towels
- 120 grit sandpaper
- 80 grit sandpaper
- Sanding block
- Contoured sanding pieces
- Foam abrasives
- Surf prep sander
- Orbital sanding disc
- Minwax pre-conditioner
- Chip brush or foam brush
- Minwax Golden Oak stain
- Lint-free shop towel
- Water mister
- Top coat (satin polyacrylic)
- General Finishes Glaze Effects in Van Dyke Brown
- Foam brush
- Deck brush
- Broom brush
- Always work in a well-ventilated area when using stains and finishes. Inhaling fumes can be harmful.
- Test your stain on an inconspicuous area of the bench first to ensure you achieve the desired color and avoid unexpected results.
- Use appropriate safety gear, including gloves, eye protection, and a respirator, when working with chemicals.
Step-by-Step Instructions
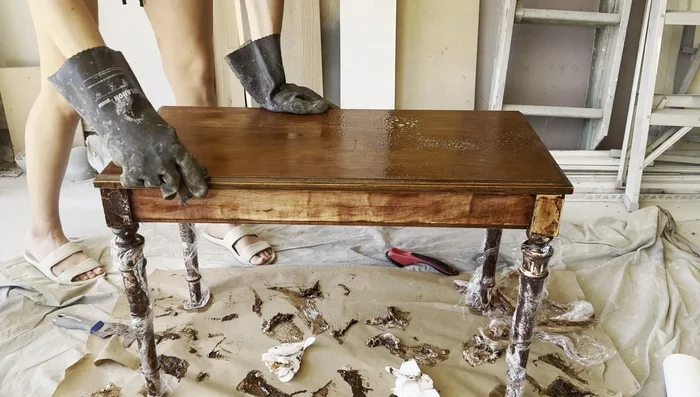
Stripping the Old Stain
- Strip the old stain using Smart Strip stripper. Apply with a chip brush, let it sit, and scrape off.

Stripping the Old Stain Cleaning and Initial Surface Preparation
- Clean the surface with finishing cleaner and a steel wool pad. Wipe down with a paper towel.
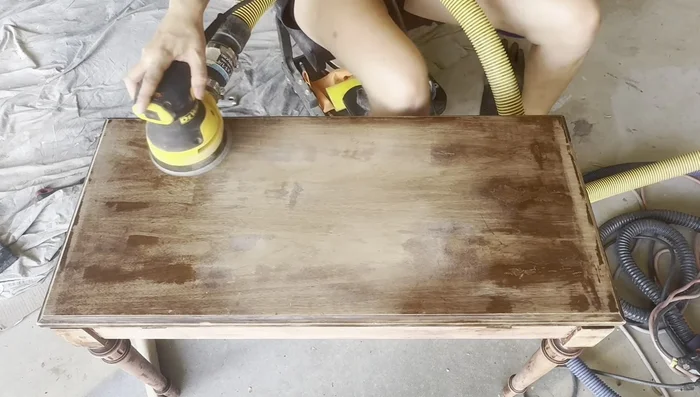
Cleaning and Initial Surface Preparation Sanding
- Sand the surface. Use 120 grit sandpaper on veneer, and 80 grit for other areas. Use sanding blocks and contoured pieces for detailed areas. Use a surf prep sander with foam abrasives for efficiency.
Sanding Pre-Conditioning
- Apply Minwax pre-conditioner to help the stain absorb evenly. Wipe off excess after 5-15 minutes.
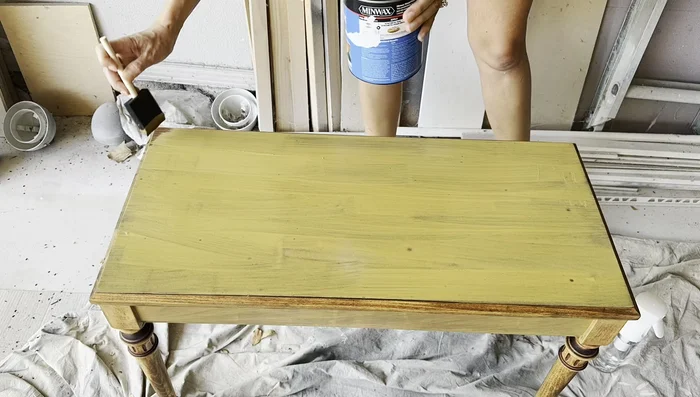
Initial Stain Application
- Apply Minwax Golden Oak stain. Wait 5-15 minutes and wipe back excess. Let it dry completely (48 hours).
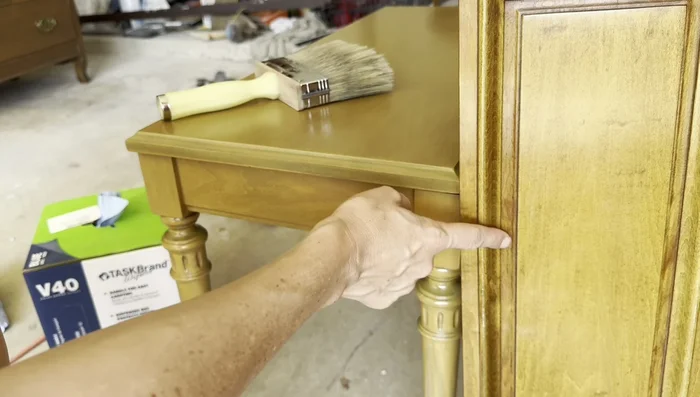
Initial Stain Application Color Correction with Solid Stain
- If the stain is uneven, use a solid color stain (like Minwax) to even out the color. Apply in thin coats, allowing each coat to dry.
- For larger surfaces, use a water mister to create a slip coat to give more working time when applying the stain or glaze. Wipe back excess immediately.
Color Correction with Solid Stain Glazing for Depth and Grain Effect
- Apply a glaze (like General Finishes Glaze Effects in Van Dyke Brown) to add depth and brown lines. Use a brush, then a deck brush to smooth and blend. Wipe back excess on edges.
Glazing for Depth and Grain Effect Top Coating and Finishing
- Apply multiple coats of top coat (satin polyacrylic) to seal the finish. Sand lightly between coats to ensure a smooth finish.
Top Coating and Finishing

Read more: Antique Piano Stool Restoration: A Complete Guide
Tips
- For safer stripping, use a paste stripper like Smart Strip. It applies well to vertical surfaces and doesn't drip.
- When using a paste stripper, reapply in areas that are drying out to ensure even stripping.
- Use a water mister to extend the working time of water-based products (glaze, stain).
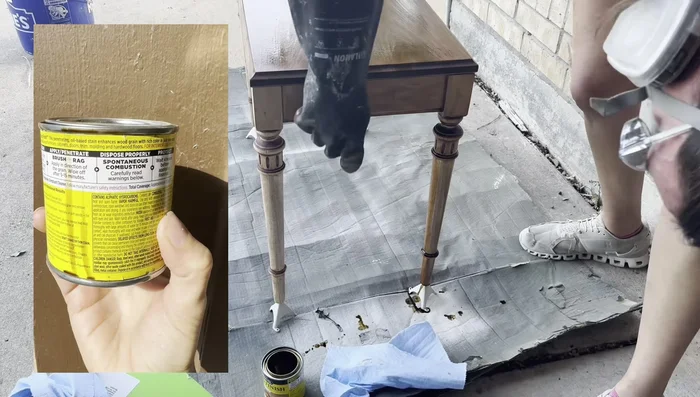
- Don't let stained rags sit in a bag because they can spontaneously combust.
- Sanding blocks and contoured sanding pieces are essential for hard-to-reach areas.