Castor wheels, while incredibly useful for mobility, can wreak havoc on your floors. Scratches, dents, and general wear and tear are common complaints. Fortunately, there's a simple and effective solution: installing floor savers on your castor wheels. This method, using heat-shrink tubing, offers a quick and easy way to protect your floors without requiring specialized tools or extensive knowledge. It's a surprisingly inexpensive and durable fix, far surpassing the temporary protection offered by felt pads or other flimsy alternatives. Forget about the hassle of constant repairs or replacing damaged flooring.
This comprehensive guide will walk you through a step-by-step installation process for your castor tire floor savers using the heat shrink method. From selecting the right size tubing to achieving a perfect, snug fit, we’ll cover everything you need to know to protect your floors and your investment, ensuring smooth and silent operation of your wheeled equipment for years to come. Let's get started!
Preparation and Safety Guidelines
- Castor Tire Floor Saver (heat-shrink version)
- Heat gun or hairdryer
- Always use appropriate safety glasses and gloves to protect yourself from heat and potential debris.
- Ensure adequate ventilation to avoid inhaling fumes produced by the heat gun. Work in a well-ventilated area or wear a respirator.
- Never leave the heat gun unattended while it's on. Overheating can damage the tire and surrounding surfaces.
Step-by-Step Instructions
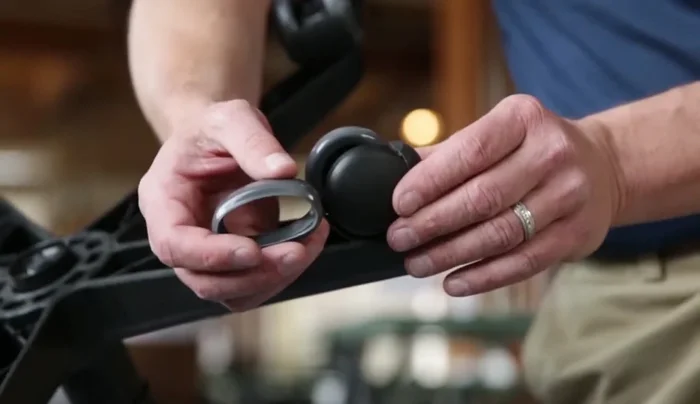
Prepare for Installation
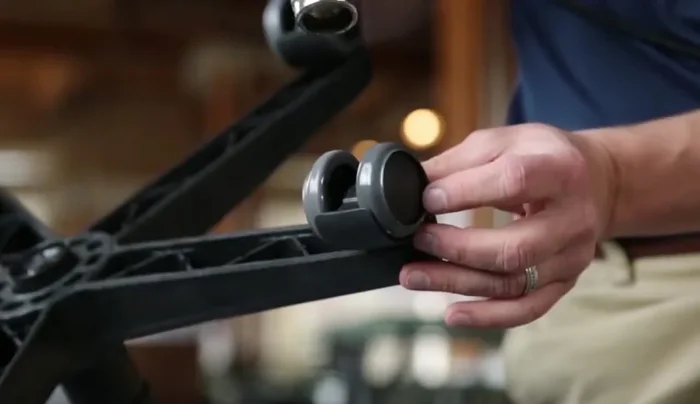
- Place the castor tire over the exposed part of the wheel.
- Ensure the flange or sharp edge of the tire faces the outside of the castor, and the rounded edge faces the inside.

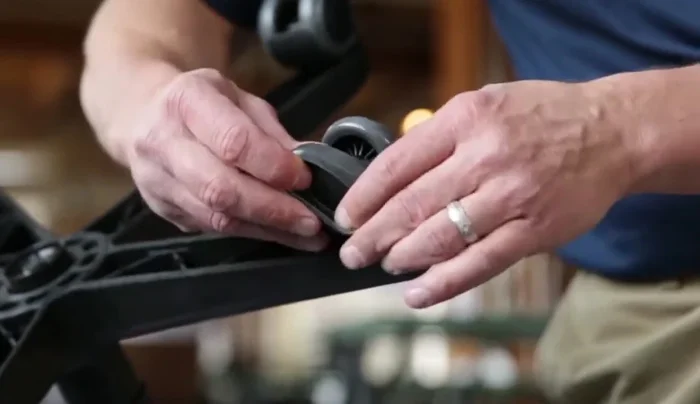
Prepare for Installation Position and Secure the Tire
- Rotate the wheel 1/2 rotation.
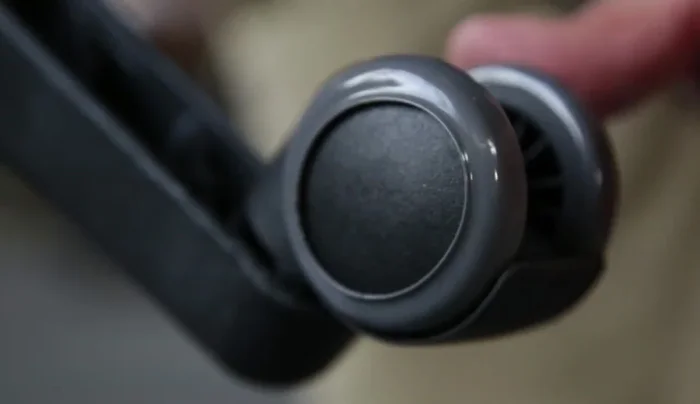
- Stretch the castor tire on until it's securely in place and centered on the wheel.
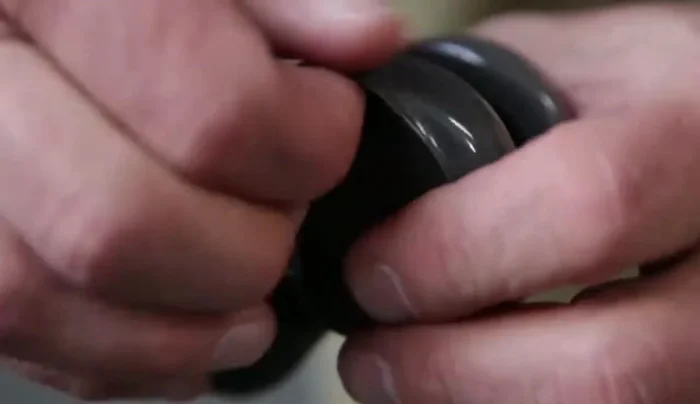
Position and Secure the Tire Heat Shrink the Tire
- Use a heat gun (or hairdryer on high) to shrink the castor tire onto the wheel. Rotate the wheel 1/2 rotation during the process.
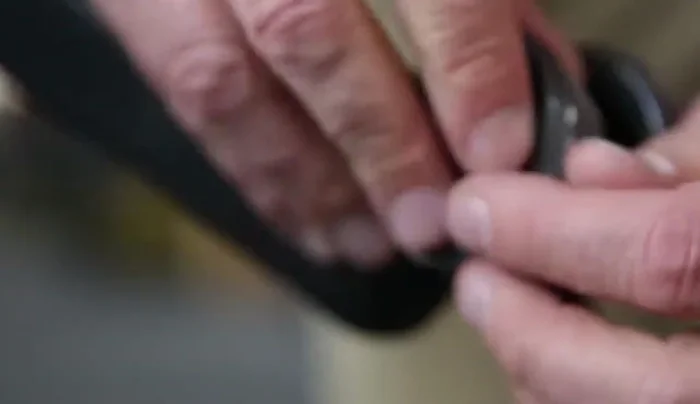
Heat Shrink the Tire Final Check
- Once the tire is properly formed and cooled, the installation is complete.
Final Check
Read more: Fixing a Piano's Tight Casters: The Router & Chisel Method
Tips
- For the original version (non heat-shrink), ensure the flange faces the outside.
- Be careful not to overheat the tire or castor when using a heat gun.