Tired of expensive sustain pedals hindering your musical journey? Do you yearn for that expressive, lingering sound but balk at the price tag? Then look no further! This guide reveals a surprisingly effective and remarkably inexpensive alternative: a DIY sustain pedal crafted entirely from a readily available CD case. This simple project requires minimal tools and materials, transforming a discarded item into a functional musical accessory. Forget the hefty price tags and embrace the ingenuity of upcycling – creating your own sustain pedal will not only save you money but also allow you to customize it to perfectly suit your needs.
This project proves that sometimes the best solutions are the simplest. Using only common household items and a few basic tools, you can build a reliable sustain pedal that rivals store-bought models in functionality. In the following steps, we’ll guide you through the straightforward process of transforming that old CD case into a fully operational sustain pedal, ready to enhance your keyboard playing. Let's get started!
Preparation and Safety Guidelines
- CD case
- Standard mono guitar/piano jack
- Wires
- Soldering iron (optional)
- Rubber bands
- Small pin
- Always use a well-ventilated area when working with electronics and soldering. Inhaling fumes can be harmful.
- Ensure the power supply you use matches the voltage requirements of your keyboard or digital piano. Incorrect voltage can damage your instrument.
- Exercise caution when working with sharp objects like scissors or the metal parts of the CD case. Wear appropriate safety gloves if needed.
Step-by-Step Instructions
Gather Materials
- Acquire a used CD case.

Gather Materials Prepare the Jack
- Cut the standard jack to expose the copper wires.
- Identify the insulated and non-insulated copper wires.
- Extend the wires using a smaller wire, if necessary, and connect them to a pin.
- Connect the positive and negative terminals.
Prepare the Jack Assemble the Pedal
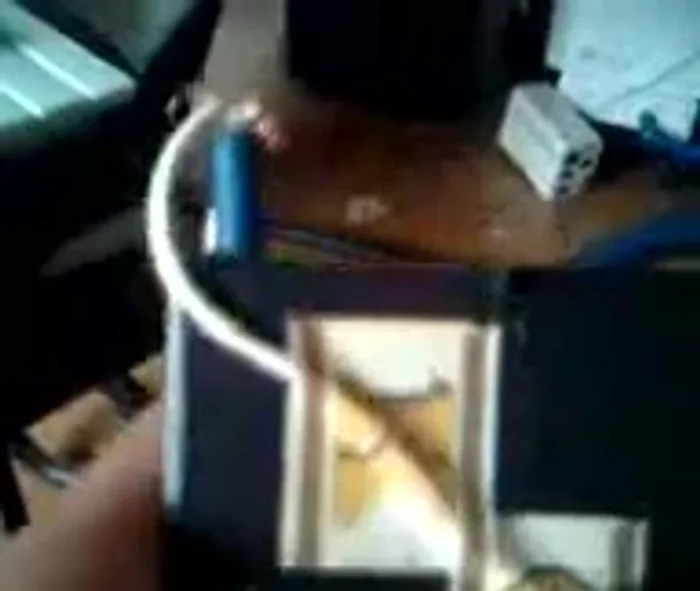
- Drill a hole in the CD case and secure the pin into the case using rubber bands to keep it in place.
- Use additional rubber bands to hold the CD case closed securely.
Assemble the Pedal Connect to Piano
- Connect the jack to your piano's footswitch port.
Connect to Piano


Read more: Steinway Piano Pedal Tightening: The Efficient Method
Tips
- For better stability, use a sturdier material like wood or metal.
- Experiment with different materials to find the optimal balance of stability and weight.