Moving a piano is notoriously challenging, often requiring specialized equipment and professional movers. The sheer weight and delicate nature of these instruments make DIY relocation a daunting prospect, but not impossible. For those determined to tackle this formidable task themselves, significant savings are possible, but careful planning and execution are absolutely paramount. This isn't a job for the faint of heart; it requires physical strength, meticulous attention to detail, and a willingness to invest time in proper preparation. Mishaps can lead to costly repairs, or even worse, irreparable damage to your cherished instrument.
This comprehensive guide will equip you with the knowledge and step-by-step instructions necessary to successfully move your piano without professional assistance. From initial assessment and essential equipment gathering to the careful maneuvering and final placement, we'll cover every crucial aspect of the process. Ready to get started? Let's dive into the detailed, step-by-step process outlined below.
Preparation and Safety Guidelines
- Moving blankets
- Packing tape
- Dolly or hand truck
- Ratchet straps
- Bubble wrap
- Lifting a piano is incredibly heavy and dangerous. Never attempt to move a piano alone; always have at least two strong, experienced helpers.
- Protect your floors and the piano's finish. Use furniture sliders or a piano dolly and ensure the moving path is clear of obstacles to prevent scratching or damage.
- If you're unsure about any aspect of the move, hire professional movers. Improper handling can cause serious injury or irreversible damage to the instrument.
Step-by-Step Instructions
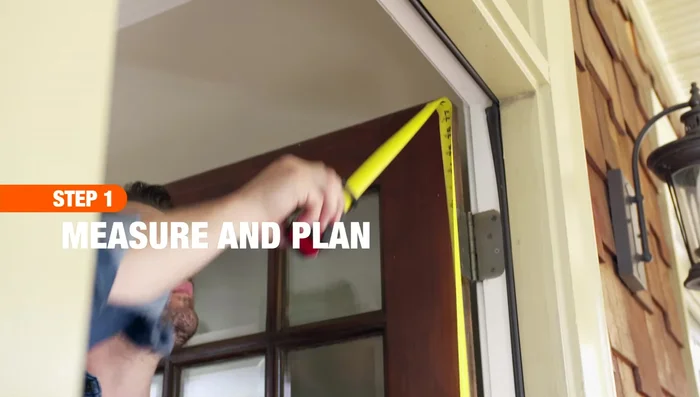
Planning and Preparation
- Measure and plan your moving route, clearing all obstructions and measuring doorways, staircases, and other passageways.
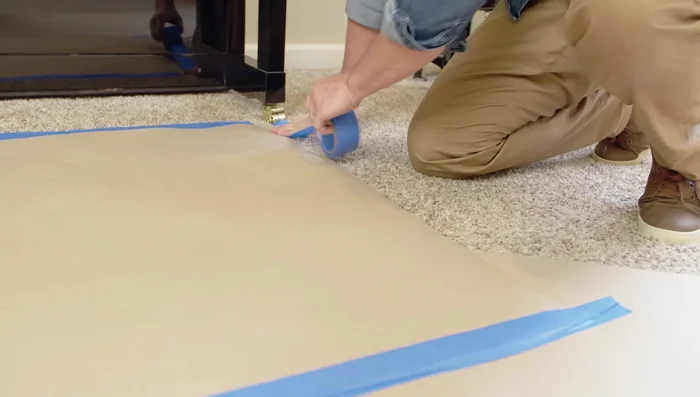
- Protect floors in all locations where the piano will pass through.
- Ensure pets and children are kept away from the moving area.
- Recruit help (4-5 people) to lift and guide the piano.

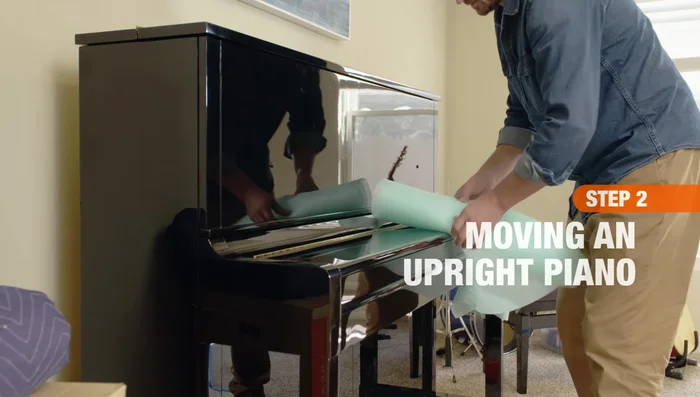
Planning and Preparation Protecting the Piano
- Wrap the pedals and keys with bubble wrap and tape. Wrap the lid over the keyboard and secure it with tape. Wrap the entire piano with moving blankets and secure with tape.
Protecting the Piano Loading the Piano
- Carefully lift the piano and place it onto the dolly or hand truck. Secure it with ratchet straps.
- Roll the piano onto the moving truck and secure it safely using straps.
Loading the Piano Unloading and Finishing
- At the new location, carefully move the piano into place, taking your time.
- Wipe down the piano to remove dust and residue.
Unloading and Finishing


Read more: DIY Piano Bench Cushion: A Comfortable Upgrade
Tips
- Pianos are heavy, awkward, and fragile. Take your time and ask for help.
- Be prepared to retune the piano after moving it.