MainStage, Apple's powerful live performance application, offers a wealth of tools for musicians to craft immersive and polished shows. However, harnessing the full potential of its features, particularly when juggling click tracks, looping, and intricate keyboard patches, demands a carefully orchestrated workflow. Successfully integrating these elements can transform a performance from a potentially chaotic experience into a seamless and professional presentation. Managing the interplay between these crucial components is key to a successful live performance.
This article will guide you through the process of synchronizing click tracks, loops, and keyboard patches within MainStage, ensuring a smooth and reliable performance every time. We'll explore a step-by-step approach, covering essential techniques and best practices to help you create a highly efficient and professional workflow that eliminates technical hiccups and allows you to focus on what truly matters: your music.
Preparation and Safety Guidelines
- MainStage
- Always back up your MainStage set before making significant changes to your click track, loops, or patches. This prevents data loss if something goes wrong.
- Ensure your audio interface's buffer size is appropriately set for low latency. Too high a buffer can introduce noticeable delays between your playing and the click/loops.
- Double-check your tempo and time signature settings across all elements (click track, loops, MIDI regions) to avoid synchronization issues. Inconsistencies can lead to timing problems during performance.
Step-by-Step Instructions
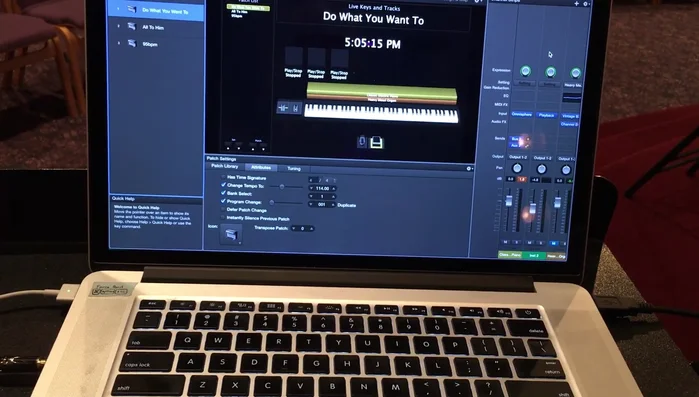
Set up Song Triggers
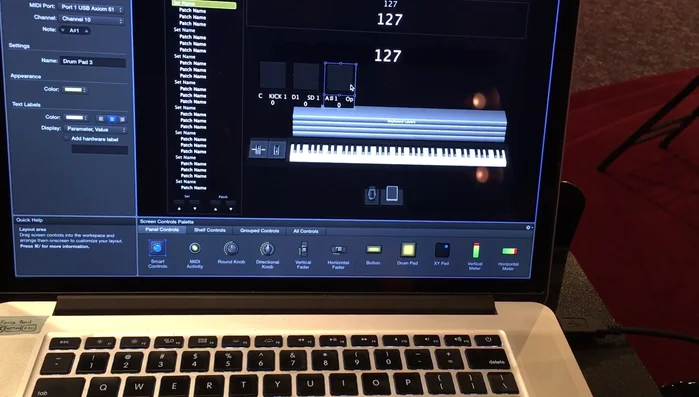
- Set up three buttons (or more, depending on your setlist) in MainStage, each assigned to a different song.
- Assign each button to trigger its corresponding Playback instance. This will play the backing track/loop for that song.

Set up Song Triggers Create Playback Instances
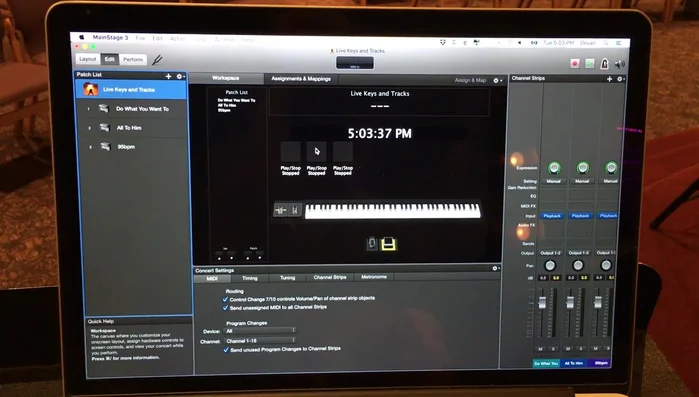
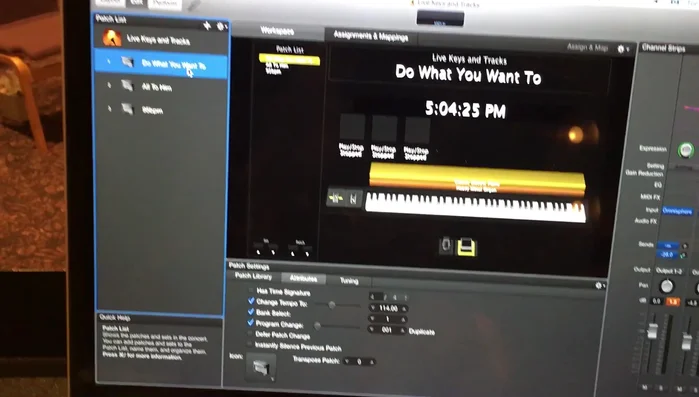
- Create three separate Playback instances in MainStage. Each instance will contain a loop and/or backing track for a specific song. Ensure each song's tempo information is accurately set within MainStage.
Create Playback Instances Establish Global Tempo
- Create a global metronome track (or use MainStage's built-in metronome) and ensure it's activated. This will provide the tempo for your arpeggiators and delay effects.
Establish Global Tempo Sync Playback and Metronome
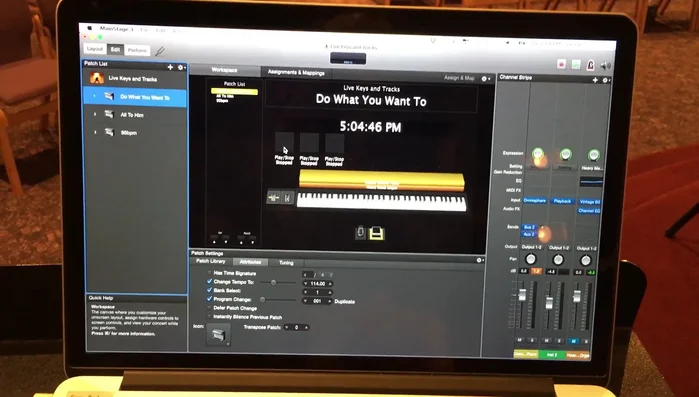
- Double map each button so that when pressed, it triggers both the song's Playback instance AND the global metronome. This will ensure all elements (backing track, arpeggiators, etc.) sync to the tempo.
Sync Playback and Metronome Configure Tempo-Synced Effects
- In your keyboard patches, set up your arpeggiators and delay effects to sync to the global metronome's tempo. This will allow them to maintain correct timing even if your performance is slightly off the beat.
Configure Tempo-Synced Effects

Read more: Mastering Rhythm: A Metronome-Based Exercise for Musicians
Tips
- Double-check your button mappings to ensure they are correctly triggering both the Playback instance and the metronome. The presenter experienced occasional issues needing to press the buttons multiple times, suggesting a potential mapping or routing problem.
- If you encounter issues where the song track doesn't play alongside the metronome, review your button mappings and ensure the proper signal routing is established between the buttons, the Playback instances, and the global metronome. It may also help to restart MainStage if issues persist.