The piano, a majestic instrument capable of producing a vast range of sounds, is a marvel of engineering. Beneath its polished exterior lies a complex mechanism of meticulously crafted parts, working in perfect harmony to create music. For the curious and mechanically inclined, understanding the inner workings of a piano can be incredibly rewarding, even leading to the desire to disassemble and reassemble it. More than just a hobby, this process requires precision, patience, and a detailed understanding of the instrument's construction. Disassembling a piano is not a task to be taken lightly; it demands careful planning and execution.
This seemingly daunting task can be broken down into manageable steps, allowing even novice enthusiasts to safely deconstruct their piano. From carefully removing the keys to separating the soundboard, we will guide you through each stage of this intricate process. In the following sections, we will present a comprehensive step-by-step guide that will equip you with the knowledge and confidence to safely and effectively deconstruct your piano.
Preparation and Safety Guidelines
- Screwdriver
- Drill
- Pliers (various types)
- Ratchet set with 7/32 hex bit and 1/4 inch adapter
- Impact driver (optional)
- Ear protection
- Disassemble only if you have extensive experience with musical instrument repair and woodworking. Improper disassembly can cause irreparable damage.
- Always disconnect the piano from the power supply before beginning any work. This prevents electric shock and damage to internal components.
- Wear appropriate safety gear, including gloves and eye protection, to avoid injury from sharp edges and springs.
Step-by-Step Instructions
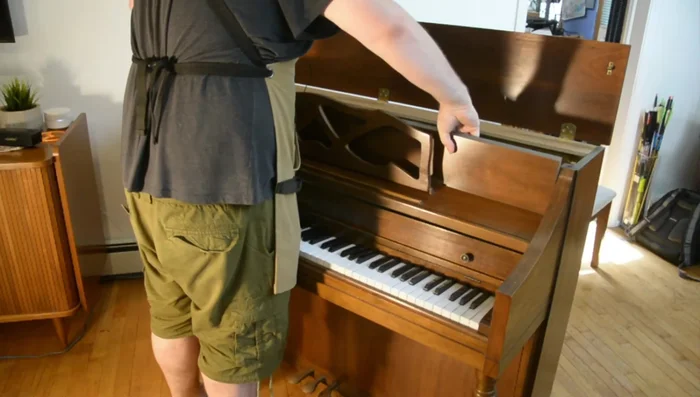
Prepare the Piano
- Remove the top faceplate.
- Clean the dust from each layer as you go.

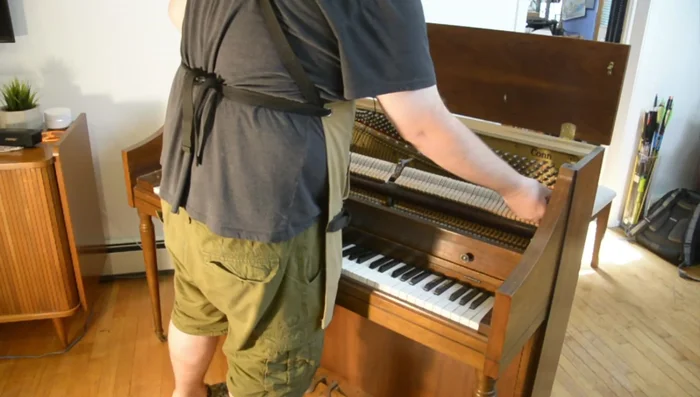
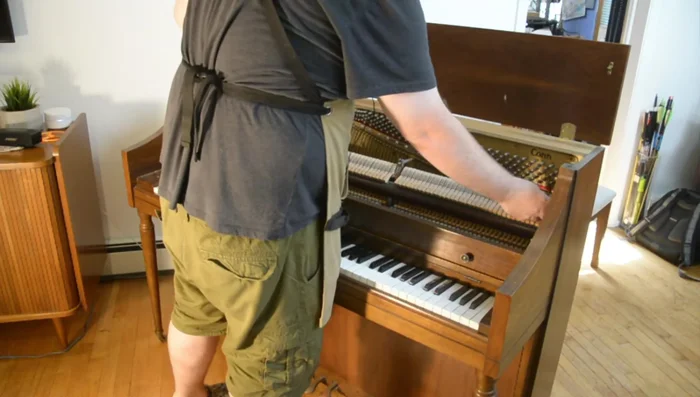
Prepare the Piano Access the Key Mechanism
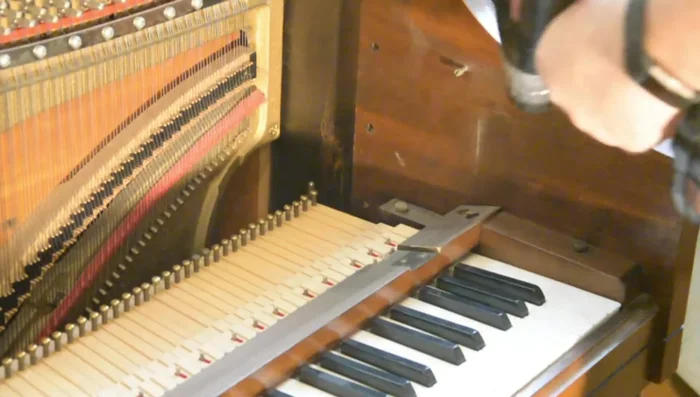
- Remove the faceplate covering the keys.
- Loosen the pins holding the hammer sets.
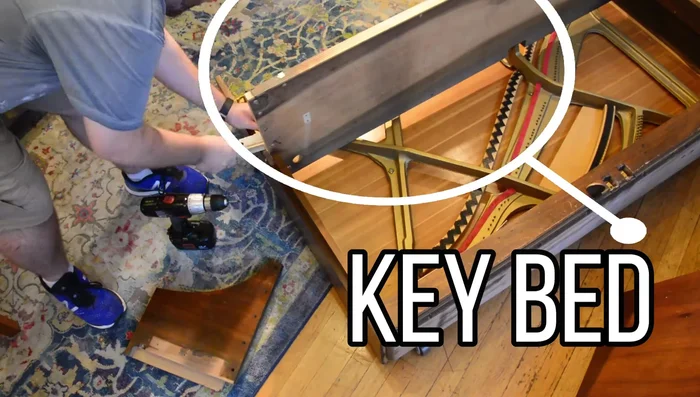
- Remove the key stop rail (the piece holding the keys down).
Access the Key Mechanism Remove the Keys
- Remove the keys carefully (saving them for later projects).
- Clean the dust from each layer as you go.
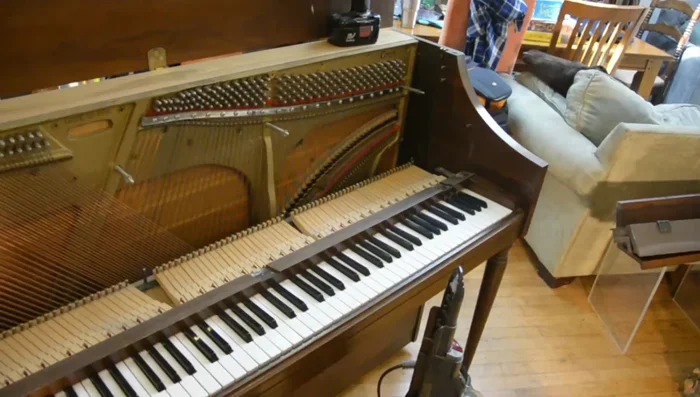
Remove the Keys Remove Lower Components
- Clean the dust from each layer as you go.
- Remove the screws from the board under the keys, then remove the key slip and lower front board.
- Remove the pedal mechanisms (wing nuts and screws).
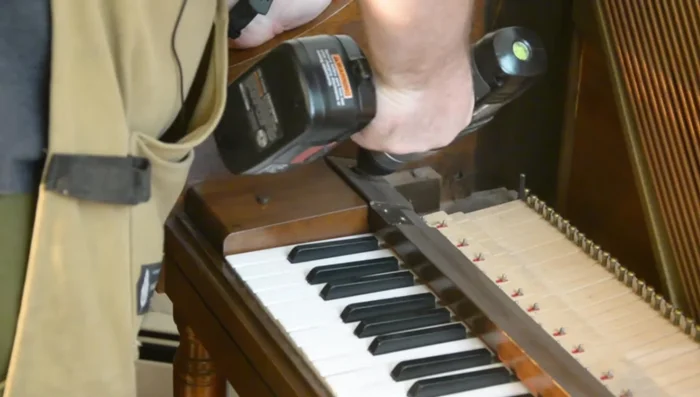
Remove Lower Components Remove Strings
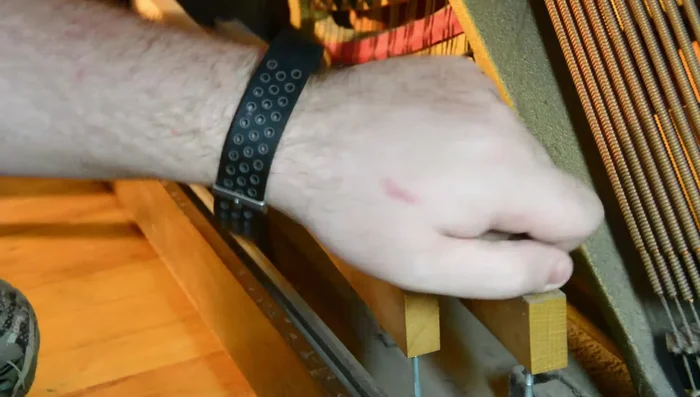
- Carefully remove the strings. Release tension on the larger strings before cutting to prevent them from snapping.
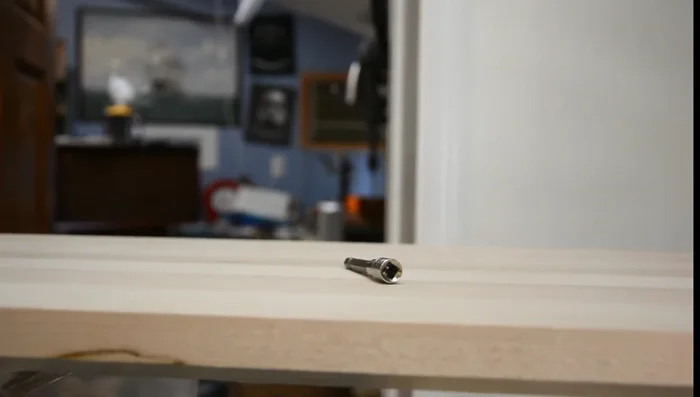
- Use a 7/32 hex bit in a ratchet or impact driver to remove the tuning pins.
Remove Strings Remove Cast Iron Center
- Remove the screws holding the cast iron center in place.
- Individually remove the tuning pins from the cast iron center.
Remove Cast Iron Center Final Disassembly
- Remove the legs and remaining screws to separate the main components.
Final Disassembly

Read more: Restoring a Century-Old Piano Bench: A Leather Re-upholstery Guide
Tips
- Clean each layer as you go to control dust.
- Be extremely careful when removing the strings; they are under high tension and can cause injury.
- The process of removing the tuning pins is very time-consuming and requires specialized tools.