Antique stools, often overlooked relics of a bygone era, hold a unique charm and potential for transformation. Their sturdy frames and simple designs lend themselves perfectly to the art of restoration, offering a rewarding project for both seasoned craftspeople and enthusiastic beginners. Breathing new life into these forgotten pieces not only preserves a piece of history but also allows for creative expression through the careful selection of materials and techniques. This article explores the process of revitalizing antique stools, focusing on the elegant use of aniline dye to enhance the wood's natural beauty and the expert application of high-quality upholstery to complete the makeover.
We'll guide you through each stage, from the initial assessment and cleaning to the final touches of finishing and protection. Learn how the vibrant hues of aniline dye can dramatically alter the appearance of the wood, and how skilled upholstery techniques can dramatically upgrade comfort and style. Ready to embark on this rewarding journey of upcycling? Let's dive into the step-by-step process below.
Preparation and Safety Guidelines
- Aniline dye
- Lacquer
- Cotton fabric
- Cording
- Staple gun
- Slippers (underlay)
- Regulator (for upholstery)
- Gas saw (mentioned historically, not used in the restoration)
- Always wear appropriate safety gear, including gloves, eye protection, and a respirator mask, when working with aniline dyes and cleaning solutions. Aniline dyes can be toxic if inhaled or absorbed through the skin.
- Work in a well-ventilated area. Aniline dyes release fumes, and proper ventilation is crucial to prevent health issues.
- Test any cleaning solutions and dyes on an inconspicuous area of the stool first to check for colorfastness and potential reactions with the existing materials. This prevents damage to the antique piece.
Step-by-Step Instructions
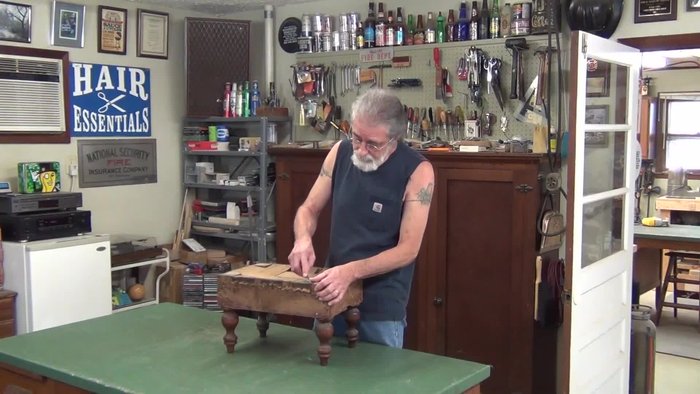
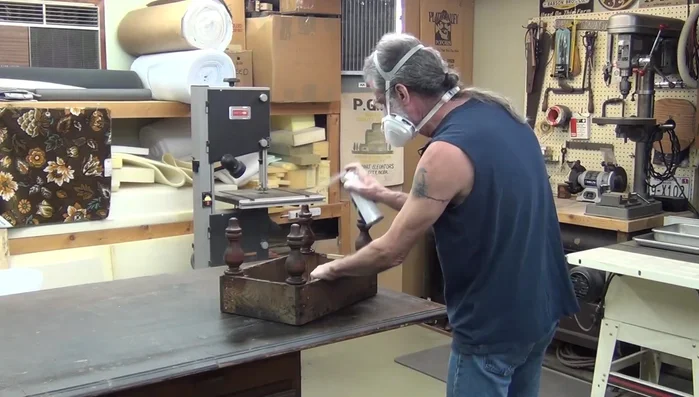
Surface Preparation
- Cleaning and Dyeing
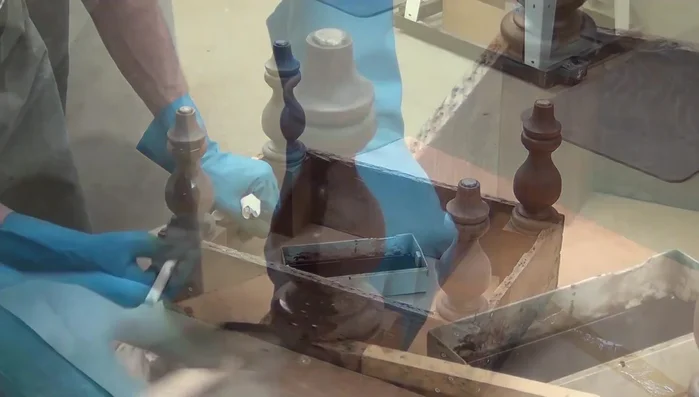
- Applying Aniline Dye to brighten the finish
- Applying Lacquer to the legs

Surface Preparation Upholstery Preparation
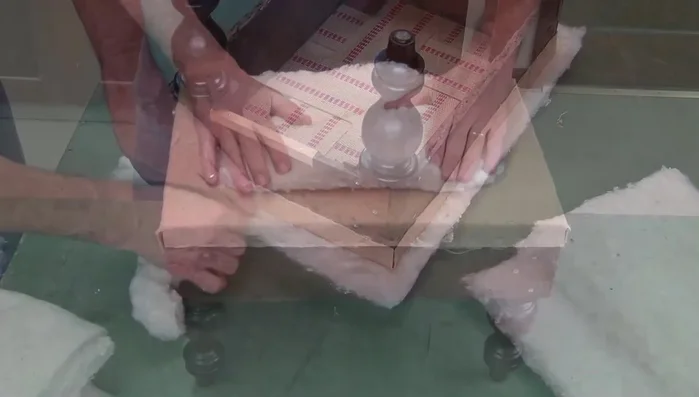
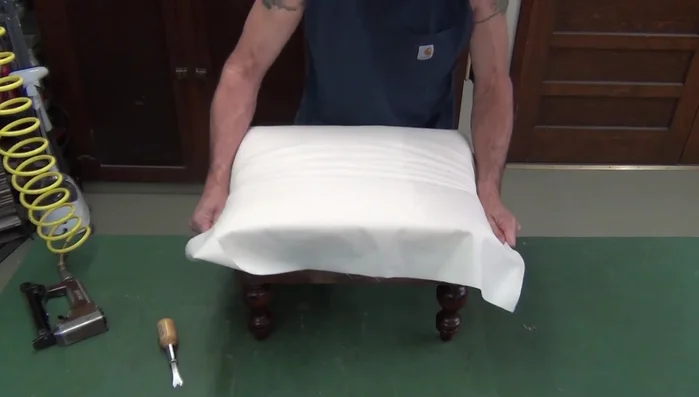
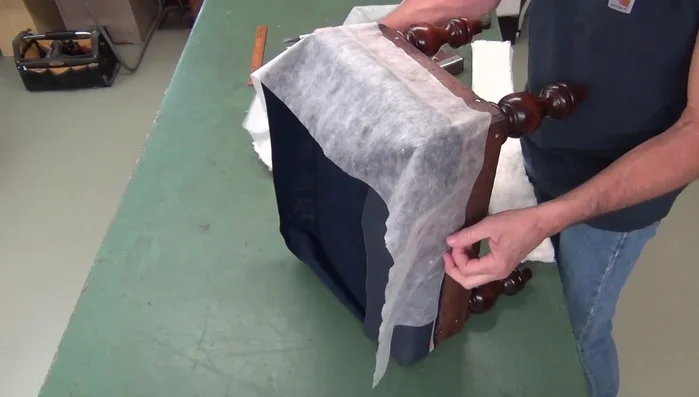
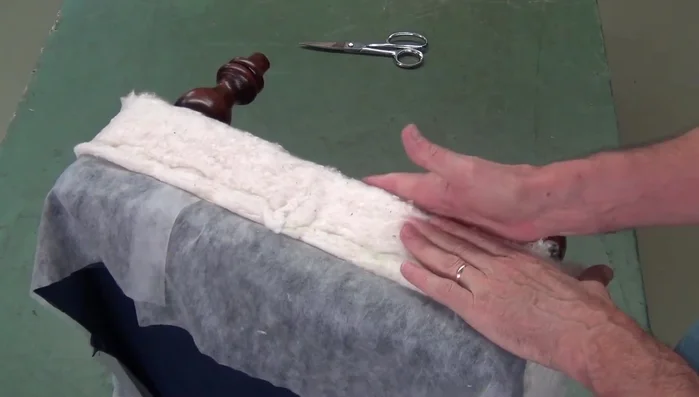
- Layering Cotton
Upholstery Preparation Initial Upholstery Shaping
- Pulling and shaping the cotton, creating center references
- Working the slack towards the corners, maintaining fabric weave
- Shaping the upholstery profile using fingertips and palm
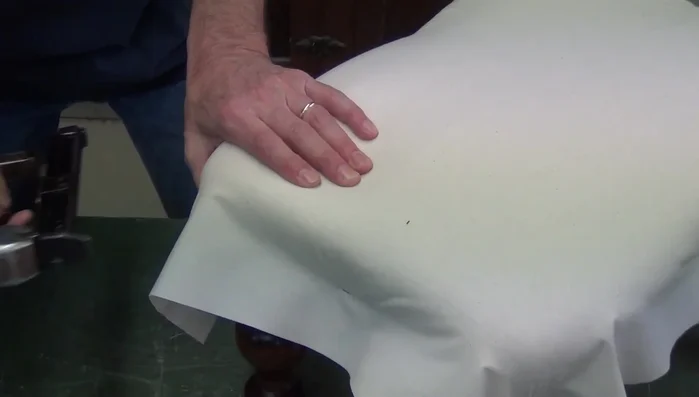
Initial Upholstery Shaping Cording and Shaping
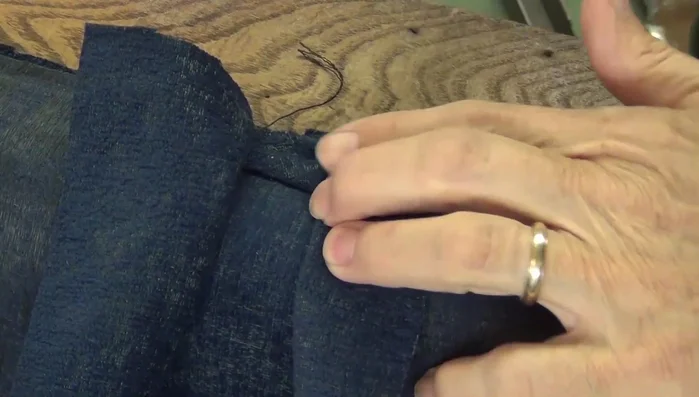
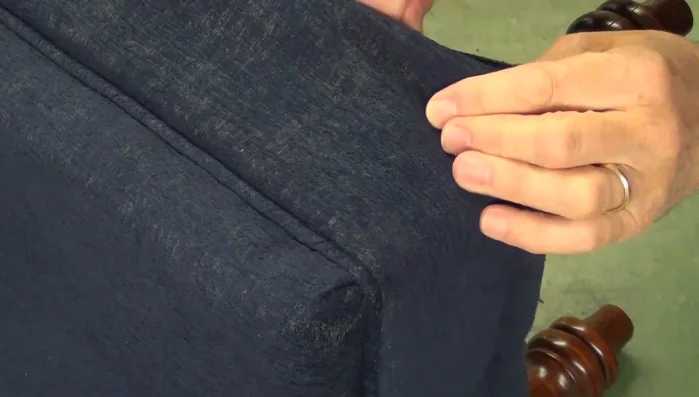
- Bias-cutting the cording and readjusting the first shot
- Working the cording out towards the corners, paying attention to profile, weave and fabric
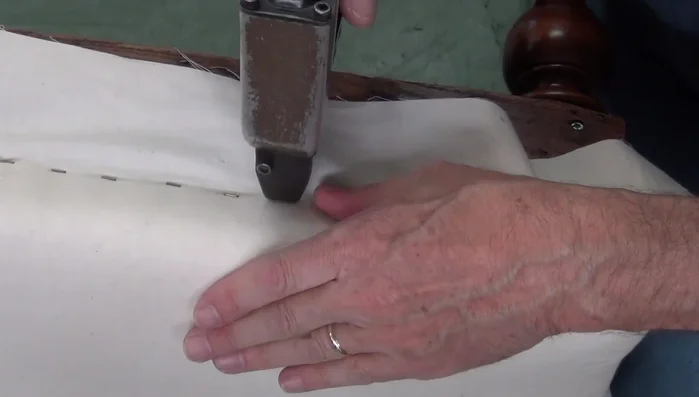
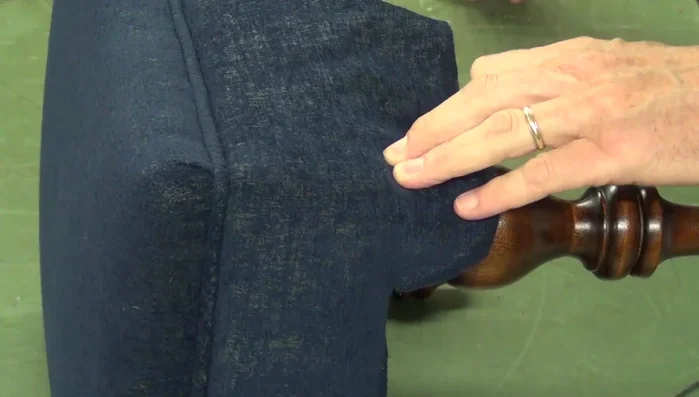
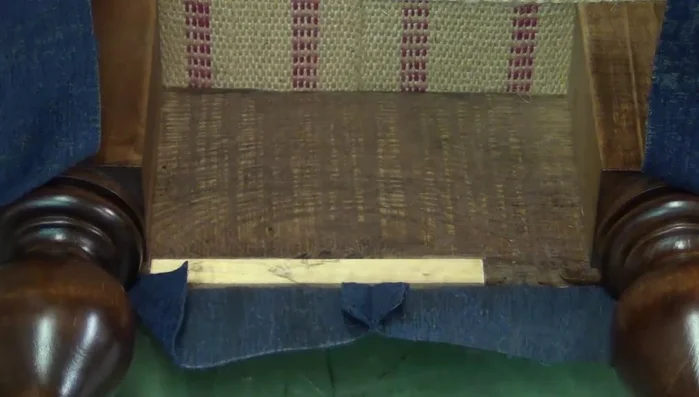
Cording and Shaping Panel Attachment and Securing
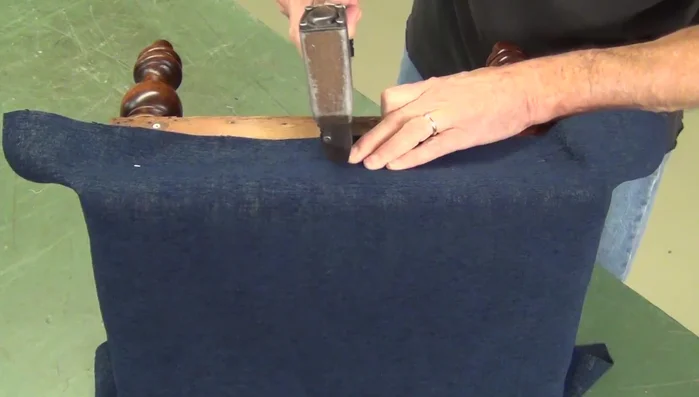
- matching and stapling
- Applying slippies underlay and stapling cotton to cardboard
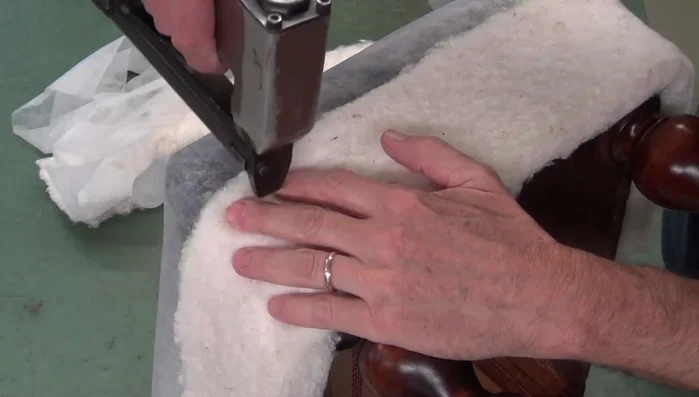
- Aligning cotton with cardboard and stapling for a neat finish
- Feathering away excess cotton, using slippies to control rolling
Panel Attachment and Securing - Using a regulator to push cotton and pull fabric tight around the corners
- Making a diagonal cut towards the leg, stopping short of the frame
Panel Attachment and Securing Completion and Historical Context
- Final touches and historical notes
Completion and Historical Context
Read more: DIY Piano Bench Cushion: A Comfortable Upgrade
Tips
- Allow ample drying time for the aniline dye before lacquering.
- Use slippies underlay to make adjusting the cotton and prevent rolling much easier.
- Pay close attention to the profile edge, weave, and fabric during upholstery.