Digital pianos, despite their electronic nature, still rely on intricate mechanical components for crucial functions like damper pedal operation. A faulty damper pedal jack can significantly impact playability, transforming a smooth musical experience into a frustrating one. This often manifests as inconsistent or unresponsive pedal action, robbing the performance of its nuanced expression. The problem usually stems from a loose or broken connection within the jack itself, requiring careful repair. One robust solution involves directly mounting the jack to the instrument's chassis, offering enhanced stability and longevity compared to other methods.
This article details a practical, step-by-step guide to repairing your digital piano's damper pedal jack using the direct chassis mounting method. We will walk you through the process of safely disassembling the necessary components, securely attaching the new jack, and meticulously reassembling everything for optimal functionality. Follow along to learn how to restore your instrument to its former glory and eliminate those pesky pedal malfunctions.
Preparation and Safety Guidelines
- Digital Piano
- Metal Jack
- Soldering Iron
- Solder
- Alligator Clips
- Quarter Inch Jack
- Wire
- Hex Nuts
- Washers
- Always disconnect the power to the digital piano before attempting any repairs. Failure to do so could result in electric shock.
- Take detailed photos or videos before disassembling any components. This will be invaluable when reassembling the instrument.
- If you are uncomfortable working with electronics or are unsure about any step, seek professional assistance. Improper repair can cause further damage.
Step-by-Step Instructions
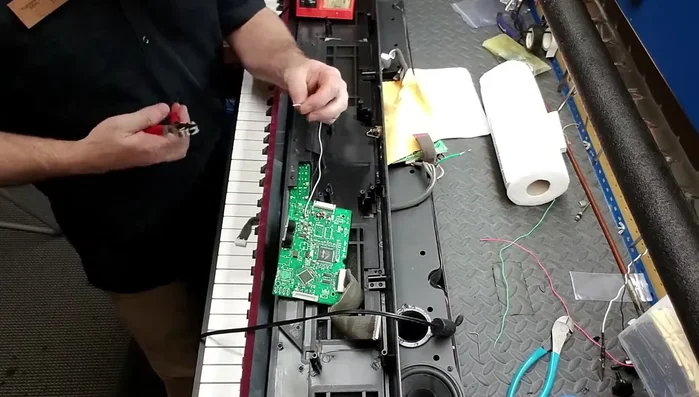
Preparation and Assessment
- Remove the old, worn-out damper pedal jack from the digital piano.
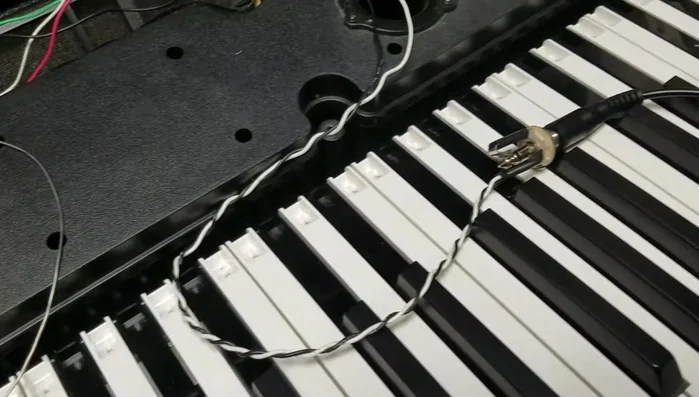
- Instead of using the PCB mount, choose a metal jack that can be directly mounted to the piano's chassis.
- Test the connection using alligator clips and a quarter inch jack connected to a damper pedal to determine which wires are needed.

Preparation and Assessment Wiring Preparation
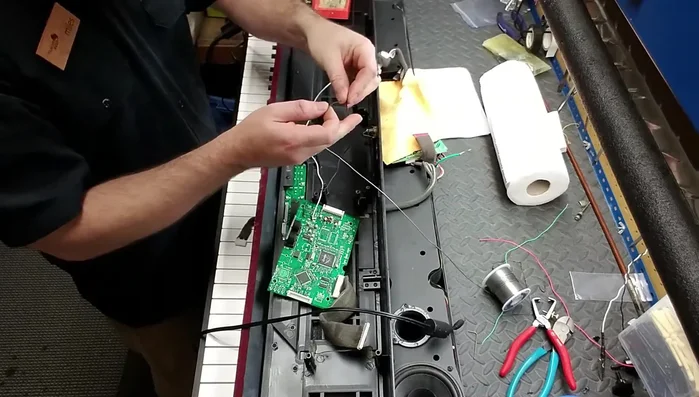
- Prepare the wires by tinning them with solder.
Wiring Preparation Mounting the New Jack
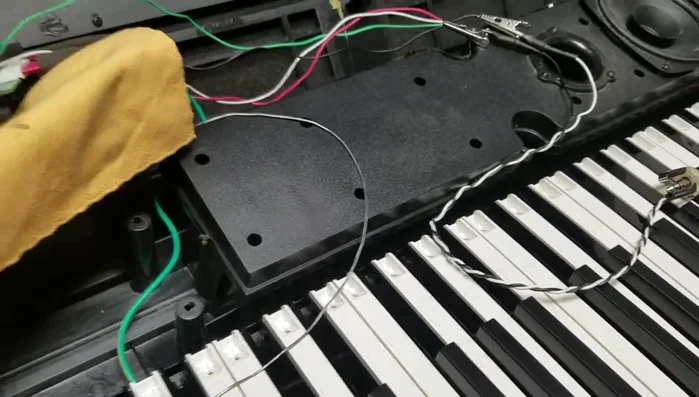
- Drill or use existing holes in the chassis to mount the metal jack securely.
- Mount the new jack to the chassis using hex nuts and washers, ensuring a secure fit.
Mounting the New Jack Wiring and Soldering
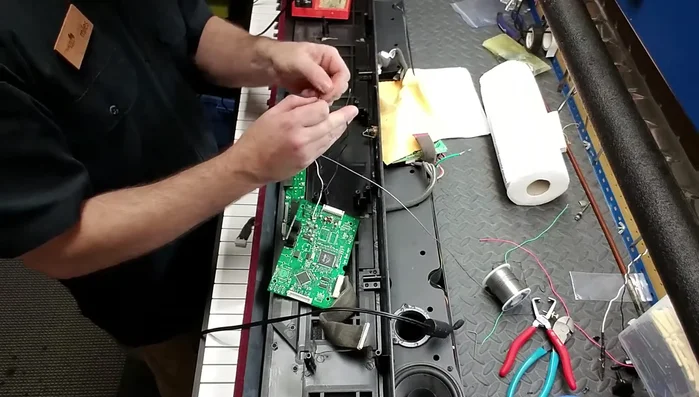
- Wire the new jack to the solder pads on the printed circuit board using wires and solder.
- Solder the wires to the appropriate terminals of the new metal jack.
Wiring and Soldering Final Testing and Assembly
- Reassemble the digital piano and test the damper pedal functionality.
Final Testing and Assembly
Read more: Increase Expression Pedal Sensitivity: Ultimate Guide
Tips
- Tinning the wires before soldering improves the connection.
- Using a stereo jack can improve cable stability.
- Test the wiring before fully assembling to ensure correct functionality.
- Only two contacts are usually needed for a standard damper pedal.