The Yamaha LP1B pedal unit is a versatile and essential accessory for many keyboard players, offering a comfortable and responsive playing experience. Pairing it with the RP125 keyboard stand elevates your setup, providing a stable and organized playing environment. This guide will walk you through the straightforward process of installing the LP1B pedal unit onto your Yamaha RP125 keyboard stand, ensuring a secure and functional connection. Understanding this connection is crucial for optimal performance and preventing accidental damage to your equipment.
This installation is remarkably simple, requiring minimal tools and effort. Before you begin, familiarize yourself with the components of both the LP1B pedal unit and the RP125 stand. We will then proceed to a step-by-step guide, complete with clear images, to help you seamlessly integrate the LP1B pedal unit with your RP125 stand. Let's get started!
Preparation and Safety Guidelines
- Yamaha LP1B Pedal Unit
- RP125 Keyboard Stand
- 5mm wood screws
- Drill
- 1/4 inch drill bit
- Allen wrench/Hex key
- Always ensure the power to both the LP1B pedal unit and the RP125 keyboard stand is OFF before connecting or disconnecting any cables.
- Carefully inspect all cables and connectors for any damage before use. Do not use damaged cables.
- Refer to both the Yamaha LP1B and RP125 manuals for specific connection diagrams and instructions. Incorrect connections can damage equipment.
Step-by-Step Instructions
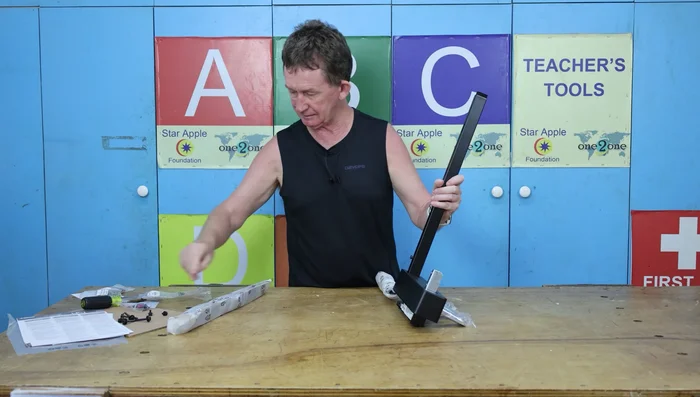
Unboxing and Pedal Unit Assembly
- Unbox the Yamaha LP1B pedal unit and its components.
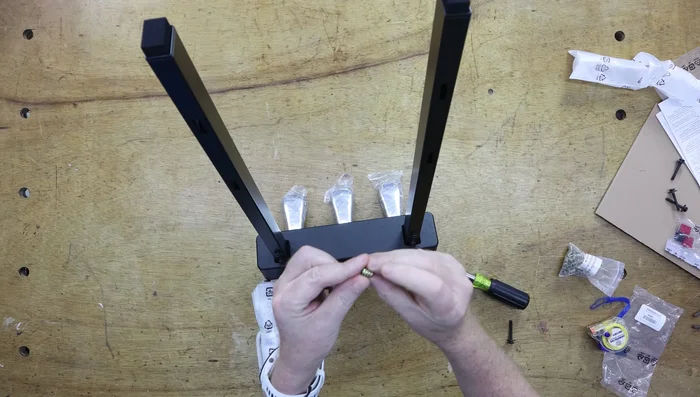
- Assemble the pedal unit legs using the provided hardware (four shorter screws).
- Attach the pedal unit to the pre-assembled legs using four longer screws and spring washers.

Unboxing and Pedal Unit Assembly Mounting on RP125 Stand (or Custom Stand)
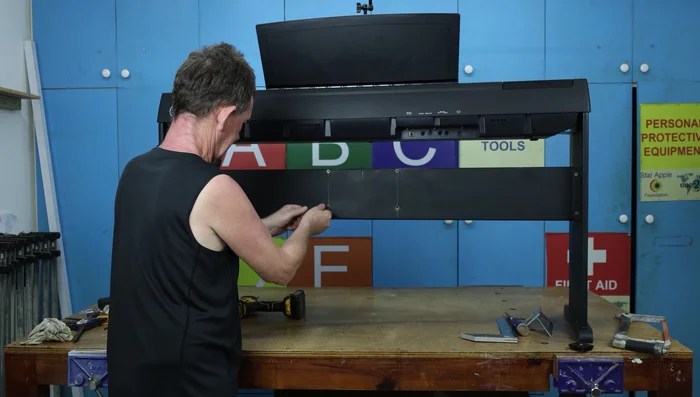
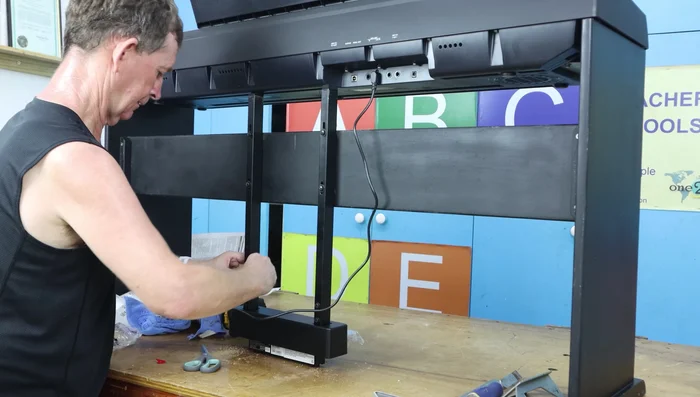
- If using a self-made stand, drill pilot holes (approximately 10mm deep) for the 5mm screws to attach the pedal unit to the stand.
- Securely attach the pedal unit to the stand using the 5mm screws.
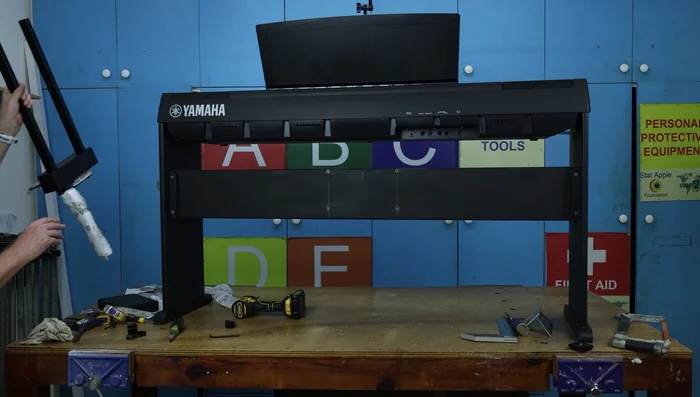
Mounting on RP125 Stand (or Custom Stand) Adjusting and Routing Cables
- If necessary, adjust the rubber feet on the bottom of the pedal unit by cutting them (as demonstrated in the video).
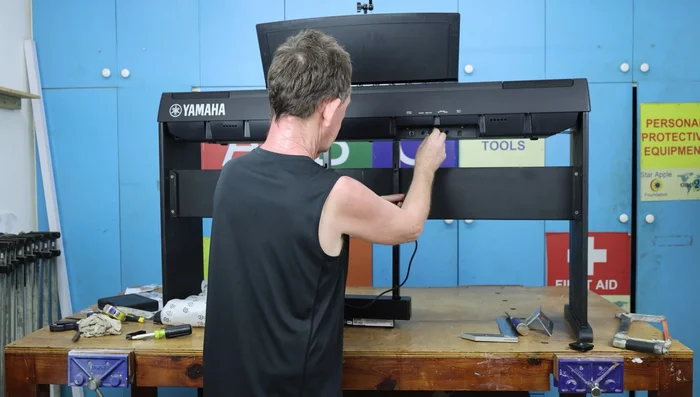
- Route the cable from the pedal unit to the keyboard, utilizing the cable clips provided to keep it organized.
- Connect the cable to the keyboard.
- Secure the cable using the remaining cable clips to minimize strain on the connection.
Adjusting and Routing Cables
Read more: Increase Expression Pedal Sensitivity: Ultimate Guide
Tips
- Use 5mm screws for attaching the pedal unit to the stand. If you bought the Yamaha stand, these may not be needed.
- When drilling pilot holes, do not drill too deep to avoid the hole coming through the other side.
- Ensure proper alignment and sufficient spring washer tightness during assembly to prevent loosening.
- Use cable clips to neatly manage the cable and minimize strain on the connection points.