Piano Pedal Adjustment: A Simple DIY Guide

The piano's sustain pedal, a seemingly simple mechanism, plays a crucial role in shaping the nuances of musical expression. From subtle harmonic washes to dramatic resonant chords, its responsiveness directly impacts the overall quality of your playing. Over time, however, this vital component can become misaligned or sluggish, hindering your performance and potentially even causing damage to the instrument. Fortunately, many common pedal adjustments are surprisingly straightforward and can be tackled at home with minimal tools. A properly functioning pedal ensures a satisfying and responsive playing experience, unlocking the full potential of your instrument.

This guide provides a clear, concise, and easy-to-follow approach to common piano pedal adjustments, empowering you to maintain your instrument and avoid costly professional repairs. We’ll walk you through the process step-by-step, equipping you with the knowledge and confidence to diagnose and resolve common pedal issues. Ready to get started? Let's delve into the simple steps involved in optimizing your piano's pedal response.

Preparation and Safety Guidelines

Tools Needed
  • Screwdriver
Safety Guidelines
  • Always disconnect the piano from the power source before starting any adjustments. Electricity can be dangerous!
  • Work slowly and carefully. Forcing parts can cause damage to the piano's mechanism.
  • If you are unsure about any step, consult a qualified piano technician. Improper adjustments can lead to irreparable damage.

Step-by-Step Instructions

  1. Inspection and Preparation

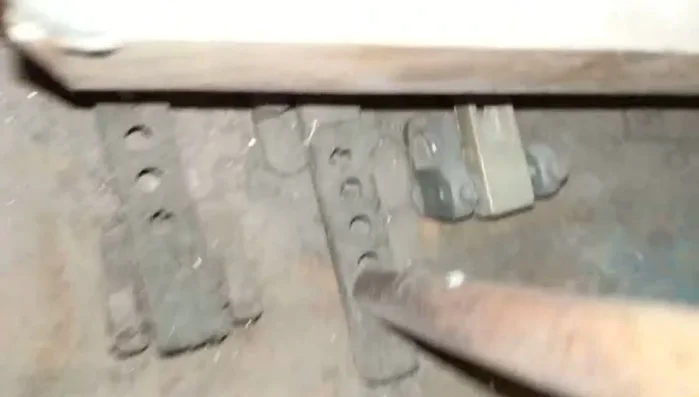
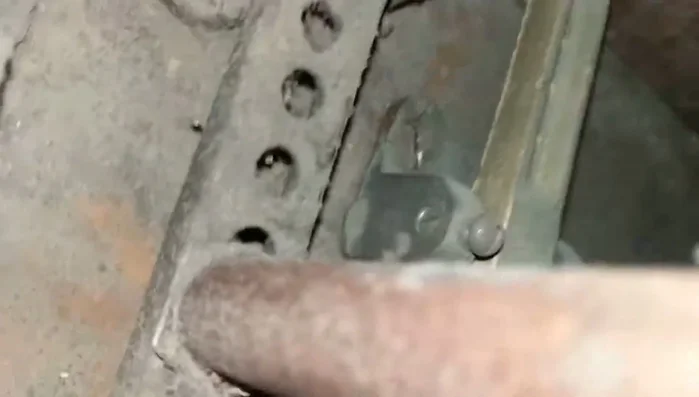
    • Identify and assess the slop in the piano pedals.
    • Check for any cracks or damage in the piano pans and address if needed.
    • Clean the pedals to remove built-up wax and dirt using brillo pads.
    Clean the pedals to remove built-up wax and dirt using brillo pads.Clean the pedals to remove built-up wax and dirt using brillo pads.
    Inspection and Preparation
  2. Pedal Adjustment

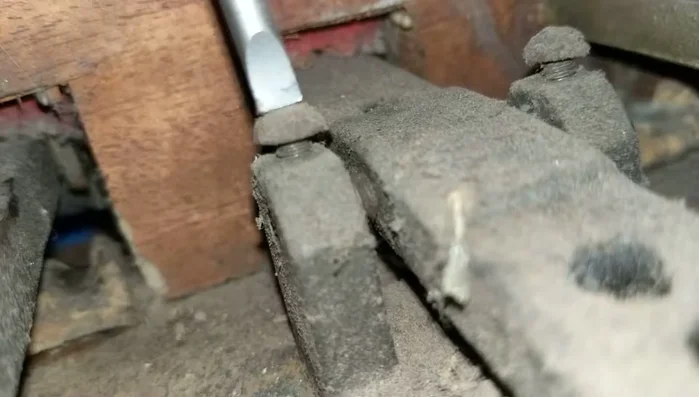
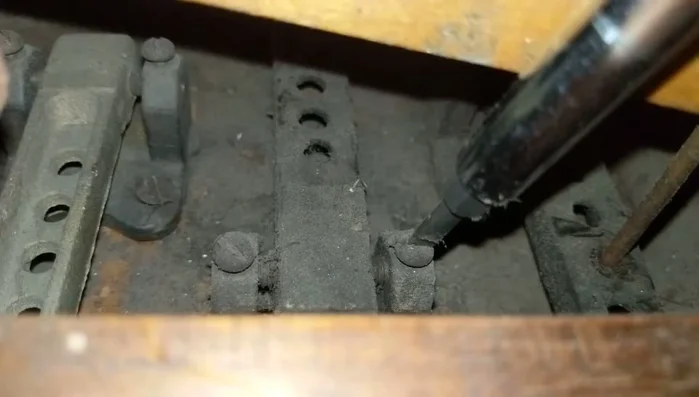
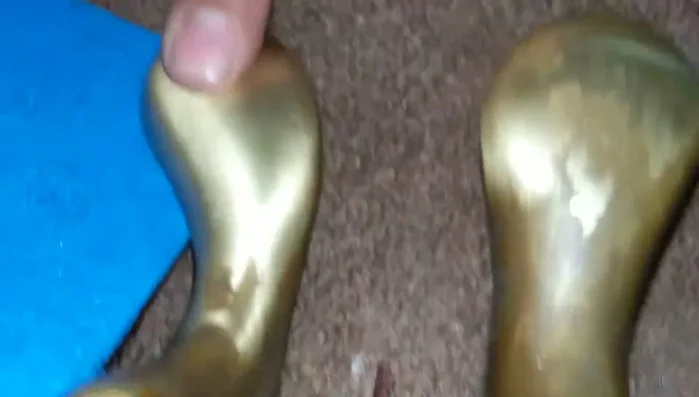
    • Loosen the top screw of the affected pedal.
    • Tighten the bottom screw to adjust the petal's position, ensuring it's centered and not overly tight.
    • Repeat steps 2-4 for other pedals as needed, using a quarter to half turn for adjustment.
    • Re-tighten the top screw about half a turn.
    Re-tighten the top screw about half a turn.Re-tighten the top screw about half a turn.Re-tighten the top screw about half a turn.Re-tighten the top screw about half a turn.
    Pedal Adjustment
  3. Maintenance and Refinement

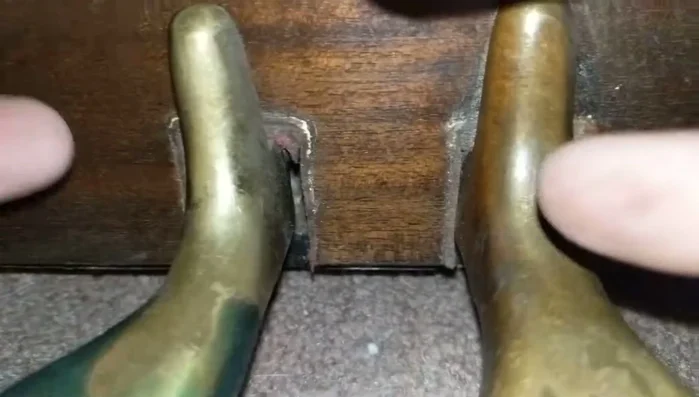
    • Apply a drop of lubricating oil to maintain smooth movement.
    • Check for playability; the pedal should move easily with one finger.
    • Check the rod and tighten the fixture if loose to ensure proper pedal seating.
    • Add felt to the slots of the pedals to enhance movement if needed. This often requires removing the pedals.
    Add felt to the slots of the pedals to enhance movement if needed. This often requires removing the pedals.Add felt to the slots of the pedals to enhance movement if needed. This often requires removing the pedals.Add felt to the slots of the pedals to enhance movement if needed. This often requires removing the pedals.Add felt to the slots of the pedals to enhance movement if needed. This often requires removing the pedals.Add felt to the slots of the pedals to enhance movement if needed. This often requires removing the pedals.Add felt to the slots of the pedals to enhance movement if needed. This often requires removing the pedals.
    Maintenance and Refinement

Read more: Increase Expression Pedal Sensitivity: Ultimate Guide

Tips

  • Only snug the screws; avoid over-tightening to prevent damage.
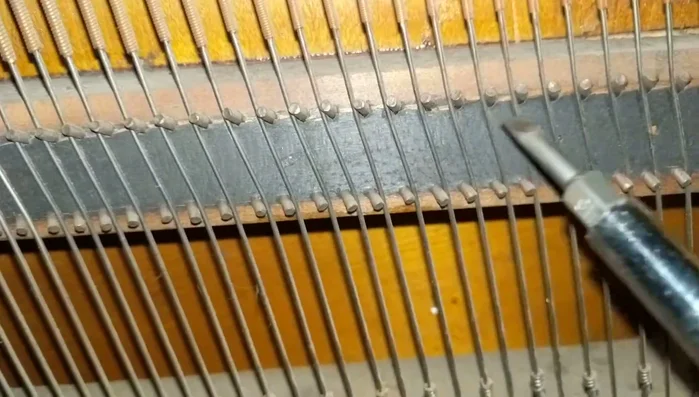
  • Maintain proper spacing between the wires for optimal sound.
  • Use brillo pads for cleaning to avoid deep scratches.

Common Mistakes to Avoid

1. Over-tightening Pedal Screws

Reason: Excessive tightening can strip the screw threads or damage the pedal mechanism.
Solution: Tighten screws firmly but gently, stopping when resistance is felt.

2. Ignoring Pedal Alignment

Reason: Misaligned pedals can cause uneven response or hinder smooth playing.
Solution: Ensure the pedal is straight and centered, adjusting the mounting screws as needed.

3. Improper Lubrication

Reason: Using the wrong lubricant or applying too much can attract dust and grit, leading to sticking pedals.
Solution: Use a small amount of high-quality piano lubricant, focusing on moving parts and avoiding excessive application.

FAQs

My piano pedal feels stiff or unresponsive. What's the most likely cause?
Stiffness or unresponsiveness often stems from accumulated dust, grime, or a lack of lubrication in the pedal mechanism. Worn-out felt or other parts can also contribute. Check for obstructions and consider applying a small amount of appropriate lubricant (like silicone-based lubricant) to moving parts, but only after carefully examining the mechanism to identify the source of the problem.
This guide will show you how to adjust your piano pedals for optimal responsiveness. However, even with perfectly adjusted pedals, slippage can be a major problem affecting your playing. For solutions to enhance pedal control and eliminate unwanted movement, check out our guide on improving piano pedal grip—it offers five top-tier options for securing your pedals. With both properly adjusted and secure pedals, your piano playing will reach new levels of precision and control.