For decades, piano tuning was a craft reserved for skilled professionals with years of painstaking training. The mysteries of equal temperament and the intricacies of a piano's internal mechanism seemed insurmountable barriers to the average musician. However, the advent of advanced electronic tuning devices has dramatically changed the landscape, making accurate and efficient piano tuning accessible to a far wider audience. No longer is meticulous ear training the sole prerequisite for keeping your instrument in perfect pitch.
This accessibility, however, doesn't negate the need for understanding and skillful application. This article will guide you through a step-by-step process for mastering electronic tuning devices, transforming the potentially daunting task of piano tuning into a manageable and rewarding experience. From choosing the right device to navigating its features, we’ll equip you with the knowledge and confidence to maintain your piano's exquisite sound.
Preparation and Safety Guidelines
- Always ensure the electronic tuner is calibrated accurately before tuning. An inaccurate tuner will lead to inaccurate tuning.
- Never force a piano string. If a string is resisting tuning, stop and investigate. Excessive force can cause damage.
- Understand your tuner's display. Familiarize yourself with how it indicates sharp, flat, and in-tune notes to avoid mistakes.
Step-by-Step Instructions
Setup and Initialization
- Install and launch TuneLab. Select the desired note (starting with A4 is recommended).

Setup and Initialization Basic Note Tuning
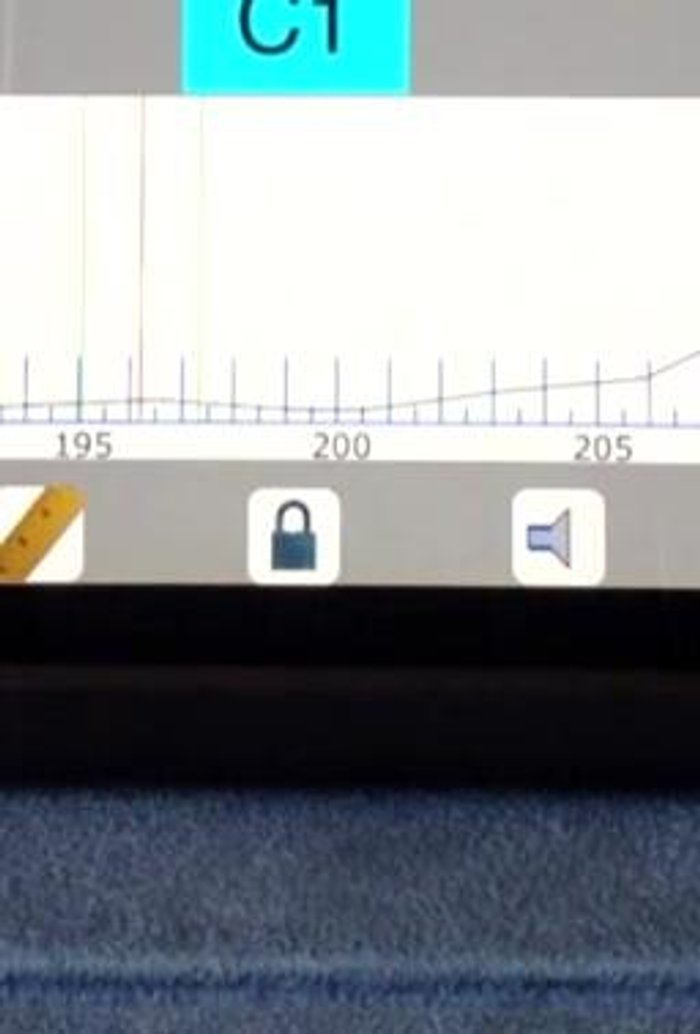
- Play the note on the piano. TuneLab's visual display shows whether the pitch is sharp or flat; black bars moving left indicate flat; bars to the right are sharp.
- Adjust tuning pin. Use the visual display to guide the adjustment, aiming for the red line in the spectrum (peak) to indicate the correct pitch.
Basic Note Tuning Efficient Tuning Workflow
- Utilize the auto note-switching feature to efficiently move between notes during the tuning process.
Efficient Tuning Workflow Advanced Tuning Techniques
- Employ the overpull/pitch raise function for notes significantly sharp or flat (typically more than 5-10 cents). Adjust overpull parameters as needed.
Advanced Tuning Techniques Creating a Custom Stretch Tuning Profile
- For custom stretch tuning, create a new tuning profile in TuneLab. Measure C1 through C6 (muting all but one string per note to isolate the measurement).
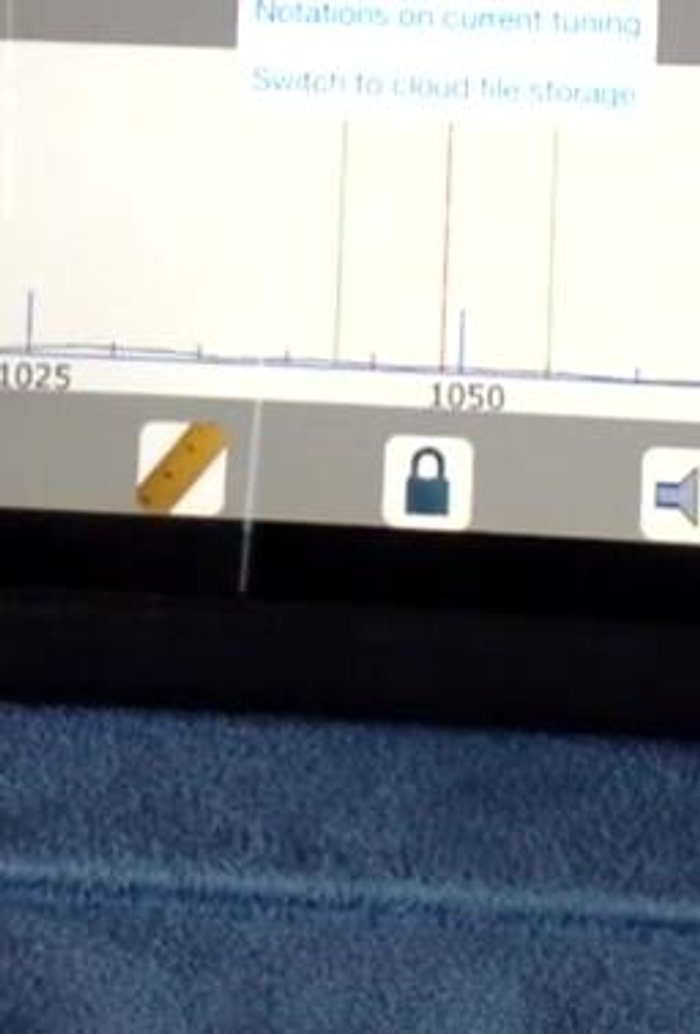
- Save the custom stretch tuning profile using a descriptive filename.
Creating a Custom Stretch Tuning Profile


Read more: How to Replace Piano Tuning Pins: A Step-by-Step Guide
Tips
- Using mutes during the measurement phase of custom stretch tuning helps ensure accurate readings.
- Focus on getting the pitch as close to the red line (ideal pitch) as possible, aiming for within the green lines (acceptable range).
- The auto note-switching feature significantly speeds up the tuning process, but it has limitations (it won't jump more than a minor third).