The ivory keys of a piano, gleaming under the lamplight, are more than just a visual delight; they're the heart of the instrument's expressive capabilities. Years of playing, however, can take their toll, leaving keys chipped, discolored, or worn down. This can not only affect the aesthetic appeal of your piano but also impact the playing experience. Fortunately, replacing worn key tops is a manageable task, even for those with limited experience in piano repair. A little patience and the right tools can restore your instrument to its former glory.
This guide offers a comprehensive, step-by-step process for replacing piano key tops, allowing you to rejuvenate your instrument and enjoy the satisfying result of a DIY repair. Whether your keys are simply dull or significantly damaged, we'll walk you through the necessary steps, from careful removal and preparation to the final installation of new key tops, ensuring a professional-looking finish. Let's begin!
Preparation and Safety Guidelines
- Sharp knife
- Chisel
- Sanding block
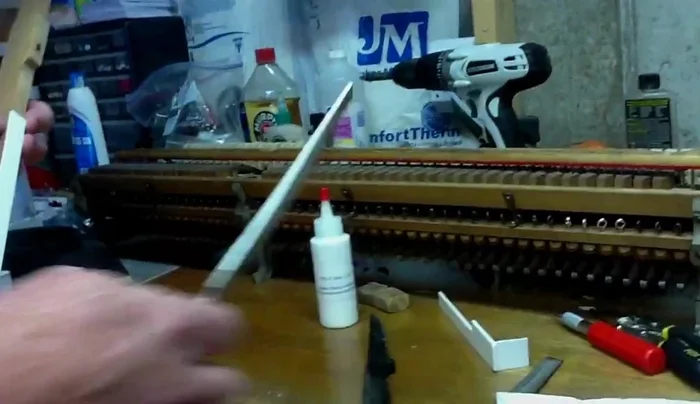
- PVC glue
- Metal file
- Always disconnect the power to the piano before starting any work. This prevents electric shock and damage to internal components.
- Work carefully and slowly to avoid damaging the key itself or the underlying mechanism. Use the right tools and avoid excessive force.
- Take photos or videos of the process as you go. This helps if you encounter issues during reassembly or need to refer back to the previous steps.
Step-by-Step Instructions
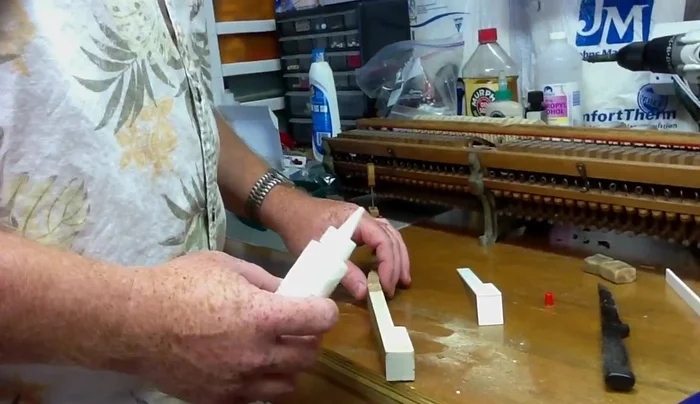
Prepare the Key
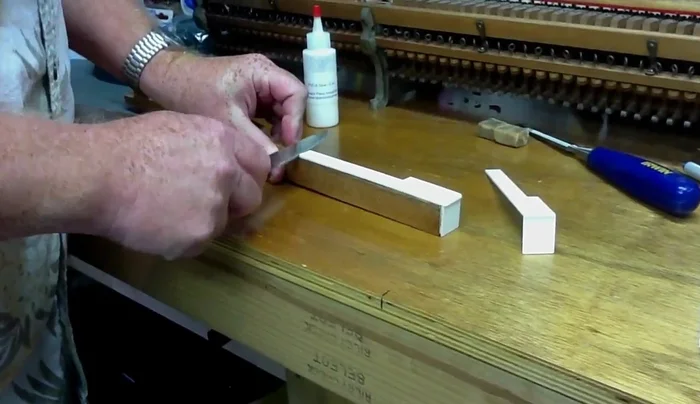
- Remove the old key top using a sharp knife to get under the edge and pry it off.
- Remove the old front using a knife or chisel.
- Sand the surface of the key to remove old glue and ensure a smooth, flat surface.

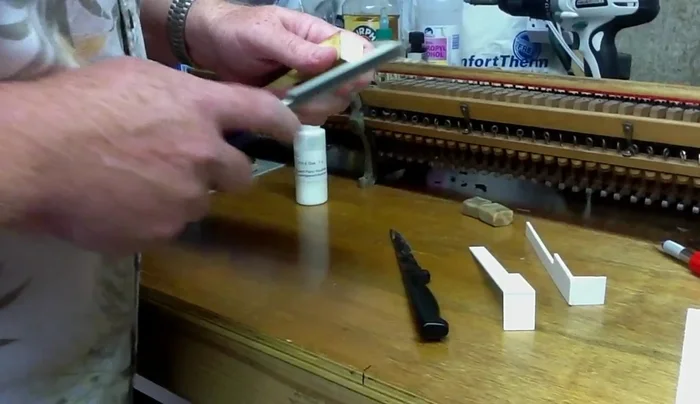
Prepare the Key Test Fit the New Key Top
- Check the fit of the new key top, ensuring the head is even on the sides. Any overhang should be on the inside of the notch.
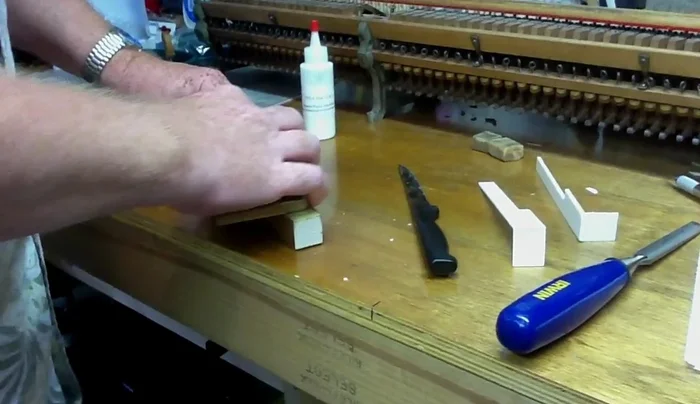
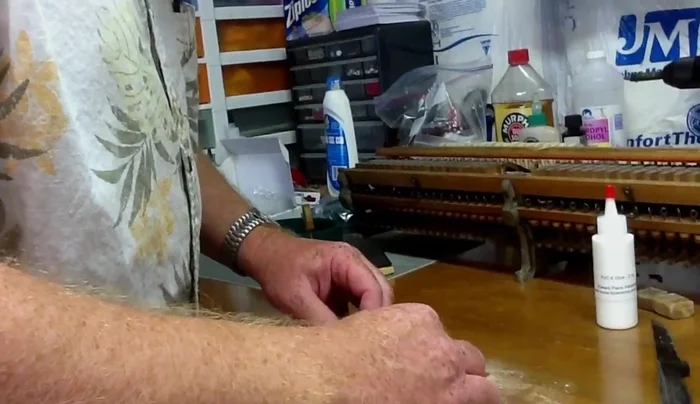
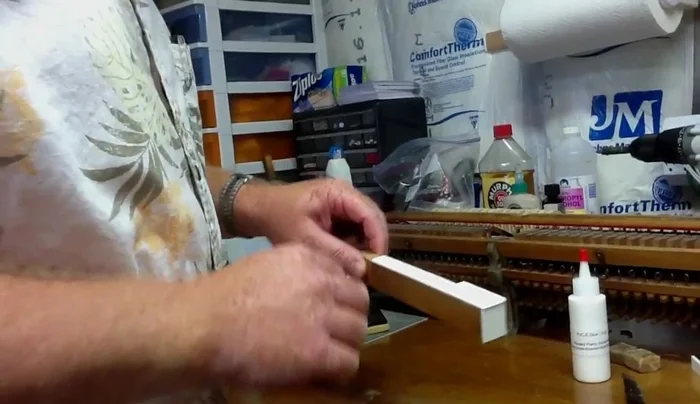
Test Fit the New Key Top Apply Adhesive and Attach New Key Top
- Apply a thin bead of PVC glue along the top and a slightly thicker bead on the head of the key top.
- Position the new key top and apply pressure to ensure a secure bond and to push the front up against the key.
- Wipe off any excess glue immediately.
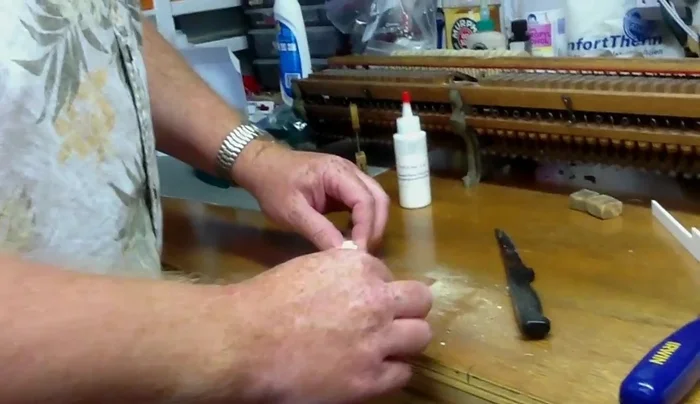
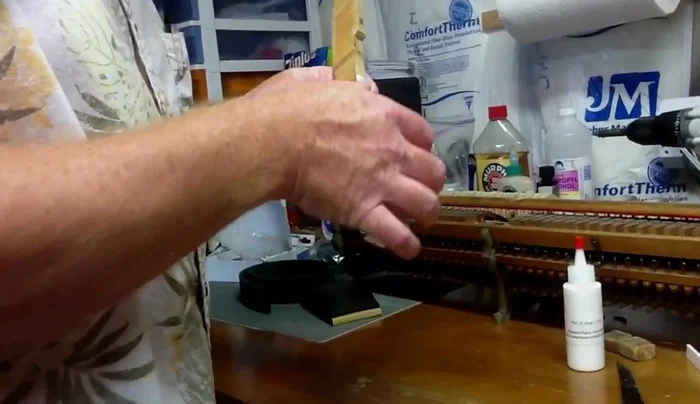
Apply Adhesive and Attach New Key Top Cure and Finish
- Let the glue set overnight.
- File the excess key top material until flush with the wood, being careful not to scratch the key top.
Cure and Finish
Read more: How to Replace Piano Tuning Pins: A Step-by-Step Guide
Tips
- Use a modified metal file (ground off the sharp edge) to avoid removing too much material when filing.
- Apply a thin layer of glue to avoid excess oozing.
- Clean up excess glue immediately while it's still wet.