The piano, a magnificent instrument capable of expressing a vast spectrum of emotions, relies on the delicate balance of its strings. These strings, finely tuned and meticulously placed, are the very heart of the piano's sound. Maintaining and repairing this intricate system requires specialized knowledge and the right tools. From the tiniest tuning pin to the robust string winder, each piece of equipment plays a vital role in ensuring the piano's continued musical excellence. Improper stringing can lead to a range of problems, from uneven tone to complete instrument failure, highlighting the critical importance of mastering this skill.
This article delves into the essential tools and techniques required for successful piano stringing, providing a comprehensive guide for both beginners and experienced technicians. We will explore the various tools you'll need, from specialized pliers and hammers to tuning levers and string cutters, and then move onto a step-by-step process for stringing a piano accurately and efficiently. Let's begin by examining the essential equipment that forms the foundation of this intricate craft.
Preparation and Safety Guidelines
- Spools of string (various sizes)
- String coil maker
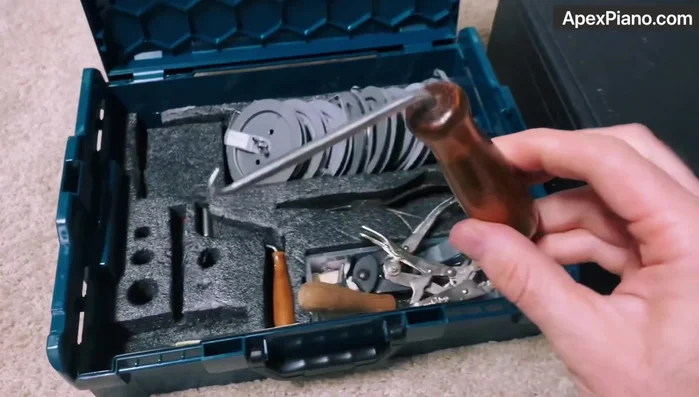
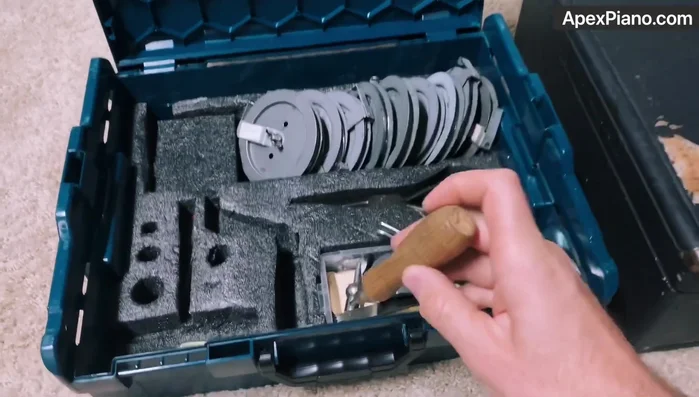
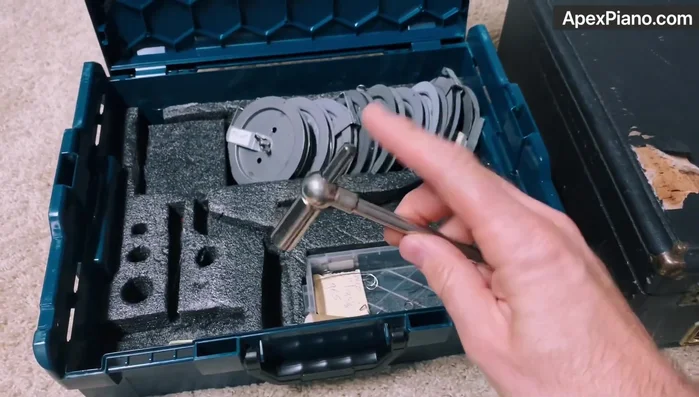
- T-handled tuning pin mover
- Coil setter
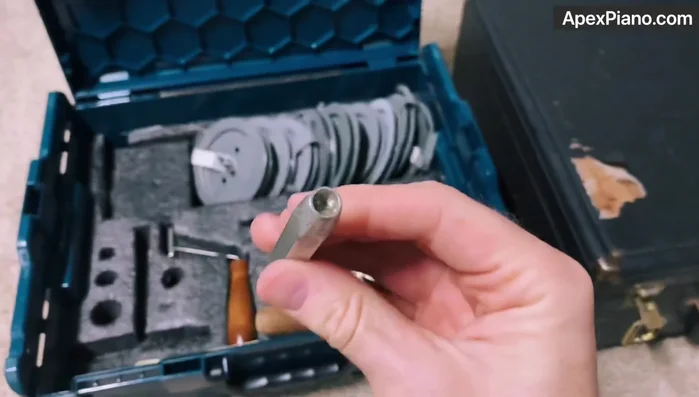
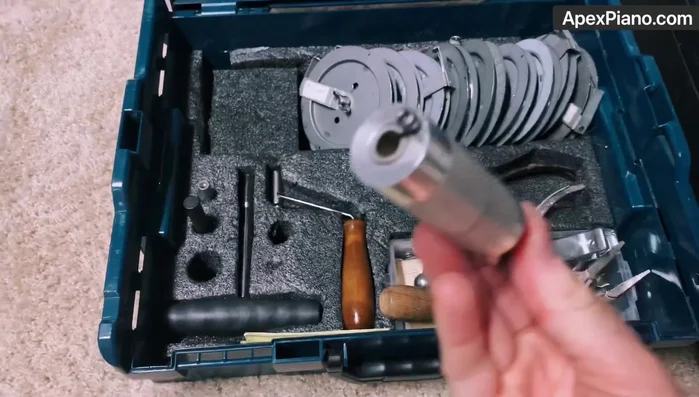
- Tuning punch
- String hook
- Hitch pin setter
- Wire cutters (end-nip)
- Brass punch
- Needlenose pliers (round and standard)
- Vise grips
- Clamps
- String lifter
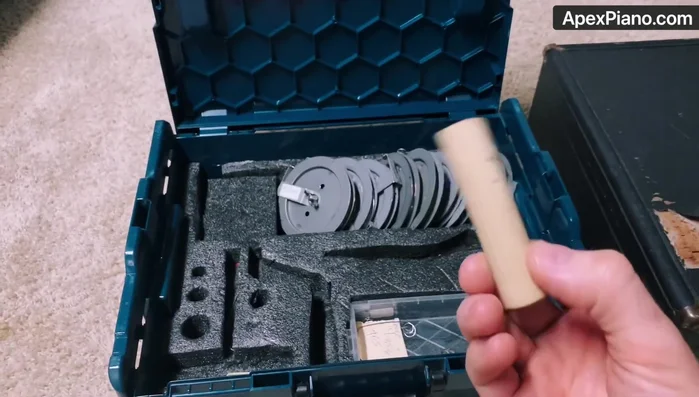
- Pounder (optional)
- Tuning pins
- Dummy coil maker (optional)
- Always wear safety glasses to protect your eyes from flying wire or broken strings.
- Use appropriate tools for the job; improper tools can lead to injury or damage to the piano.
- Never attempt to restring a piano unless you have received proper training. Improper stringing can permanently damage the instrument.
Step-by-Step Instructions
Preparation
- Gather essential tools and strings.
Old String Removal
- Use the T-handled tuning pin mover to carefully remove old tuning pins.
- Use the tuning punch to carefully remove any remaining parts of the old pins.

Old String Removal Coil Creation and Installation
- Use the string coil maker to create coils of the appropriate size for each string.
- Using the string hook and coil maker, create and install new coils onto the tuning pins.
Coil Creation and Installation Bass String Securing
- For bass strings, use the hitch pin setter to secure the string.
Bass String Securing String Trimming and Manipulation
- Use wire cutters to trim excess string.
- Use needlenose pliers to manipulate strings and coils as needed.
String Trimming and Manipulation String Placement and Securing
- Use clamps to hold parts of the piano in place and aid in the stringing process.
- Use the string lifter to carefully lift and guide the strings into position.
String Placement and Securing Pin Setting
- Use a pounder (optional) or tuning punch to securely set the tuning pins.
Pin Setting Tuning
- Tune the strings to the correct pitch using tuning pins.
Tuning


Read more: How to Replace Piano Tuning Pins: A Step-by-Step Guide
Tips
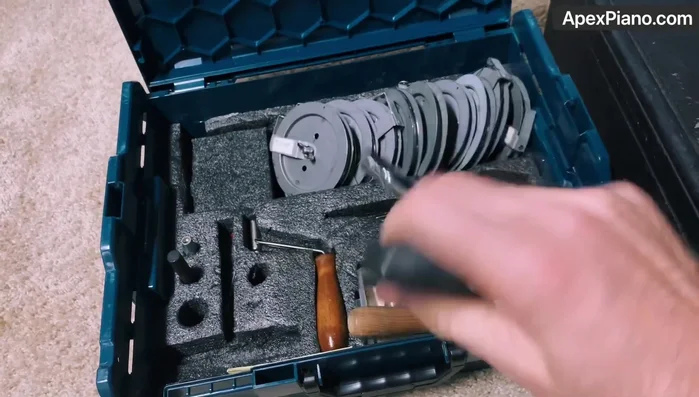
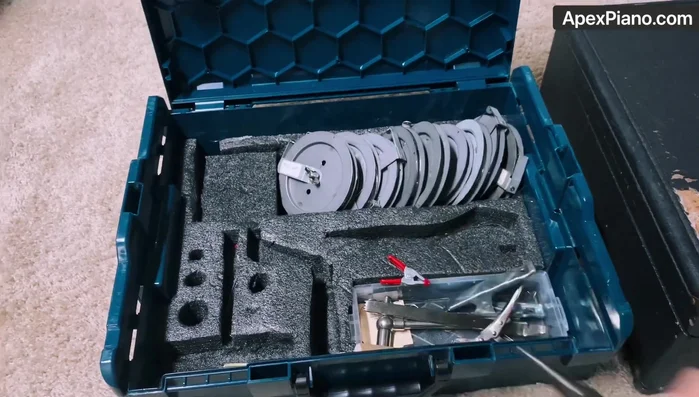
- Organize your tools efficiently in a custom-made case for quick access.
- Use appropriate tools for each step of the process to improve accuracy and efficiency.
- Having a dedicated set of tools for piano stringing will improve the speed and accuracy of your work.