The piano, a majestic instrument capable of evoking a vast range of emotions, relies on the precise tuning of its hundreds of strings. Achieving and maintaining this precision, however, requires more than just knowing which pegs to turn. The delicate balance of the piano's soundboard and the potential for damage from forceful tuning are critical considerations for any aspiring tuner. Improper techniques can lead to bent or broken tuning pins, causing costly repairs and compromising the instrument's integrity. Minimizing bending and twisting during the tuning process is paramount for both the longevity of the piano and the quality of its sound.
This article will delve into the essential techniques required for mastering piano tuning, focusing on the crucial aspect of pin manipulation. We will explore a step-by-step guide that emphasizes gentle yet effective methods, ensuring you can tune your piano with confidence, preserving its delicate internal structure, and producing a beautifully resonant tone. Let's embark on a journey towards achieving perfectly tuned pianos without the risk of damaging tuning pins.
Preparation and Safety Guidelines
- Use gentle, consistent pressure when turning tuning pins. Avoid sudden forceful movements which can bend or break them.
- Always tune gradually, making small adjustments rather than large ones. This prevents strain on the pins and soundboard.
- If a pin feels unusually stiff or resistant, stop immediately. Forcing it risks damage. Consult a professional piano technician.
Step-by-Step Instructions
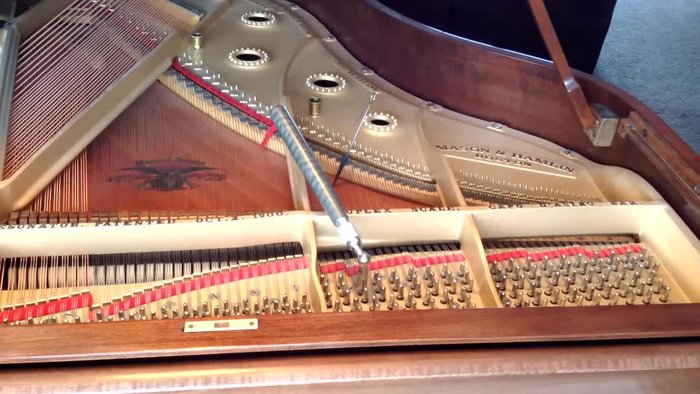
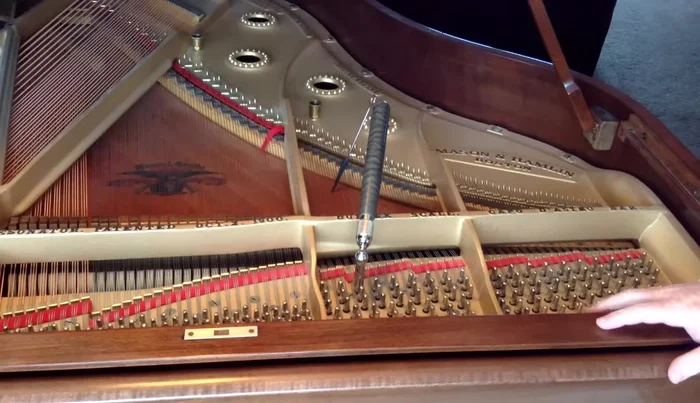
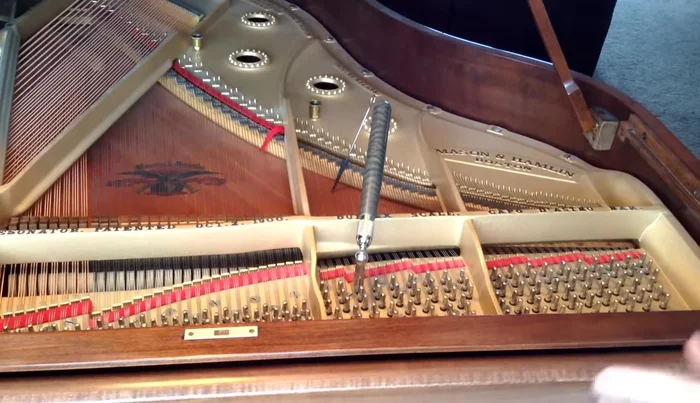
Understanding Bending and its Impact
- Bending affects pitch significantly when it's front-to-back. Side-to-side bending has minimal impact.
- The video demonstrates how pushing/pulling the hammer affects pitch, highlighting the impact of bending.

Understanding Bending and its Impact Proper Hammer Positioning for Reduced Bending
- Position the tuning hammer to minimize front-to-back bending. Pulling the hammer sideways primarily twists the pin, reducing back-and-forth bending.
Proper Hammer Positioning for Reduced Bending Understanding and Addressing Twisting
- Twisting affects tuning stability. The goal is to move the pin within the pin block, not just twist the top.
Understanding and Addressing Twisting Techniques to Minimize Twisting
- Use quick, jerky movements of the tuning hammer to move the pin within the pin block. Smooth movements lead to more twisting.
- The video contrasts smooth vs. jerky movements, showing how jerky movements result in more stable tuning.
Techniques to Minimize Twisting Addressing Tight Tuning Pins
- With tight tuning pins, quick back-and-forth movements are often necessary to achieve a stable tuning.
Addressing Tight Tuning Pins Final Tuning and Stabilization
- After initial tuning, pound the note to equalize string tension across its bearing points for lasting stability.
Final Tuning and Stabilization


Read more: How to Replace Piano Tuning Pins: A Step-by-Step Guide
Tips
- Minimize front-to-back bending by using proper hammer placement.
- Use quick, jerky hammer movements to minimize twisting and achieve a more stable tuning.
- Pound the note after tuning to equalize string tension for long-lasting stability.