Your upright piano, a cherished instrument capable of producing beautiful melodies, deserves more than just occasional dusting. Dust, dirt, and grime accumulate over time, impacting not only its aesthetic appeal but also potentially its sound quality and longevity. A thorough deep cleaning goes beyond surface maintenance; it's about preserving your instrument's value and ensuring it remains in optimal playing condition for years to come. Neglecting regular deep cleaning can lead to the build-up of harmful debris, attracting pests and causing damage to delicate internal components.
This guide provides a comprehensive and easy-to-follow method for deep cleaning your upright piano, addressing key areas often overlooked in routine cleaning. From carefully cleaning the keys and exterior surfaces to tackling more intricate areas like the soundboard and pedals, we'll walk you through each step with clear instructions and helpful tips. Let's dive into our step-by-step guide to revitalizing your beloved instrument.
Preparation and Safety Guidelines
- Vacuum cleaner with blower and small nozzle attachment
- Compressor blower (optional, ~90 PSI)
- Shop vac (optional)
- Paint brush (optional)
- Always unplug the piano from the power source before cleaning to prevent electrical shock.
- Never use excessive water or harsh chemicals on the piano's finish. This can damage the wood and/or the finish.
- Avoid getting moisture inside the piano. If cleaning near the keys, use a barely damp cloth and avoid spraying any cleaner.
Step-by-Step Instructions
Prepare for Cleaning
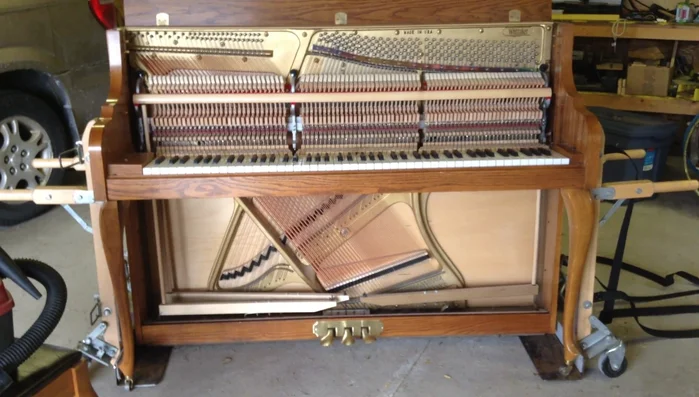
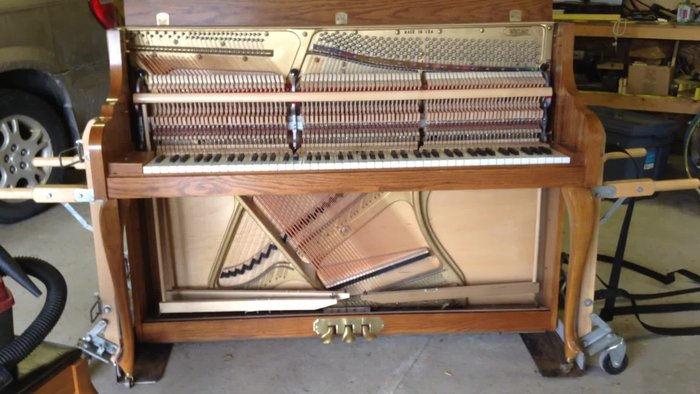
- Remove the music desk and fall board to expose the action, keys, and strings.

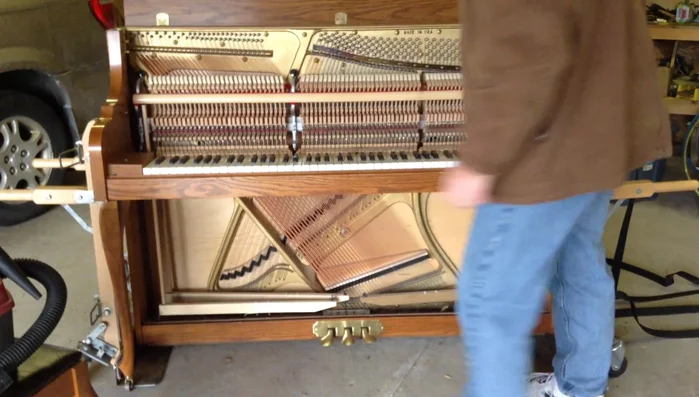
Prepare for Cleaning Remove the Action
- Unscrew the nose bolts and carefully lift the action, being mindful of the dampers.
Remove the Action Clean the Action
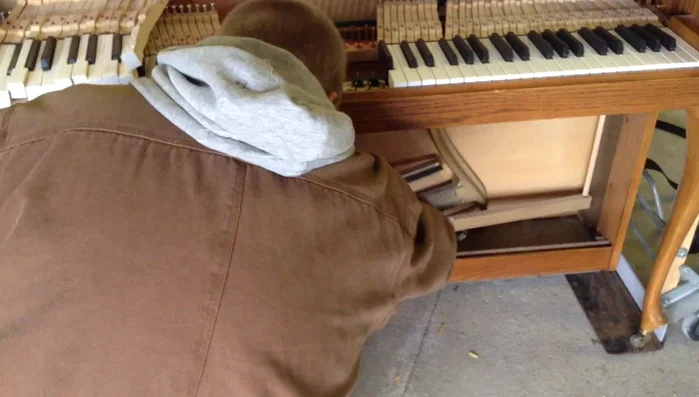
- Use a compressor blower (~90 PSI) to blow out dust and debris from the action mechanism. Avoid getting too close to prevent damage.
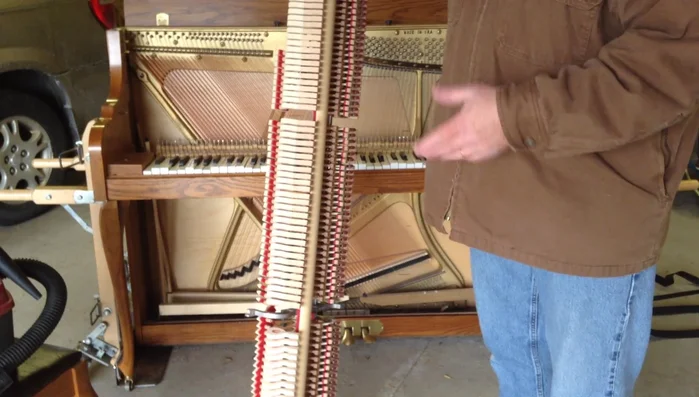
Clean the Action Remove the Keys
- Carefully lift the keys straight up from their pins to avoid damaging the holes.
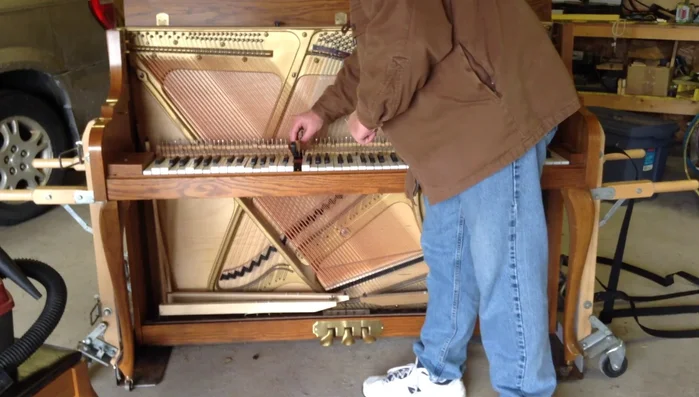
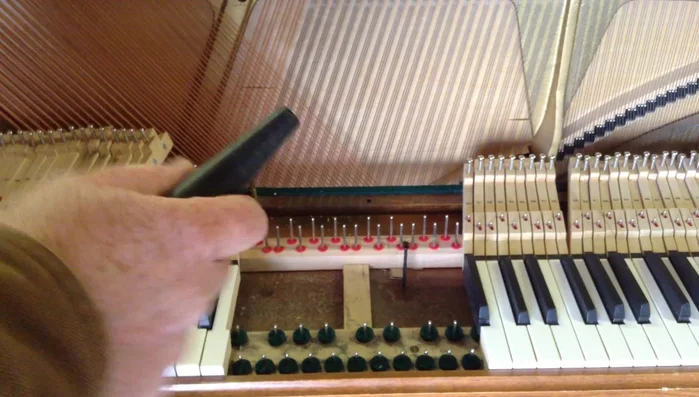
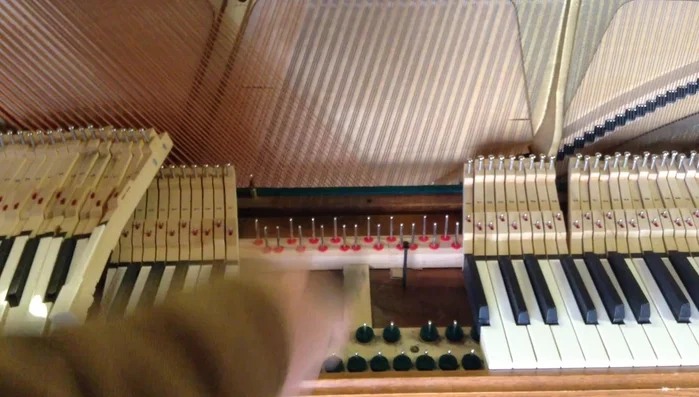
Remove the Keys Clean the Key Area
- Use a vacuum cleaner with a small nozzle to remove dust and debris from under the keys and around the tuning pins. A brush attachment can help loosen stubborn dirt.
Clean the Key Area Clean the Lower Section
- Vacuum the area beneath the strings and around the pedal trap work.
Clean the Lower Section Final Cleaning
- Use a compressor blower to remove any remaining dust and debris from hard-to-reach areas.
Final Cleaning Reassemble the Piano
- Carefully replace the keys, ensuring they are in the correct order, then the action, fall board and music desk.
Reassemble the Piano
Read more: DIY Piano Bench Cushion: A Comfortable Upgrade
Tips
- Keep keys in order during cleaning to avoid reassembly difficulties.
- Avoid vacuuming up the balance rail or front rail felts/punchings. Use a small nozzle to prevent accidental suction.
- A brush attachment or paintbrush can help loosen and remove stubborn dirt.
- Consider bringing the piano to a well-ventilated area like a garage for cleaning.