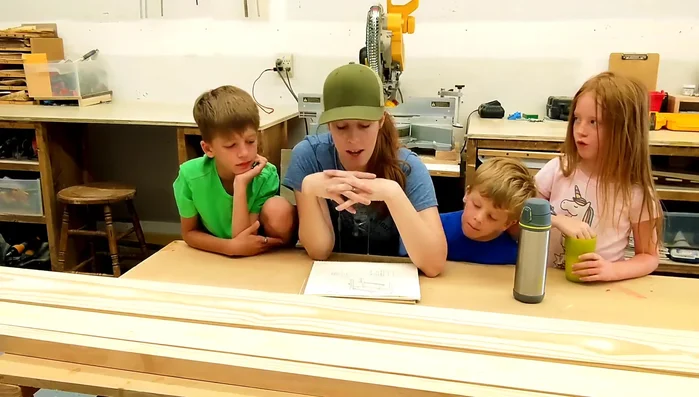
Building your own outdoor bench can seem daunting, but with the right techniques, it's a surprisingly achievable weekend project. This guide focuses on a fast and easy method utilizing two popular woodworking joinery techniques: half-lap joints for strength and pocket holes for a clean, secure finish. Forget complicated mortise and tenon joints; this approach simplifies the construction process significantly, making it perfect for beginners or those short on time. We’ll be using readily available lumber and common tools to create a sturdy and stylish bench that will enhance your patio, garden, or any outdoor space.
This DIY bench build will guide you through each step, from cutting the lumber to the final sanding and finishing. We’ll explore the specifics of creating both half-lap and pocket hole joints, providing clear instructions and helpful tips along the way. Ready to get started on transforming your outdoor area? Let's dive into the step-by-step process!
Preparation and Safety Guidelines
- Table Saw
- Miter Saw
- Biscuit Joiner
- Pocket Hole Jig
- Drill
- Sandpaper
- Wood Glue
- Measuring Tape
- Pencil
- Clamps
- Tapering Jig (optional)
- Always wear safety glasses to protect your eyes from flying debris.
- Use clamps to secure your wood pieces firmly before drilling or cutting to prevent kickback and ensure accurate joinery.
- Ensure your work area is well-lit and clear of obstructions to avoid accidents.
Step-by-Step Instructions
Prepare the Bench Top
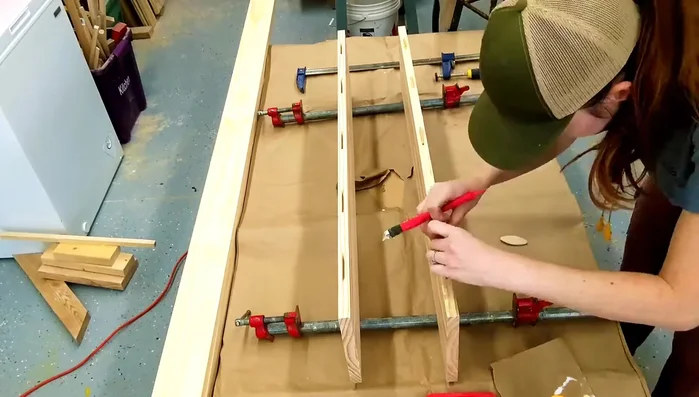
- Cut the top pieces (1x8) to 36 inches and glue them together. Use a biscuit joiner for alignment (optional, but speeds up the process).
Prepare the Legs
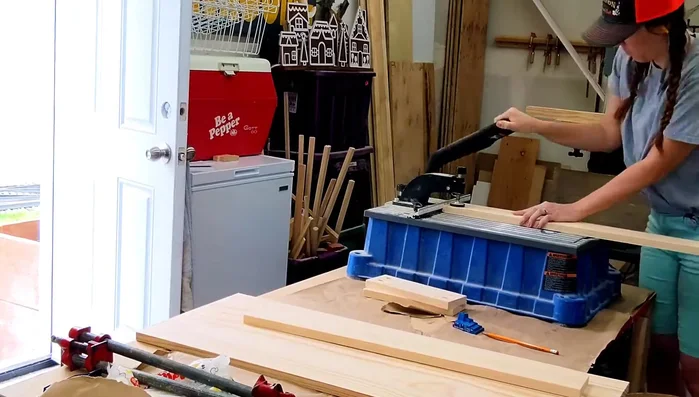
- Cut leg pieces (2x2) to 19 inches. Use a tapering jig to create a subtle taper on the inside corners of each leg (optional, but adds a nice aesthetic touch).
- Create half-laps on the legs to receive the cross braces. This involves precisely measuring and cutting half-inch recesses.

Prepare the Legs Prepare the Cross Braces
- Cut the cross braces (2x2s) 1 inch longer than needed to account for the half-laps, then create half-laps on these braces to fit snugly into the legs.
Prepare the Support Pieces
- Cut the top support pieces (1x4s) to 11 inches. Cut the longer top braces (1x4s) to 29 inches.
Prepare the Support Pieces Attach Supports to Legs
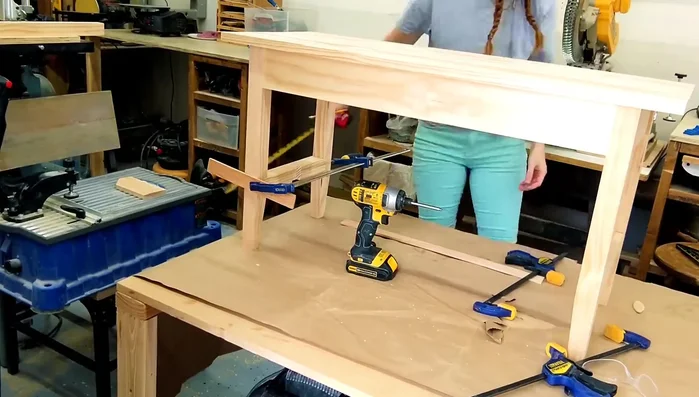
- Attach the top support pieces and long braces to the legs using pocket holes. Use spacers to achieve the desired reveal.
Attach Supports to Legs Dry Fit and Assembly
- Dry fit all components to ensure proper alignment before applying glue.
- Glue and assemble the entire bench.
Finishing Touches
- Sand and finish as desired.
Finishing Touches

Read more: Antique Piano Stool Restoration: A Complete Guide
Tips
- Use a biscuit joiner for faster and more accurate alignment when gluing boards together.
- Consider using a tapering jig for a more professional finish on the legs, even if it's your first time.
- Always perform a dry fit before gluing to check for any issues.
- Pocket holes are a quick and easy way to join pieces, particularly on the inside.