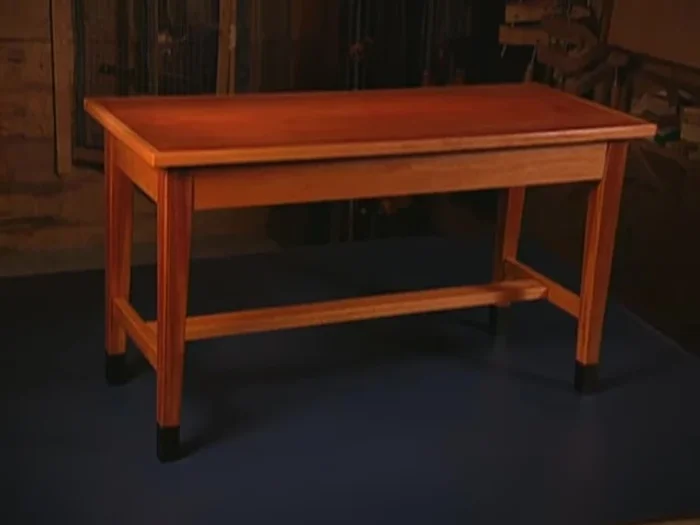
The rich, deep tones of a mahogany piano are often complemented by a beautifully crafted bench – a piece of furniture that's as much a statement as it is a functional necessity. This project guides you through building just such a bench, showcasing the timeless elegance of mortise and tenon joinery. We'll be working with the luxurious warmth of mahogany, creating a piece that will stand the test of time and enhance any musical setting. The satisfying strength and visual appeal of this traditional joinery technique make it the perfect choice for a piece that will bear the weight of countless performances.
This detailed guide will walk you through each step, from selecting and preparing your materials to the final finishing touches. We'll cover cutting precise mortises and tenons, assembling the bench, and applying a protective finish that brings out the stunning grain of the mahogany. Ready to transform a stack of wood into a stunning heirloom? Let's begin the step-by-step process of constructing your own mahogany piano bench.
Preparation and Safety Guidelines
- Table saw
- Multi-router
- Cabinet maker scribe
- Hand drill
- Chisel
- Tenoning jig
- Miter gauge
- Stop lock
- Hand saw
- Jigsaw
- Drill press
- Cabinet scraper
- Hand scraper
- Rasps
- Files
- Clamps
- Dow jig
- Sandpaper (120 grit, 220 grit)
- Tongue oil
- Brass butt hinges
- Ebony spacers
- Lid support
- Always wear safety glasses and a dust mask when working with wood, especially when using power tools. Mahogany dust is fine and can be irritating to the lungs.
- Use clamps to secure your workpieces during gluing and when performing the mortise and tenon joinery. This prevents movement and ensures a strong, accurate joint.
- Sharp chisels and proper technique are crucial for creating clean, precise mortises and tenons. Take your time and avoid rushing to prevent injury and ensure a quality finish.
Step-by-Step Instructions
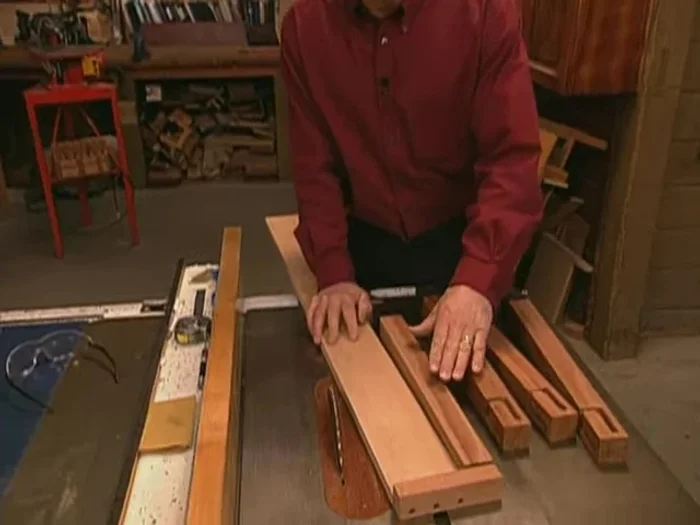
Prepare the Leg and Apron Stock
- Cut and square mahogany leg stock.
- Mill 3in wide solid mahogany apron stock to length.

Prepare the Leg and Apron Stock Cut Mortises and Tenons
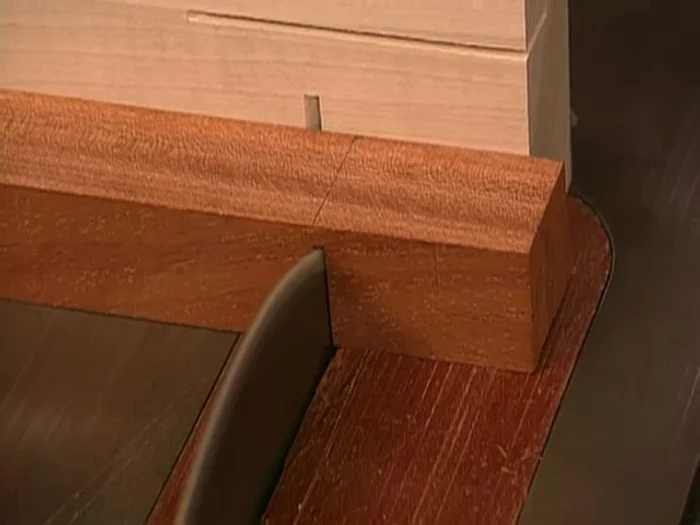
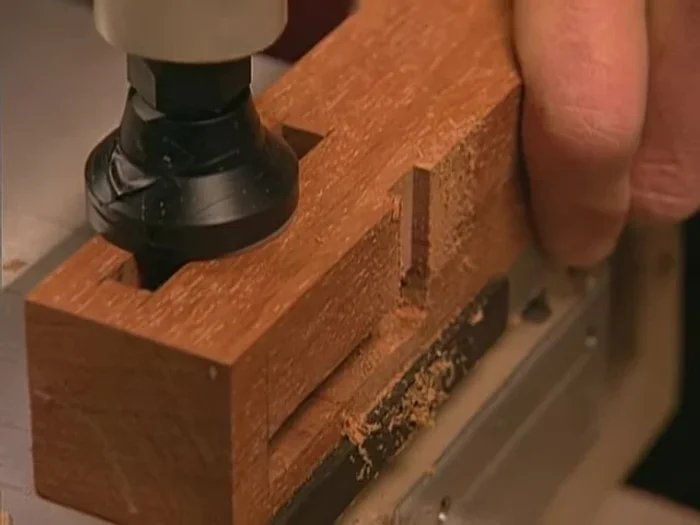
- Using a multi-router, create mortises on the leg stock, accounting for apron placement.
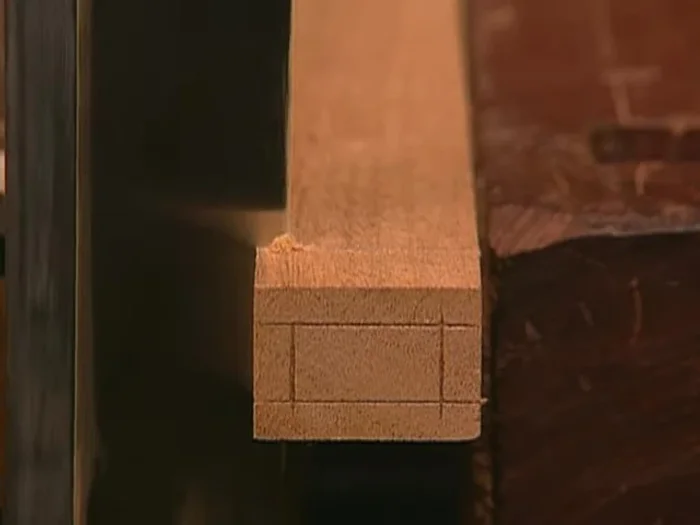
- Mark tenon positions using a cabinet maker scribe. Cut tenons on the apron ends using a tenoning jig and table saw.
Cut Mortises and Tenons Cut Rabbets
- Cut a rabbit on the inside of the apron stock along the bottom to hold the plywood panel.
- Cut perpendicular rabbets on the legs using the multi-router.
Cut Rabbets Construct the Bottom Panel
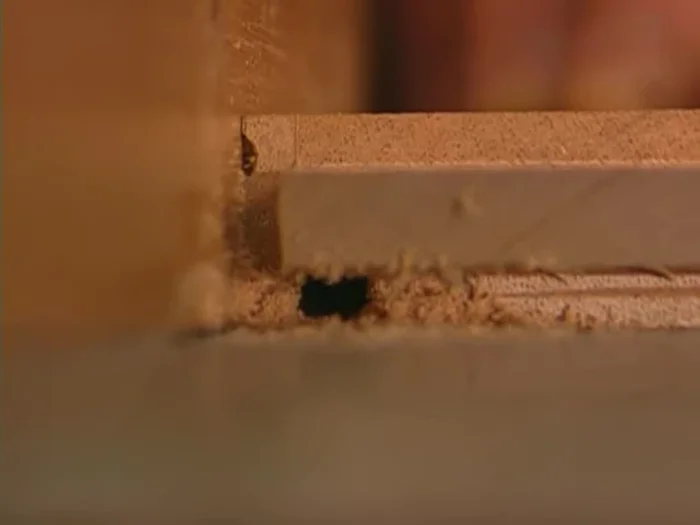
- Cut and notch a 1/2 in mahogany plywood panel to fit the rabbets.
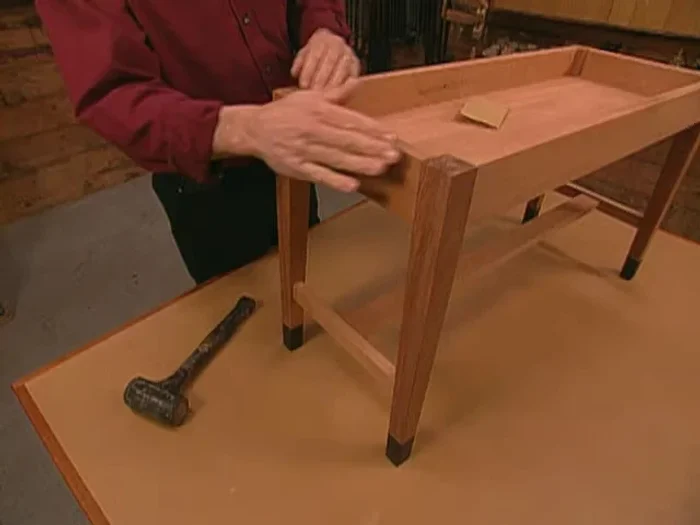
Construct the Bottom Panel Attach and Finish Legs
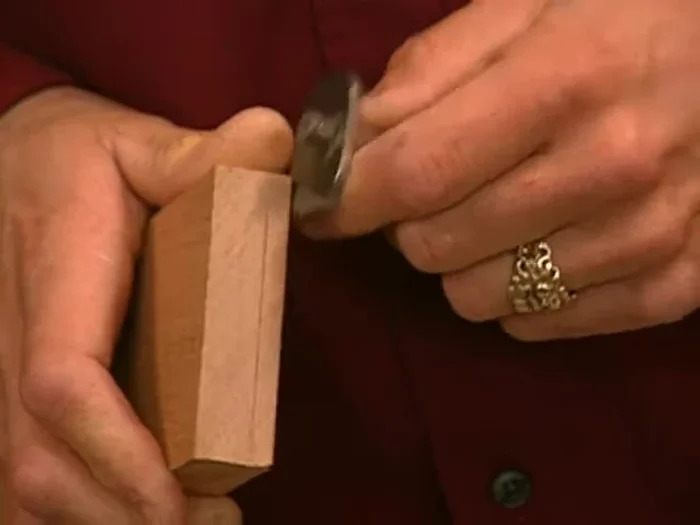
- Attach ebony feet to legs using dowels and epoxy. Flush the seam with a scraper.
- Using a jig at the table saw, cut tapers on the inside edges of the legs.
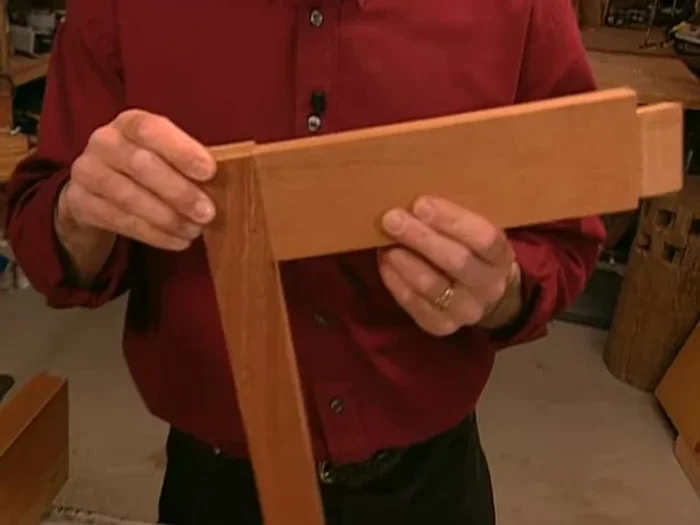
Attach and Finish Legs Prepare and Attach Stretchers
- Measure and cut stretchers, considering the leg taper. Cut mortises in the legs for the stretchers.
- Use a handsaw to cut angled shoulder tenons on the stretchers.
- Glue and clamp the bench base together in two stages (ends first, then the center).
Prepare and Attach Stretchers Level Bench Base (if needed)
- Use a scribe and rasp to level any unevenness in the bench base.
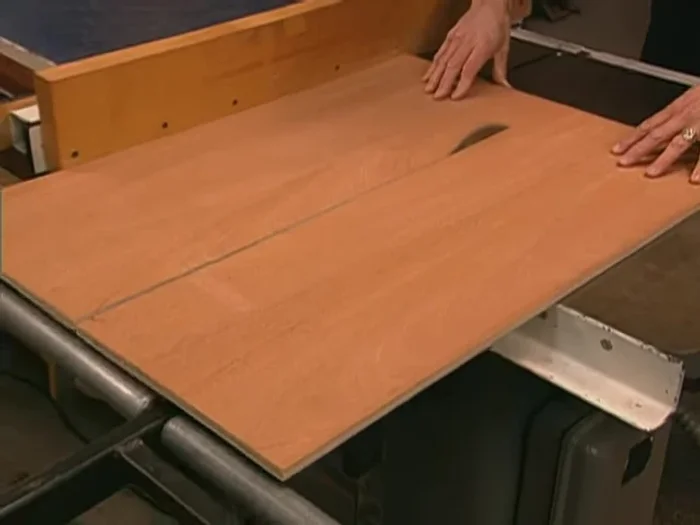
Create and Finish the Top
- Cut and band the edges of a 3/4 in mahogany plywood top with solid mahogany strips.
- Sand and apply several coats of tongue oil.
Create and Finish the Top Attach Lid and Install Support
- Attach the lid to the base using brass butt hinges and ebony spacers.
- Install a suitable lid support.
Read more: Antique Piano Stool Restoration: A Complete Guide
Tips
- Study the wood grain before marking for optimal aesthetics and strength.
- Make tenons slightly smaller than mortises to allow for glue.
- Use double-stick tape and a shim to protect your stock while clamping.
- Drill dowel holes slightly deeper than needed to accommodate glue.
- When gluing up, ensure flat surfaces are referencing down against the table.