In a world increasingly conscious of environmental impact, the art of restorative upholstery offers a compelling alternative to disposable consumerism. Giving new life to cherished furniture, rather than discarding it, reduces landfill waste and preserves the craftsmanship of bygone eras. This is particularly rewarding when applied to beloved pieces like piano benches, often overlooked yet integral parts of musical homes. Their sturdy construction and simple design make them ideal candidates for a sustainable makeover. Often, a little TLC is all that's needed to transform a worn-out bench into a beautiful and functional piece.
This guide focuses on reviving a piano bench using restorative upholstery techniques that minimize waste and maximize resourcefulness. We'll prioritize repurposing existing materials where possible and explore eco-friendly alternatives when necessary. Ready to breathe new life into your piano bench while reducing your environmental footprint? Let's dive into the step-by-step process.
Preparation and Safety Guidelines
- scissors
- cowboy tacking tape
- cardboard
- stapler
- Dacron
- steam iron (optional)
- spring mist spray
- safety goggles
- Always disconnect any electrical components before starting any repairs or upholstery work. This prevents accidental shocks and injury.
- Use appropriate safety gear, such as gloves and eye protection, to protect yourself from sharp objects, splinters, and chemicals used in cleaning or finishing.
- Properly dispose of any waste materials responsibly, following local guidelines for hazardous waste such as staples, glue, and old fabrics.
Step-by-Step Instructions
Assessment and Client Consultation
- Assess the damage and client's wishes. This particular client, an accomplished pianist, wants to retain the existing filling.
Minor Repairs and Prep
- Address cosmetic issues. Use cowboy tacking tape to cover any small imperfections without impacting the structure.
- Address button indentations. Attempt to steam them out; if unsuccessful, flip the piece over to use the flat side.
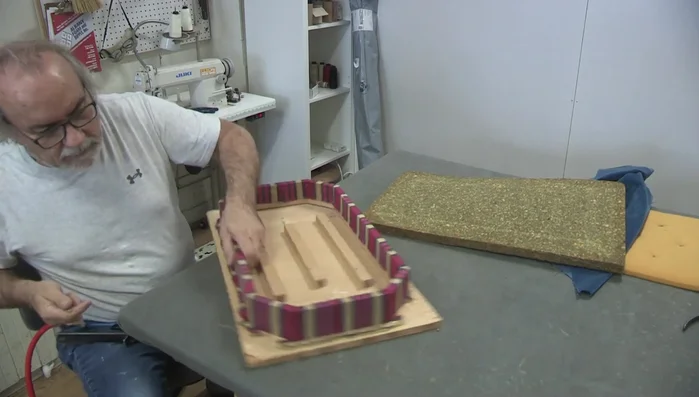
- Trim and prepare the foam. Remove excess foam from one side to ensure a flat surface.

Minor Repairs and Prep Material Reuse and Padding
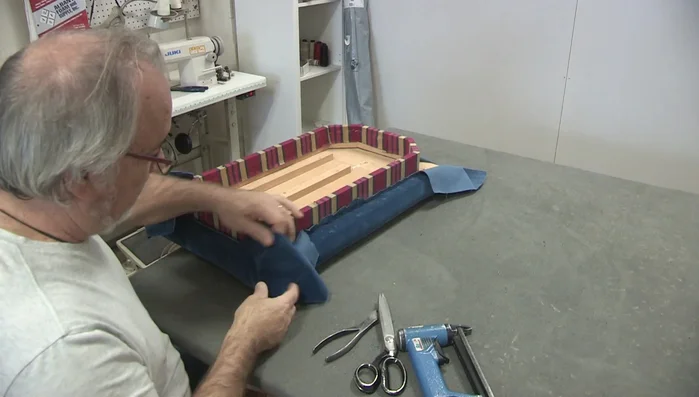
- Reuse existing materials where possible. The bottom layer of latex is reused because the client wants to maintain the existing feel.
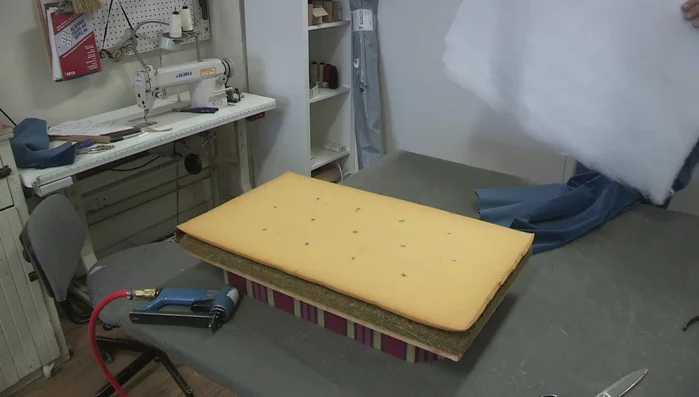
- Add a thin layer of Dacron. Avoid excessive padding, especially along the bottom edge, to maintain a flat profile.
- Secure the Dacron. Staple the Dacron to the sides of the wooden frame, avoiding the bottom edge to minimize bulk.
Material Reuse and Padding Fabric Preparation
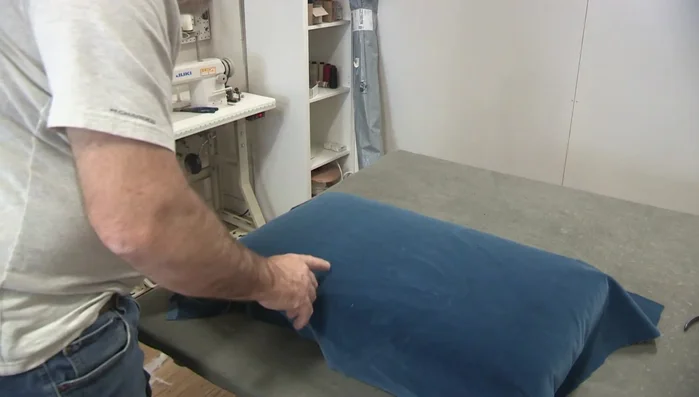
- Prepare the fabric. Address any wrinkles or roll marks using a fabric spray like 'Spring Mist'.
Fabric Preparation Upholstery: Attaching the Fabric
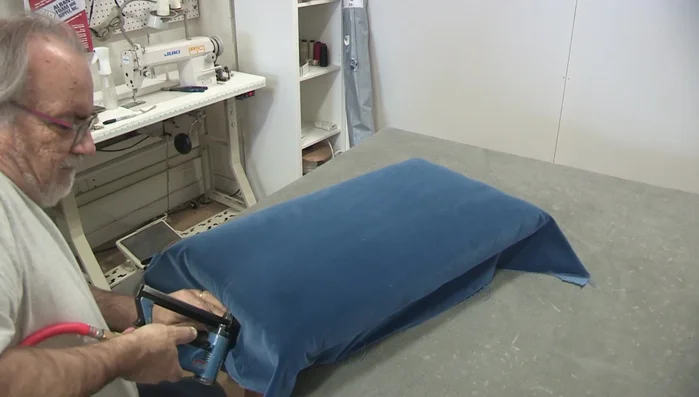
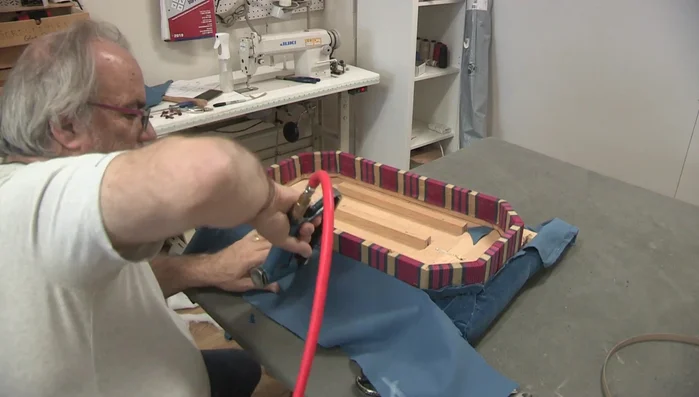
- Attach the fabric. Begin stapling one side, using a two-way stretch method to ensure even tension.
- Continue stapling, working in sections. Focus on stretching and stapling one half-side at a time for better control.
Upholstery: Attaching the Fabric Finishing Touches
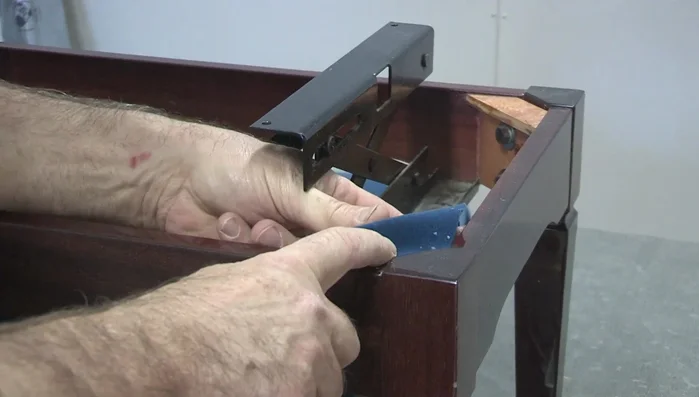
- Handle corners carefully. Create neat pleats to manage fabric at the corners.
- Blind tack the edges. Secure the fabric along the edges using blind tacking and cardboard tacking tape for a clean finish.
Finishing Touches Addressing Problem Areas
- Address any remaining imperfections. For the tricky area, consider using a refinisher to address any remaining issues with the existing material instead of replacing it.
Addressing Problem Areas


Read more: Antique Piano Stool Restoration: A Complete Guide
Tips
- Prioritize client wishes above all else. Understand the client's needs and preferences before making decisions.
- Reuse materials when appropriate. Minimizing waste is beneficial environmentally and may save costs.
- Use a two-way stretch method for even fabric tension.
- Work in sections, focusing on one half-side at a time. This provides more control and avoids pulling the fabric too tightly.
- Consider using a fabric spray to remove wrinkles and roll marks before upholstery.