Victorian-era piano stools, with their ornate carvings and often delicate construction, represent a bygone era of craftsmanship. These beautiful pieces, frequently found in antique shops or family heirlooms, can unfortunately suffer from the ravages of time – cracked upholstery, loose joints, and faded finishes all contributing to their diminished glory. Restoring one of these elegant seats to its former splendour is a rewarding project, blending careful preservation with creative problem-solving. The unique character of each stool presents its own set of challenges, but with patience and the right approach, even the most dilapidated example can be revitalized.
This step-by-step guide will walk you through the process of restoring a Victorian-style piano stool, from initial assessment and disassembly to final polishing and reassembly. Whether you’re a seasoned restorer or a curious beginner, this comprehensive guide provides the knowledge and techniques you need to breathe new life into your cherished piece.
Preparation and Safety Guidelines
- Heat gun
- Clamps (band clamp, spring clamps)
- Scrapers
- Chisels
- Wood glue
- Epoxy (optional)
- Veneer
- Weight (e.g., anvil)
- Two-by-fours
- Always disconnect any electrical components before starting any work. If unsure, consult a qualified electrician.
- Wear appropriate safety gear, including gloves and eye protection, to avoid injury from sharp objects or splinters.
- When using chemicals, ensure adequate ventilation and follow the manufacturer's instructions carefully. Wear a respirator if necessary.
Step-by-Step Instructions
Disassembly
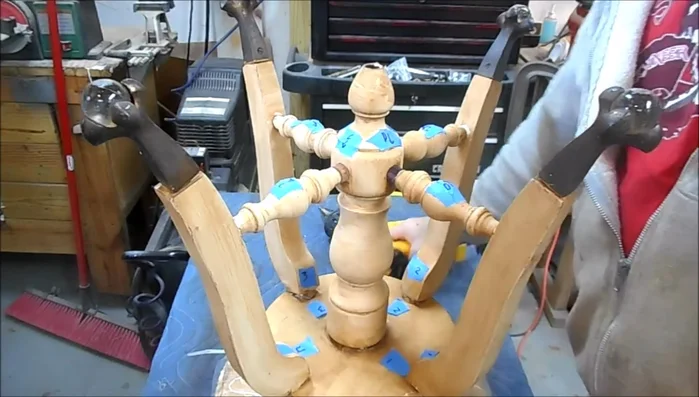
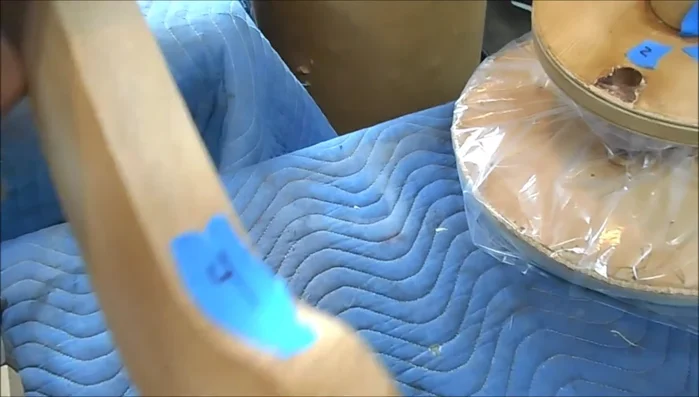
- Carefully remove the legs, stretchers, and seat, marking each piece for reassembly. Use a heat gun to loosen stubborn glue joints, being mindful of the paint.

Disassembly Joint Preparation
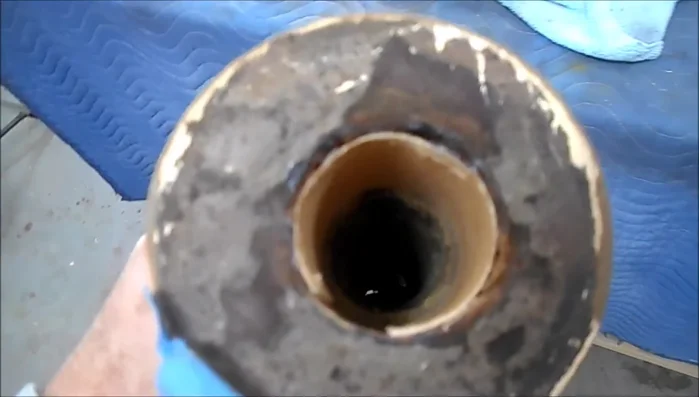
- Remove old glue residue from all joints using scrapers and chisels.
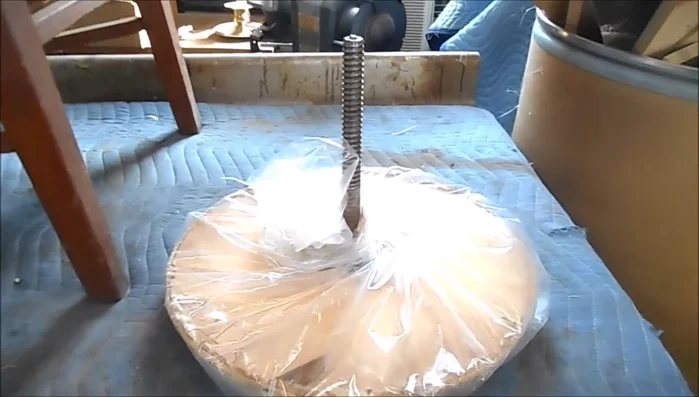
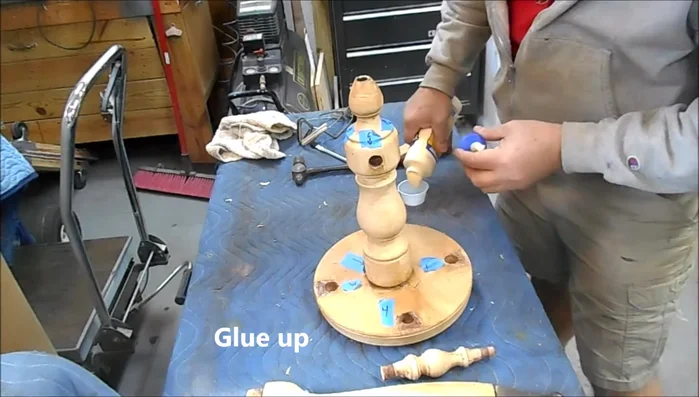
- If the central finial threads are stripped, glue in pieces of veneer to reduce the hole diameter, allowing the finial to thread back on securely.
Joint Preparation Dry Fit
- Reassemble the stool without glue to check the fit and identify any issues.
Dry Fit Assembly and Clamping
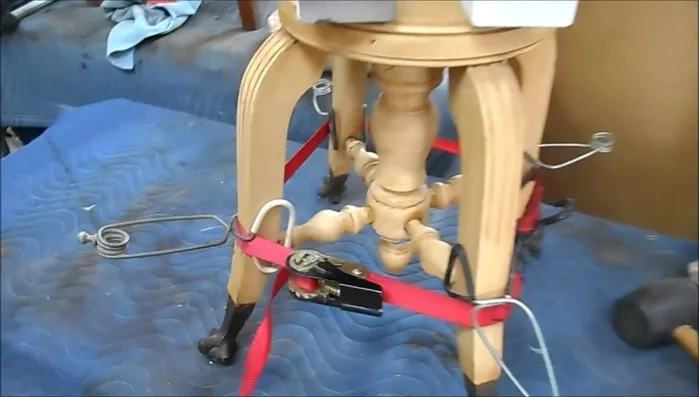
- Apply wood glue to the joints and clamp the stool securely. Use a combination of band clamps and spring clamps to ensure even pressure and prevent clamping slippage on angled surfaces. Add weights on top of the seat to ensure a tight fit between the seat and legs.
Assembly and Clamping Final Assembly and Curing
- Let the glue cure completely, then remove clamps and weights. Screw the seat back into place.
Final Assembly and Curing
Read more: Antique Piano Stool Restoration: A Complete Guide
Tips
- Mark every piece during disassembly to ensure easy reassembly. This prevents confusion and frustration later on.
- Use caution with the heat gun to avoid damaging the paint.
- Consider using epoxy for any particularly loose joints for extra strength, but use yellow wood glue where possible for future disassembly.
- A well-planned clamping strategy is crucial for ensuring a strong and even glue-up, especially with angled surfaces.